Here’s the no-stress, all-fun roadmap to build a Gingerbread Christmas Kitchen on any budget—yes, thrift finds, DIY hacks, and a few magical splurges totally count.
Why a gingerbread kitchen?
A gingerbread theme delivers cozy nostalgia, warm spice colors, and whimsical charm without requiring a total kitchen overhaul, which keeps costs low and the vibe high. Ever noticed how a tiny gingerbread house instantly makes a counter feel festive—like it knows a carol or two ?
My gingerbread confession
I rotate between candy-cane and gingerbread years, and IMO gingerbread wins when the kitchen needs warmth without screaming red everywhere, because caramel browns and creamy whites play nicer with everyday decor.
I also learned the hard way that one good tray vignette beats ten tiny trinkets scattered like cookie crumbs—cleaning becomes way easier and the look feels intentional, not chaotic.
Set your theme and palette

Pick one tight idea so the space feels cohesive: think “Gingerbread Village,” “Candy Shoppe,” or “Gingerbread + Evergreen,” then repeat 2–3 colors everywhere for glue-level cohesion.
Popular combos: caramel brown + white icing + mint green, or gingerbread + red velvet + evergreen for a classic cozy mix.
Anchor pieces to choose
- One statement: a light-up gingerbread house, a framed gingerbread print, or a mini gingerbread tree on the counter.
- Two supports: a ribbon-wrapped tray and a gingerbread cookie jar or canister for both function and flair.
- One flexible filler: greenery, battery fairy lights, or a bowl filled with “iced” ornaments to tie it all together.
Create one killer tray vignette

Style a tray and let it do the heavy lifting for your main counter—easy to clean, easy to move, and easy to adjust through December.
Start with a wood or marble tray, add a light-up gingerbread house, tuck in ribbon and faux greens, and finish with a small dish or gingerbread ornament for texture.
Quick formula that never fails
- Base: tray or cutting board.
- Height: a pitcher with greens or a tall gingerbread house for vertical interest.
- Shine: warm twinkle lights or flameless tea lights inside a house for instant ambiance.
- Whimsy: a chip-clip gingerbread man on the tray edge or a faux “cookie” snowflake for charm.
Budget-friendly DIY gingerbread houses
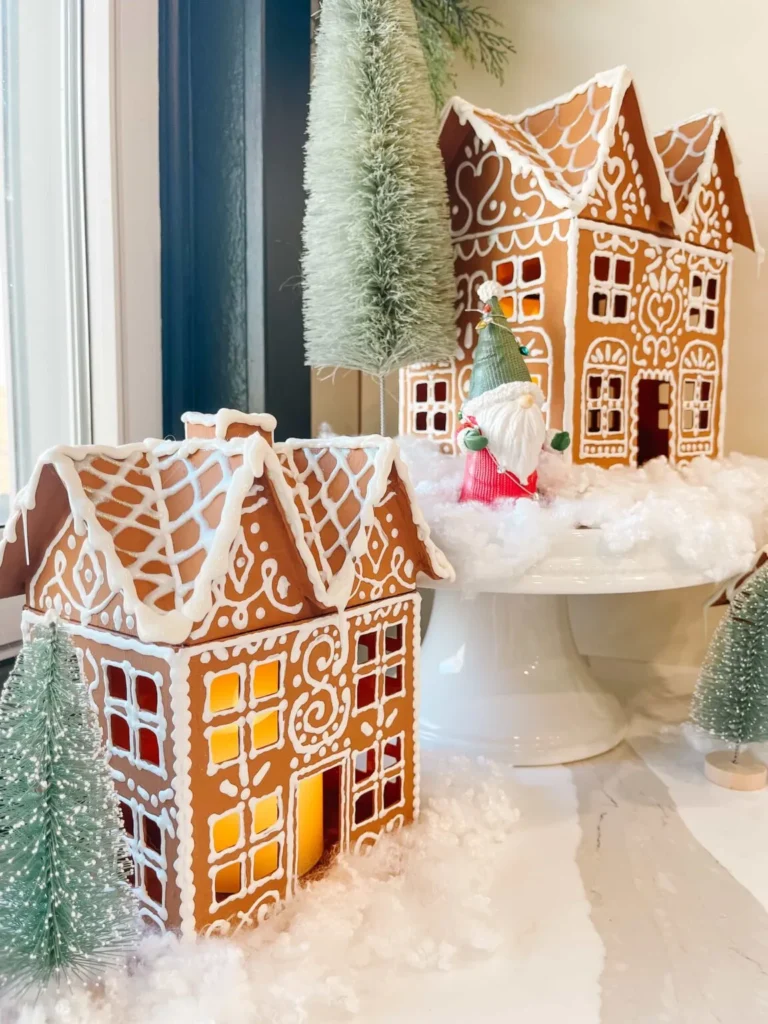
DIY saves money and lets the look match the exact palette without hunting a dozen stores, which helps when stock sells out fast in December. Try paper-mâché houses painted gingerbread-brown with puffy white paint “icing,” then pop a flameless candle inside for cozy windows.
Materials cheat sheet
- Paper-mâché houses (Hobby Lobby sets often go 50% off).
- Brown acrylic paint + a touch of white to custom-mix the perfect “baked” tone.
- Puffy white paint or white hot glue sticks for raised frosting details.
- Battery candles and fake snow for the final flourish—optional but delightful.
Pro tip
Add a pinch of baking powder into the brown paint for subtle texture that mimics gingerbread dough, then stipple the surface and edge it with “icing” once dry.
Gingerbread ornaments, wreaths, and prints

Ornaments aren’t just for trees; hang a couple from cabinet knobs, shelf hooks, or the end of a garland for a kitchen-friendly touch that doesn’t hog workspace. For fast wall impact, swap a frame’s print for a gingerbread quote or a village sketch—free printables and Etsy downloads make it painless.
DIY extras that look pro
- Gingerbread cookie wreath using faux cookies or sealed real cookies glued to a hoop—great for pantry doors.
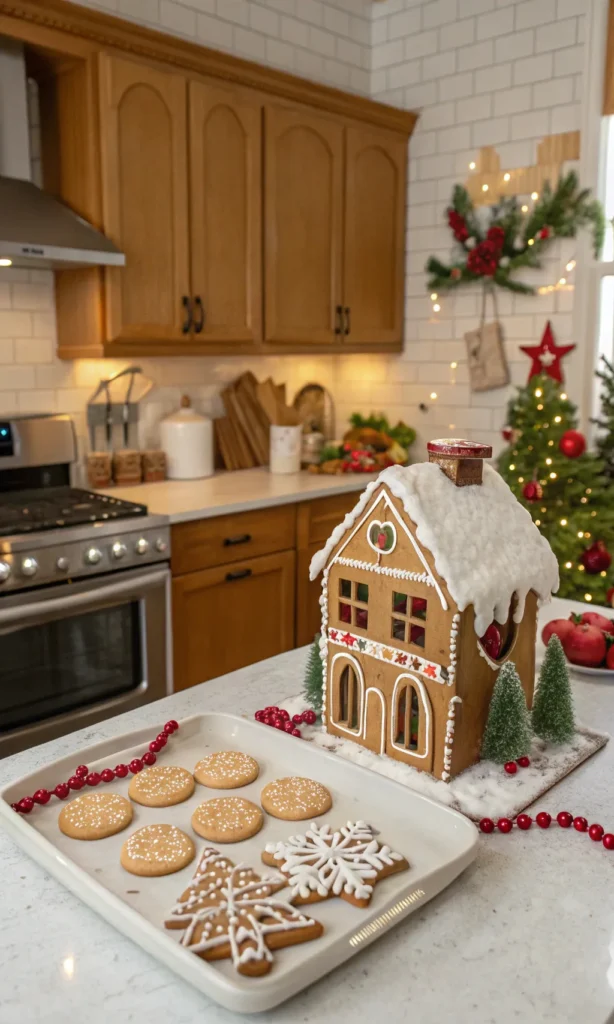
- Edible centerpiece tray: pile decorated cookies and candy canes on a cake stand as a temporary “display” that guests will, ahem, edit over time.
- Felt garlands or cinnamon ornaments to bring fragrance and soft texture to shelves and hood vents.
Coffee bar or cocoa station

A compact gingerbread cocoa station packs maximum joy per square inch and makes winter evenings feel like a Hallmark prop department swung by for tea.
Use a breadboard as the base, add a ceramic gingerbread mug tree or cookie jar, tuck a framed mini print, and thread a ribbon through the setup for color continuity.
Stock it smart
- Cocoa tins and marshmallow jars with labeled tags for a “candy shop” moment.
- Gingerbread spoons or hot cocoa bombs in a footed jar for a treat that doubles as decor.
- Micro-string lights along the back wall to softly illuminate the scene at night.
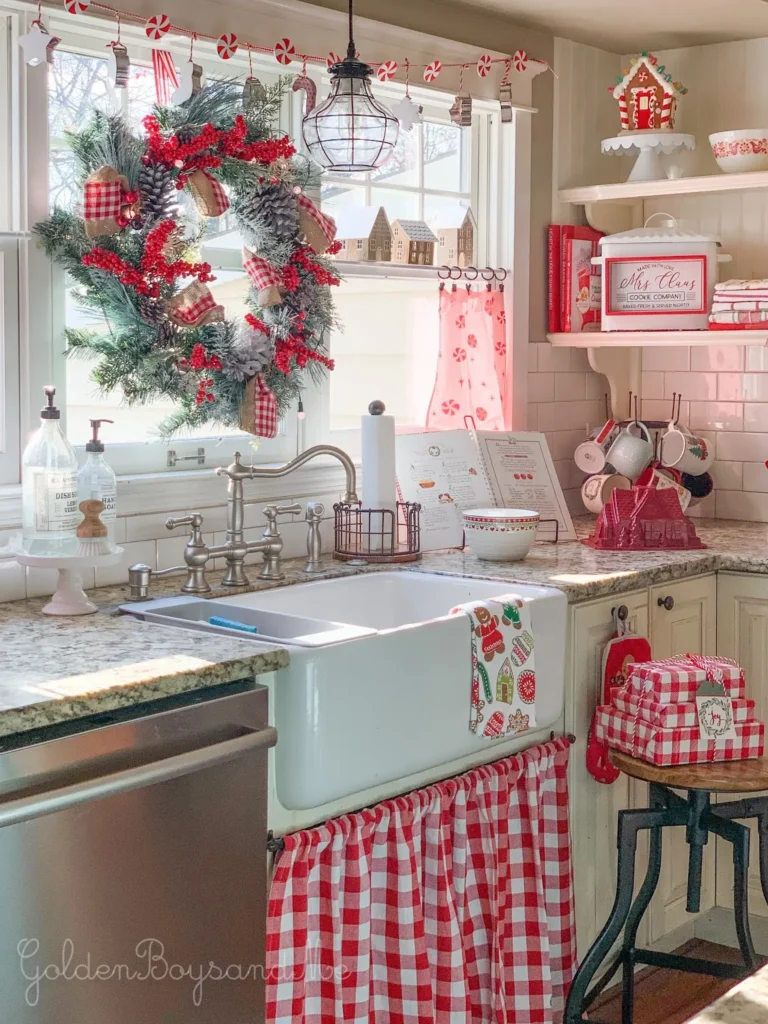
Countertop, shelves, and island balance
Keep prep zones clear and cluster decor so the kitchen still functions—form matters, but cookies matter more, right ?
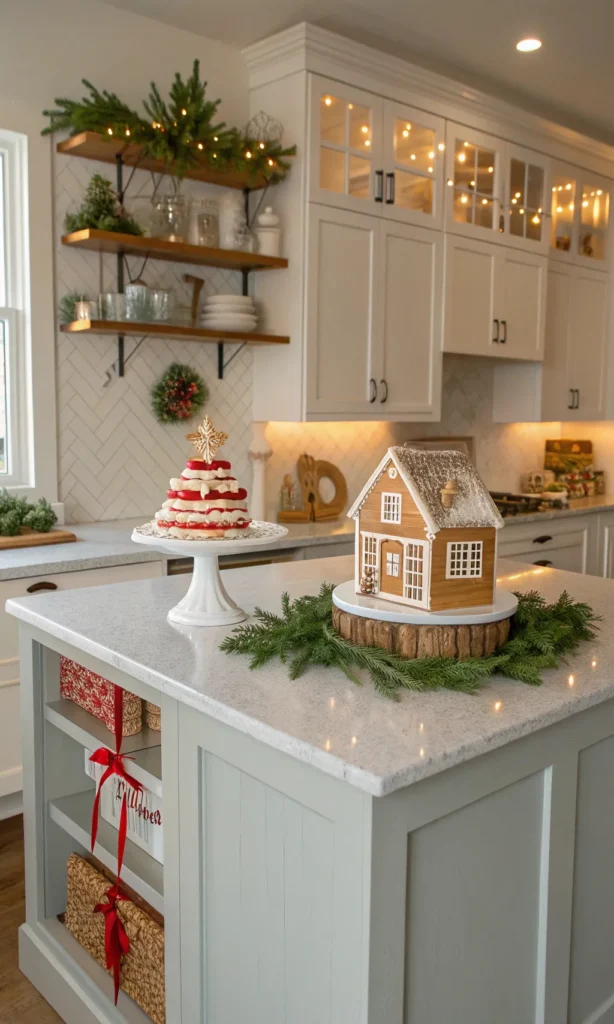
For the island, choose one compact arrangement: a cake stand with a house, ribbon, and light greenery beats six small items that drift into chaos.
Layout rules of thumb
- Odd numbers win: group decor in threes to keep the eye moving.
- Vary heights: use a pitcher, stack of cookbooks, or footed riser to avoid a flat line.
- Repeat materials: carry the same ribbon or ornament type across the tray, cocoa station, and shelf for instant cohesion.
Dollar finds and thrift flips
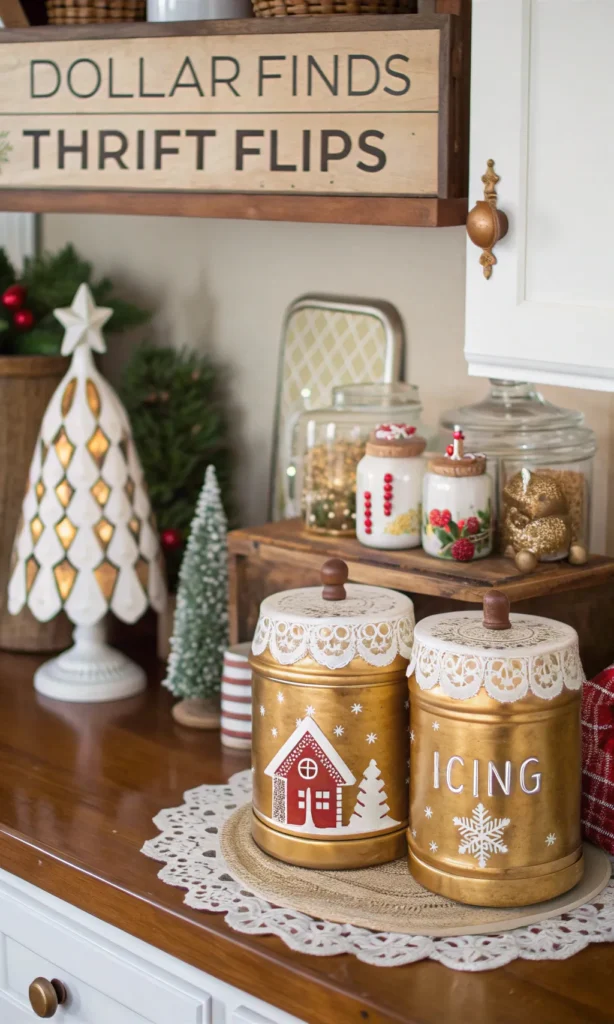
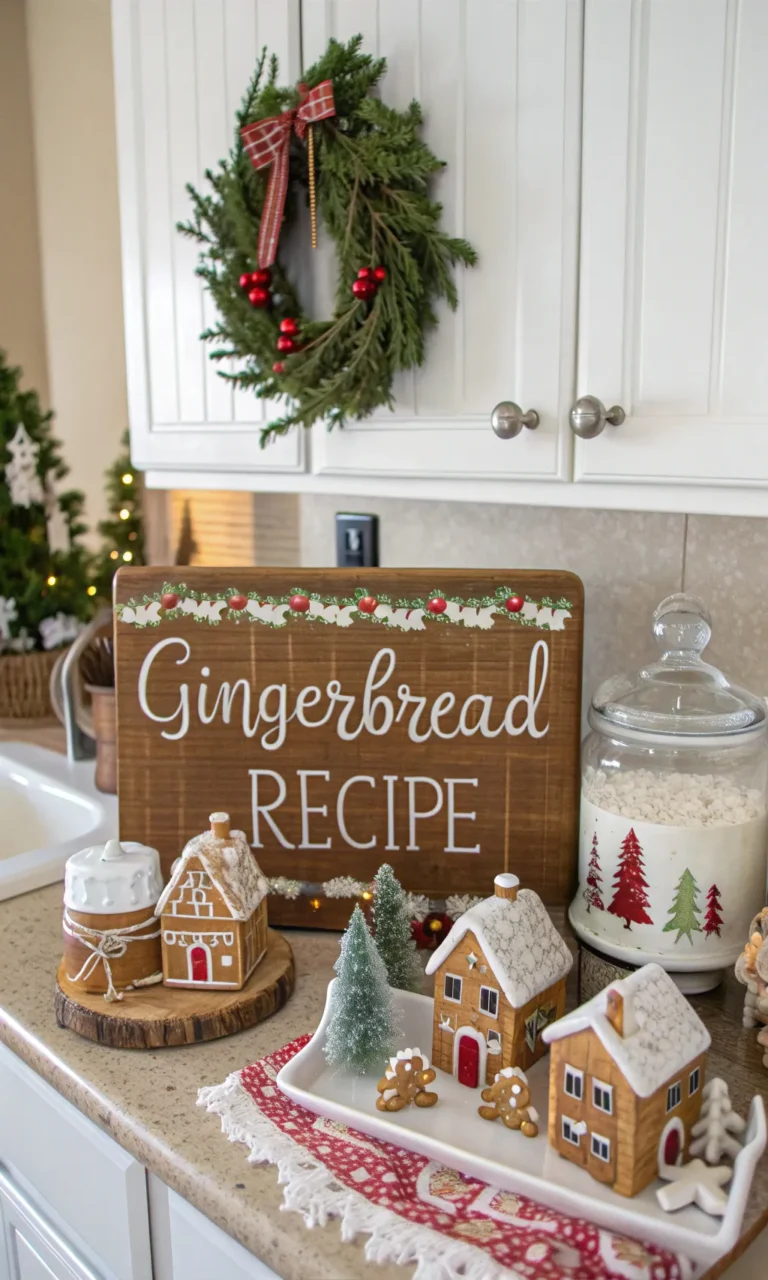
Dollar stores and thrift shops hide breadboard plaques, bell jars, and little houses that flip into gingerbread gold with paint and puffy icing, which keeps the budget smiling.
Elevate dollar wood boards with antique wax or brown paint, stencil a gingerbread recipe, and add “icing” edging in white for a custom sign.
Where to look
- Thrift stores: old ceramic houses become “gingerbread” with matte paint and white detailing.
- Dollar aisles: mini trees, wood cutouts, bows, and battery lights for fillers and layering.
- Big box seasonal aisles: cookie jars, resin figurines, and train sets—sprinkle sparingly as accents.
Small kitchen, big gingerbread energy
Tight on space doesn’t mean tight on charm—focus on verticals and focal points to stretch the theme without crowding. Hang a mini wreath tied with gingerbread ribbon on the range hood, place one house under a cloche, and swap one towel for a gingerbread motif—done and dusted.
Minimalist plan that still pops
- One tray vignette in a corner.
- One framed printable near the coffee maker.
- One ribboned wreath or ornament cluster on a cabinet knob.
Safety and sanity checks
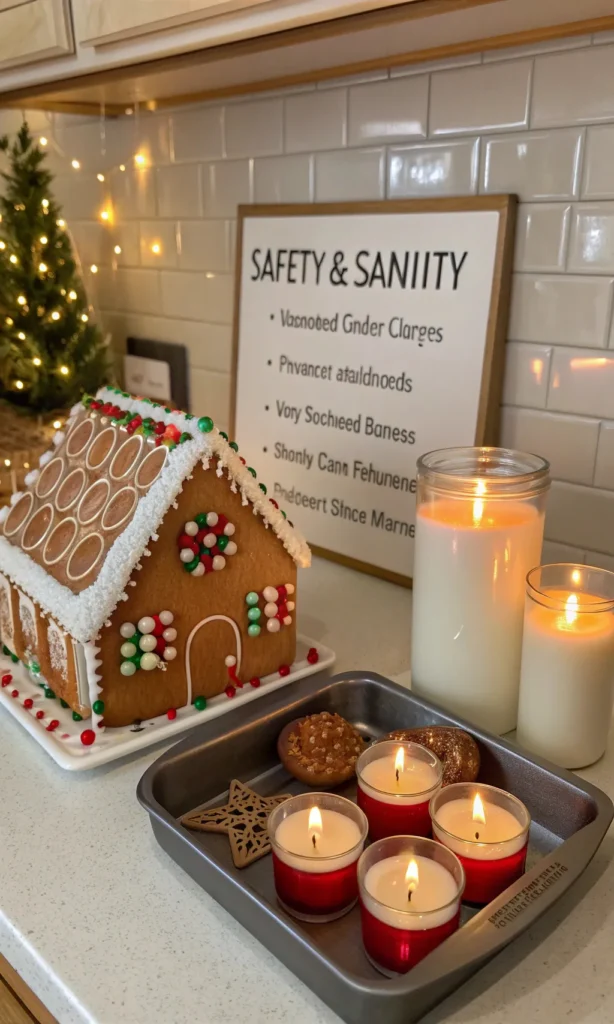
Keep anything lit—candles, fairy lights, and warmers—away from stovetops and splatter zones, then use flameless where possible for set-and-forget coziness.
For cleaning days, move the whole vignette by lifting the tray, not each item, which saves time and preserves the arrangement.
Quick shopping and DIY mix-and-match
Want the fast track that doesn’t look cookie-cutter (pun totally intended)? Combine one store-bought highlight with two DIY supporting players for a custom look without custom prices.
Starter kit ideas
- Buy: a light-up gingerbread house; DIY: felt garland and paper-mâché village.
- Buy: gingerbread cookie jar; DIY: printable wall art and ornament cluster.
- Buy: gingerbread mugs; DIY: breadboard sign with “iced” edges.
Photo-ready styling tips
Layer ribbon ends under trays like a runner, then tuck one matching ribbon in a mug tree to echo the color, because repetition makes even budget pieces feel curated.
Add one unexpected texture—matte terracotta, burlap ribbon, or frosted glass—to avoid a too-shiny, toy-like finish.
Little details that look big
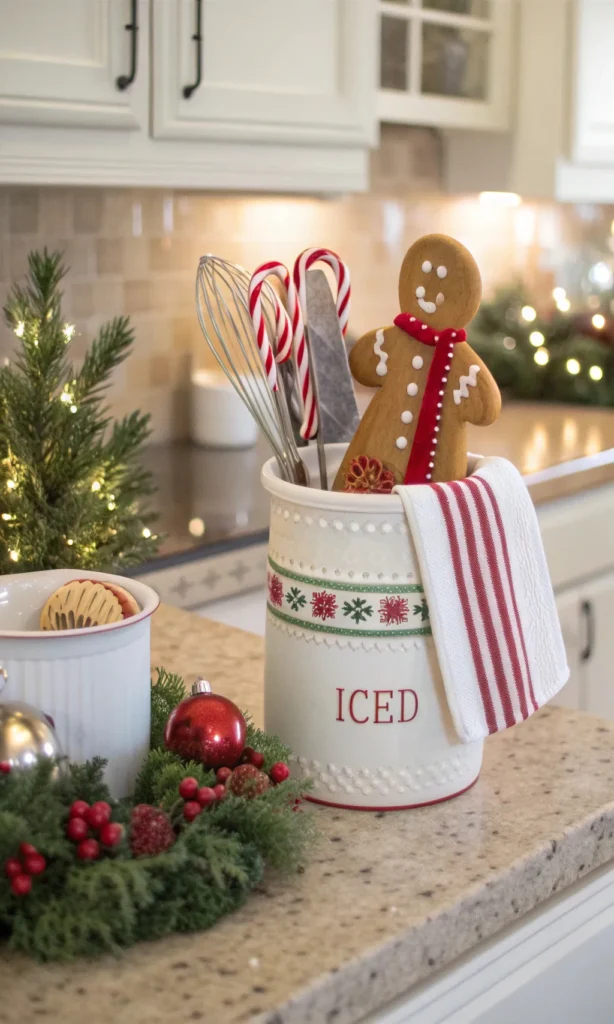
- Swap one everyday utensil crock for a candy-cane striped one and slip a gingerbread spatula inside for instant theme.
- Clip a gingerbread ornament to a towel ring or cabinet pull as a playful nod that guests actually notice.
- Line a shallow bowl with faux greens and drop in “iced” ornaments for a quick centerpiece that reads festive without fuss.
Troubleshooting common decor woes
If the setup looks busy, group items tighter and remove one piece—negative space lets the stars shine and keeps counters usable, which matters when baking marathons hit.
If the color story feels off, add more white “icing” elements to calm the palette or bring in evergreen to ground it.
Refresh in five minutes
- Swap the ribbon color on one big piece.
- Move the house to a riser and hide the battery pack with faux snow.
- Add a printable and call it a day—art has outsized impact.
Check Next: 12 Stunning Kitchen Table Christmas Decor Ideas That Steal the Party
Decorating with kids in mind
Faux houses and puffy-paint details survive curious hands better than delicate ceramic pieces, which means fewer emergency glue sessions and more cocoa time.
Save the edible gingerbread village for the island on party days, then store the rest in airtight containers to keep it crisp.
Kid-friendly stations
- Cocoa fixings at kid height with a scoop and labeled jars.
- A small bowl of wrapped candies on movie nights only (FYI, it magically empties).
- A mini felt garland they help hang—teamwork makes memories.
Final polish: your gingerbread checklist
- Pick a theme and two accent colors for cohesion.
- Build one hero tray vignette with height, lights, and ribbon.
- DIY two budget wins: paper-mâché houses and prints/ornaments.
- Add a cocoa nook for nightly cozy points.
- Keep prep zones clear and group decor to avoid clutter.
Conclusion
A Gingerbread Christmas Kitchen doesn’t demand a big budget, just one strong focal point, consistent colors, and a couple of clever DIYs that sprinkle charm across the space.
Try one tray, one print, and one cozy cocoa setup this weekend, and watch the kitchen feel like it smells of cinnamon even when the oven sleeps :).
Ready to whisk up the cutest gingerbread vibe on the block—no stress, all spice, and a little sparkle for good measure ?