Ever lost your whisk mid-pancake and felt personally attacked by your kitchen drawer? Same. Let’s fix that with practical, grab-and-go kitchen utensil organization that keeps every tool exactly where your hands expect it—so you stop rummaging and start cooking faster, cleaner, and saner :)
In This Article
- 1 1) Create cooking zones that match your workflow
- 2 2) Upgrade drawers with adjustable organizers
- 3 3) Use a countertop crock—smartly, not lazily
- 4 4) Mount a rail with hooks or cups
- 5 5) Build a pegboard wall you’ll actually maintain
- 6 6) Install pull-out drawers or shelves in cabinets
- 7 7) Add shelf risers and lazy Susans for hard-to-reach spots
- 8 8) Use the back of doors like bonus walls
- 9 9) Hang pots, pans, and their lids to free drawers
- 10 10) Create a mobile “prep cart” for flexible kitchens
- 11 11) Curate a minimalist “daily kit” and stash the rest
- 12 Small-kitchen power moves that punch above their size
- 13 What to keep on the counter (and what not to)
- 14 Budget-friendly organization that looks high-end
- 15 Maintenance rituals that keep systems alive
- 16 Real-world layout examples (steal these)
- 17 Quick comparisons to choose your system
- 18 My take after years of real cooking
- 19 Your 15-minute setup plan
- 20 Conclusion: Cook faster, hunt less
Why this matters right now
When you organize utensils by task and location—think “zones” near your stove, sink, and prep area—you cut friction, save time, and actually enjoy cooking again. You grab, you use, you put it back, and dinner happens without a scavenger hunt. Sounds dreamy, right?
The quick promise
You’ll get 11 battle-tested kitchen Utensil Organization Ideas —drawer tricks, wall systems, countertop solutions, and tiny-space hacks—that keep everyday spatulas, tongs, ladles, whisks, peelers, and measuring tools ready to roll. Each idea includes what to use, where to place it, and why it works in real kitchens.
1) Create cooking zones that match your workflow
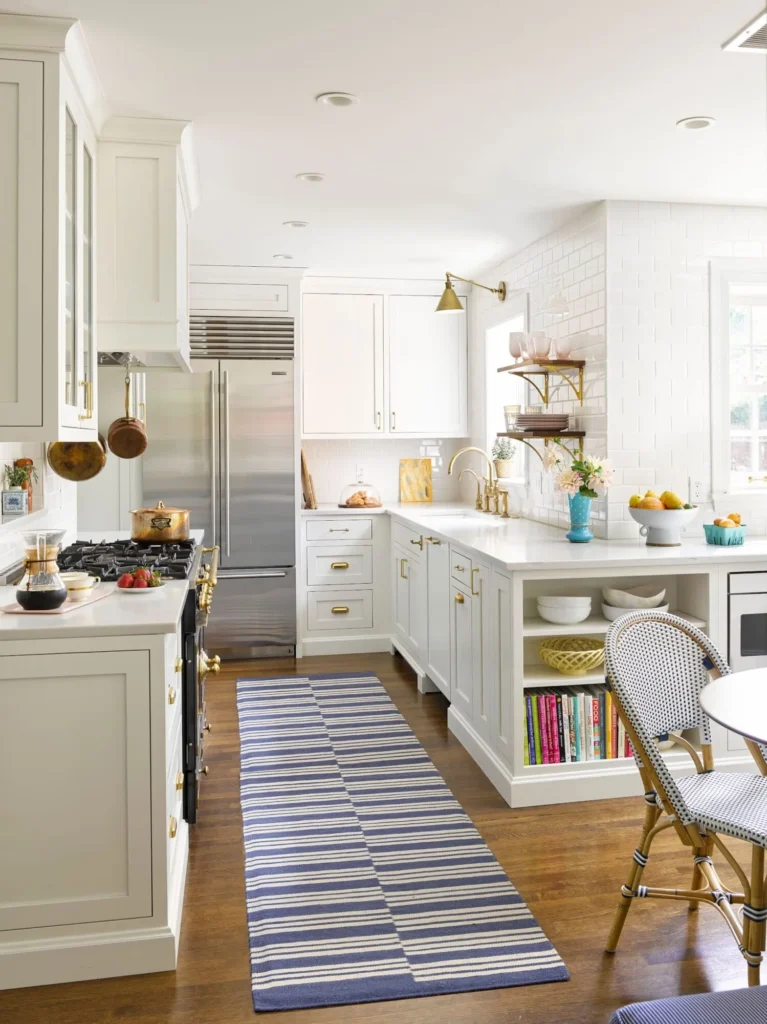
You cook faster when tools live where you use them—stirring tools near the stove, knives and peelers in the prep zone, and scrubbing tools by the sink. Define 2–4 zones and stock each with only what that zone needs, then label or visually group so everything flows. This cuts back-and-forth and makes “put away” brainless for everyone at home.
How to set zones
- Cooking zone: spatulas, spoons, tongs, thermometers, and pot holders within arm’s reach of burners.
- Prep zone: knives, peeler, shears, bench scraper, measuring cups/spoons, and mixing bowls near your main counter.
- Cleaning zone: dish brush, towels, drying rack gear, and silicone scrapers parked at the sink.
2) Upgrade drawers with adjustable organizers
Generic drawer chaos ruins speed. Use bamboo or plastic utensil organizers for fine tools and long dividers for spatulas, ladles, and tongs. Deep drawers love expandable systems that group long tools by category, so you scan once and grab the right thing without clanking around.
Drawer setup that actually sticks
- Use expandable trays or pegboard-style inserts to create snug lanes for long tools.
- Park seldom-used gadgets in a rear section; keep daily drivers in front.
- Add labels on the tray edges so family members return stuff where it belongs (tiny effort, huge payoff).
3) Use a countertop crock—smartly, not lazily
A utensil crock works if you curate it. Keep only your daily MVPs upright: 2 spatulas, 1 turner, 1 ladle, 1 slotted spoon, 1 whisk, and tongs. Anything else goes elsewhere. Choose a weighted crock so it doesn’t tip when you yank tongs mid-sauté.
Make it grab-and-go
- Sort by tool height so you see what you need at a glance.
- Use a crock with a divided insert to stop tools from nesting.
- If your crock keeps ballooning, set a hard rule: “If it doesn’t earn weekly use, it doesn’t live here.”
4) Mount a rail with hooks or cups
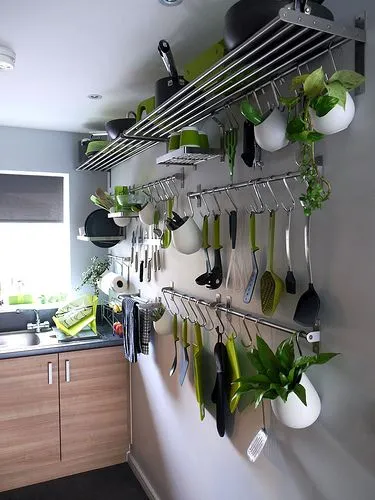
Wall rails with S-hooks or clip-on containers turn vertical space into instant access. Hang ladles, tongs, and scissors; drop peelers and thermometers in hanging cups. This keeps counters clear and puts your whole cooking kit in your sightline.
Where rails shine
- Above the stove backsplash for hot-zone tools.
- Alongside your main prep counter for small utensils.
- Inside a pantry wall for spillover gadgets and measuring sets.
5) Build a pegboard wall you’ll actually maintain
⁸
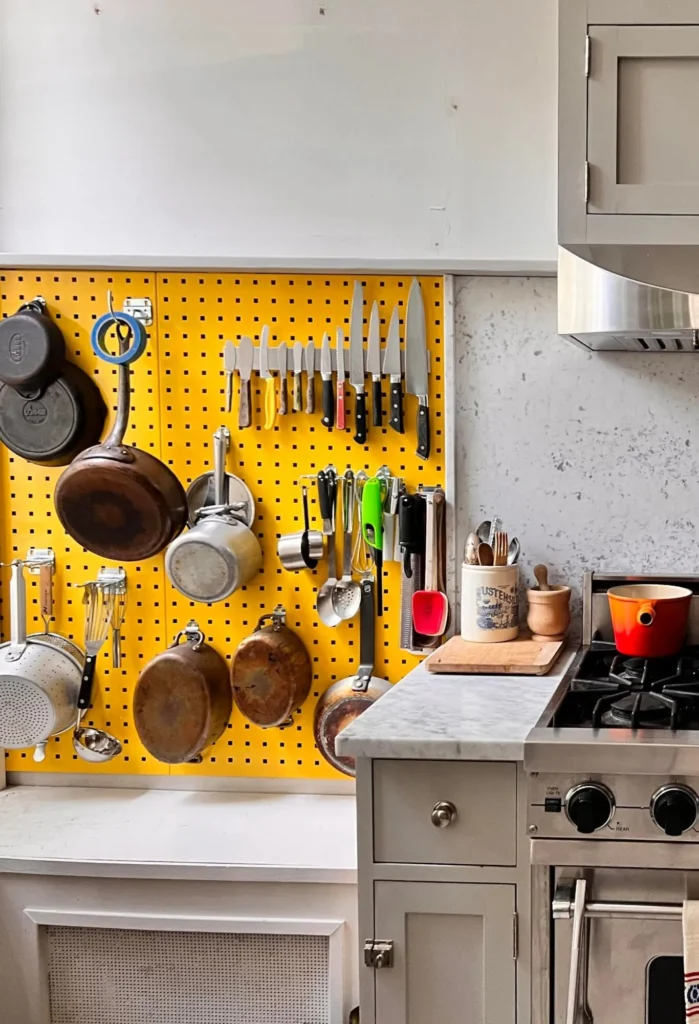
Pegboards aren’t just for garages. Hang spatulas, strainers, cutting boards, and light pans on a sturdy metal or composite pegboard with modular hooks and shelves. Arrange by task clusters so your hand knows the pattern. It looks great and works even better.
Check Next: Steal My Fool-proof Hacks to Organize Your Pots and Pans
Pegboard pro tips
- Use metal or slotted systems for stronger hooks and cleaner layouts.
- Map tools by frequency: top-center for daily items, edges for occasional ones.
- Add a tiny shelf for salt, pepper, and tasting spoons near the stove.
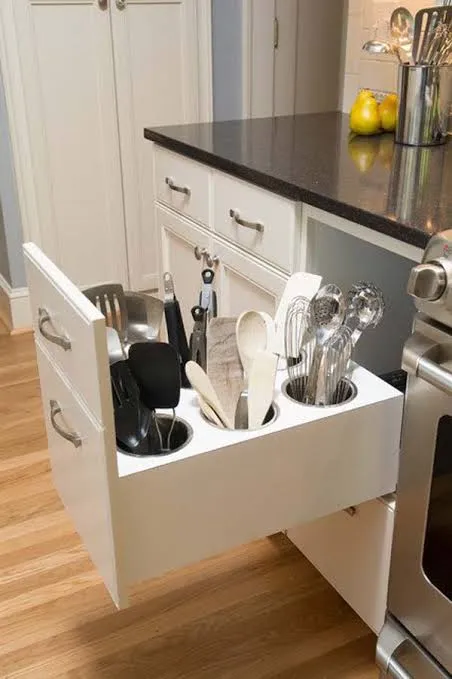
6) Install pull-out drawers or shelves in cabinets
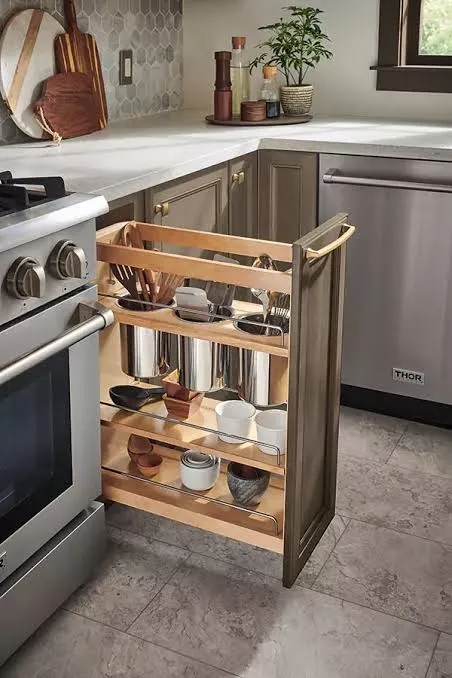
If cabinets trap your gear, pull-out trays fix access instantly. Slide to see everything—no digging, no lost microplane behind a Dutch oven. Store heavy tools and mixing bowls low; keep light utensils and lids mid-height to reduce reach.
Make pull-outs work harder
- Add tiered organizers so nothing hides behind something else.
- Use clear bins on a pull-out to corral small utensils by category.
- Label bin fronts so anyone can reset the cabinet in seconds.
7) Add shelf risers and lazy Susans for hard-to-reach spots
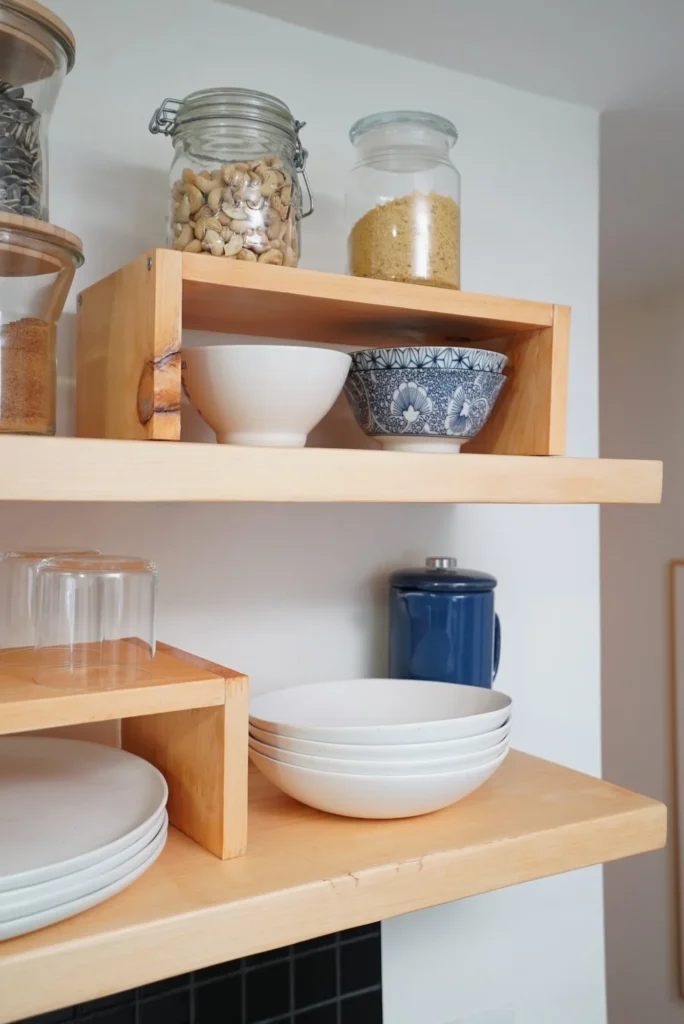
Corner cabinets and deep shelves eat tools for breakfast. Shelf risers double vertical space, and turntables make small jars and short tools visible and reachable. Spin once, grab once, done.
What to park here
- Measuring cups/spoons, thermometers, pastry brushes, corn holders, and tiny attachments.
- Spice tins and oils on a raised/turning tier near the prep zone.
- Label the turntable rim so items return to the same cluster.
8) Use the back of doors like bonus walls
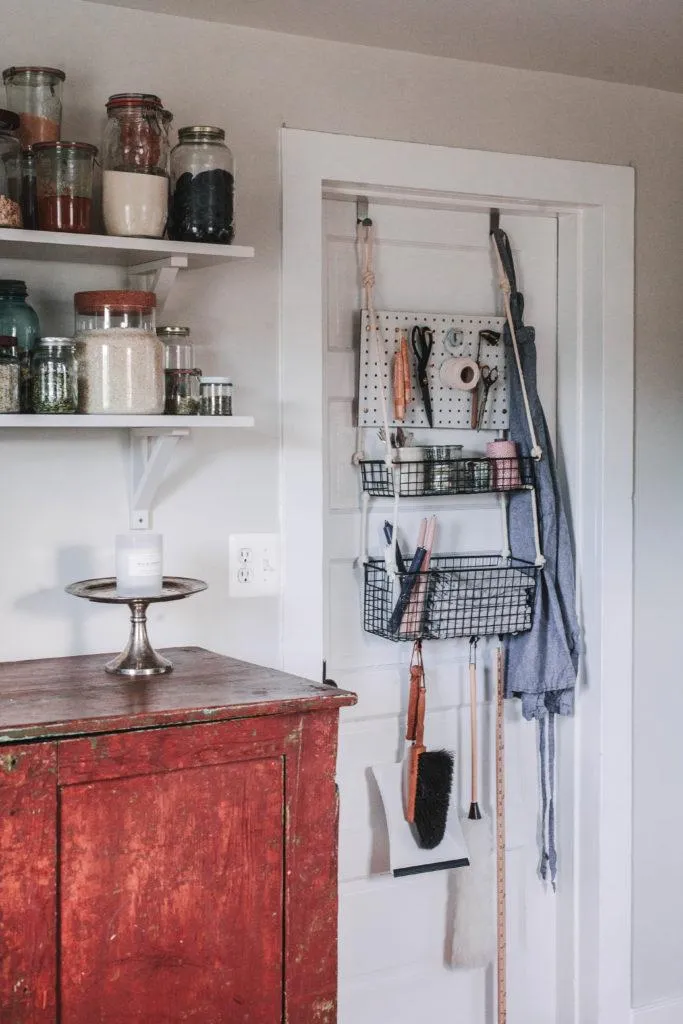
Over-the-door baskets, multi-hook hangers, and adhesive racks create supercharged storage for lids, wraps, zip bags, and lightweight tools. Inside-cabinet organizers keep essentials hidden but handy—great for small kitchens.
Best door-mounted targets
- Foil, parchment, and plastic wrap in a rack right by the oven.
- Pot lids on a slim vertical organizer inside a cookware cabinet.
- Tongs, strainers, and mitts on a multi-hook rail near your stove zone.
9) Hang pots, pans, and their lids to free drawers
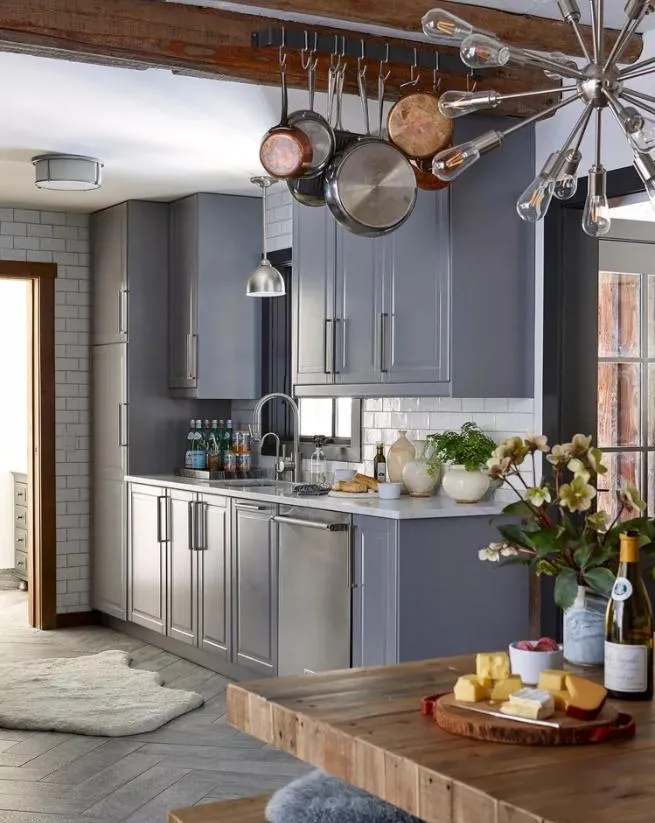
A ceiling or wall pot rack instantly clears cabinet chaos and keeps big tools accessible. Pair with a lid organizer or hooks for covers, and you’ll stop playing “which lid is that?” during boiling water cliffhangers.
Quick setup wins
- Hang your 3–5 most-used pans; stash specialty pieces in a lower cabinet.
- Use separate lid tracks or vertical racks inside a nearby door.
- Keep a single trivet or mitt hook by the pot zone to save steps.
10) Create a mobile “prep cart” for flexible kitchens
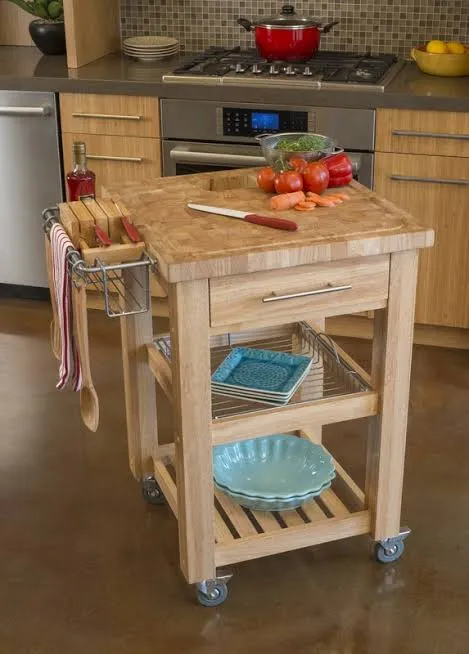
A small rolling cart acts like a sous-chef that follows you. Stock knives (in a safe block), boards, bowls, and measuring tools, then park it near the action. Roll it away when done to keep counters clear and the space photogenic (for that “I totally have it together” vibe).
What to load on the cart
- Top: boards, knife block, salt, tasting spoons.
- Middle: bowls, colander, bench scraper, peeler.
- Bottom: mixer attachments, scale, spare towels.
11) Curate a minimalist “daily kit” and stash the rest
Not every tool deserves VIP placement. Keep a tight daily kit in prime real estate, then move occasional gadgets to a labeled bin or high shelf. You’ll cut visual noise and make grabbing the right tool automatic. You can still flex on ravioli night—just not at the cost of Tuesday dinner sanity.
A daily kit that cooks
- 2 spatulas, 1 fish turner, tongs, ladle, slotted spoon, balloon whisk, peeler, shears, instant-read thermometer.
- 1 set each: measuring cups and spoons, bench scraper.
- Store specialty tools in a separate “Once-a-Week” bin with a label.
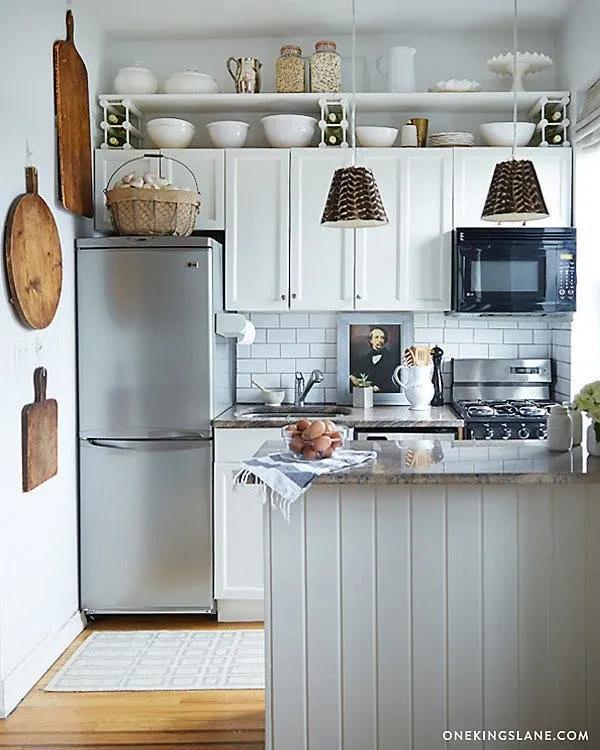
Small-kitchen power moves that punch above their size
Small kitchens can organize like pros with a few strategic upgrades. Use vertical wall storage, narrow rolling carts, and over-the-door racks to multiply space without a remodel. Focus on visible, reachable, and resettable systems you can maintain even on a busy week.
Three compact upgrades
- Wall rails with cups for small utensils free a whole drawer.
- A pegboard panel near the stove turns dead wall into a tool gallery.
- A slim cart slides between appliances and works as a prep caddy.
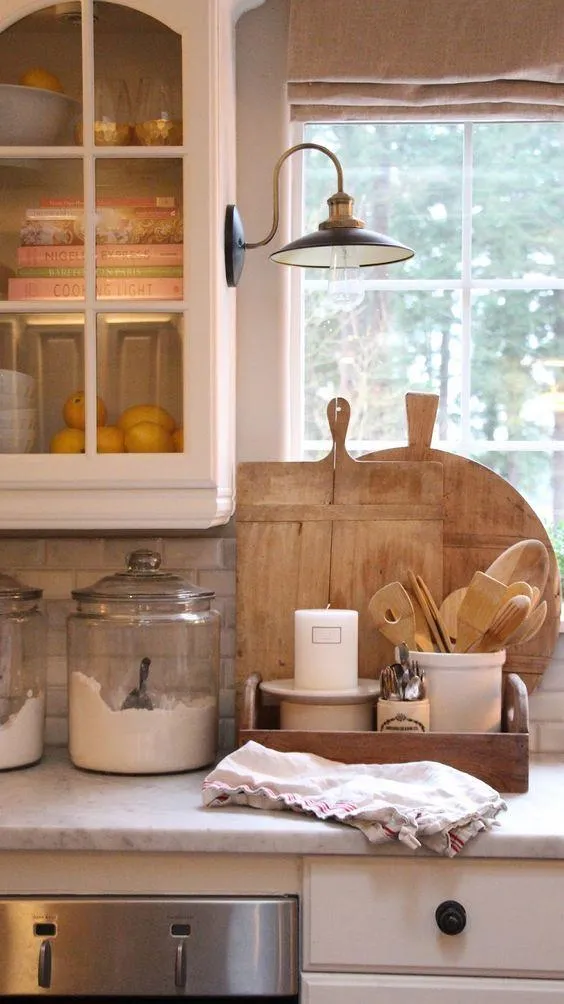
What to keep on the counter (and what not to)
Countertops should host only what speeds you up daily. A curated crock, a cutting board stand, and salt/pepper earn their keep; the juicer that you use once a month can live elsewhere, IMO. Visual calm makes cooking feel easy before you even start.
The “one-touch” rule
- If you can’t grab a tool in one motion, reconsider its spot.
- If a tool slows a daily task, promote it to a better location.
- If it gathers dust, demote it to a labeled bin or donate.
Budget-friendly organization that looks high-end
You don’t need a custom kitchen to feel custom. Mix affordable drawer trays, rails, command hooks, and a couple of hero pieces like a pegboard or pot rack to transform function and style. Form follows function—but a pretty setup helps you keep it tidy, FYI.
Quick budget picks
- Rails with S-hooks and cups for under a small budget.
- Bamboo drawer organizers that actually fit long tools.
- SKÅDIS pegboard accessories that evolve as you do.
Maintenance rituals that keep systems alive
Good systems die when no one maintains them. Set a weekly two-minute reset: return strays, wipe the crock, re-hang tools, and toss the random corn-cob holder family heirloom that snuck into your ladle lane. Tiny resets protect your cooking flow.
Keep it friction-free
- Label bins and drawer lanes so everything has a home.
- Run a “use it or lose it” review once a season.
- Snap a photo of your pegboard layout so you can rebuild it fast after a deep clean.
Real-world layout examples (steal these)
Example A: Apartment cook who sautés daily
- Rail with hooks over the stove: tongs, two spatulas, ladle, slotted spoon.
- Divided crock at the right of the cooktop for whisks and turner.
- Drawer organizer below with backups and measuring tools.
Example B: Family kitchen with weekend baking
- Pegboard by prep zone: measuring cups/spoons, bench scraper, whisks, sieves.
- Pull-out in base cabinet for bowls, scale, and mixer attachments.
- Over-door rack for parchment, foil, and cooling racks.
Example C: Tiny galley kitchen
- SKÅDIS pegboard with cups for peelers, shears, thermometers.
- Slim rolling cart for boards and bowls tucked beside the fridge.
- Single crock with only five daily tools on the counter.
Quick comparisons to choose your system
Drawer organizers vs. rail systems
- Drawer organizers hide visual clutter and keep counters clean, but you still open/close to grab, which adds a beat during cooking.
- Rail systems keep tools visible and instant-grab, but you must edit tightly to avoid visual noise.
Pegboard wall vs. pot rack
- Pegboard adapts to many small tools and can hold light pans with shelves and hooks, ideal for tool visibility and reconfiguring.
- Pot racks shine for heavier cookware and free big cabinet space, but they require ceiling/wall strength and thoughtful placement.
Crock vs. pull-out cabinet
- A crock gives pure speed for the top 8–10 tools, but it demands discipline against overstuffing.
- A pull-out cabinet hides volume gear but keeps access fast, great for mixers, bowls, and lesser-used utensils.
My take after years of real cooking
I keep a divided crock with my “starting lineup,” a rail with hooks for hot-zone tools, and a vertical pegboard for all the small, easy-to-lose gadgets. I pair that with a pull-out for bowls and baking gear, and I label everything so resets take under two minutes. Does it sound Type A? Maybe. Does it let me sear a steak and whisk a pan sauce without swearing at a drawer? Absolutely.
Your 15-minute setup plan
- Define zones: cooking, prep, cleaning.
- Empty and edit: pull duplicates, ditch broken tools.
- Install one fast win: rail with hooks or a divided drawer organizer.
- Curate your crock with only daily tools.
- Pick one vertical upgrade: pegboard or over-door rack.
- Label two hotspots and snap reference photos.
Conclusion: Cook faster, hunt less
When your tools live where your hands expect them, you cook calmer, cleaner, and quicker. Start with zones, promote only your daily tools to prime spots, and let rails, pegboards, and pull-outs handle the rest. Set a two-minute weekly reset, and your kitchen will finally feel like the reliable teammate you deserve—no more mid-recipe hide-and-seek, promise. FYI, your future self will thank you every single dinner.