When I first decided to update my kitchen, I knew I wanted a backsplash that would make a statement without costing a fortune. A backsplash can completely change the look and feel of your kitchen, adding personality, color, and texture.
The best part? You don’t need to spend a lot of money or hire a professional to achieve stunning results!
In this article, I’ll share 10 budget-friendly DIY kitchen backsplash ideas that are easy to do and perfect for anyone looking to transform their space.
In This Article
- 1 Here Are 10 DIY Kitchen Backsplash Ideas
- 2 1. Peel-and-Stick Subway Tiles
- 3 2. Stencil Painted Backsplash Design
- 4 3. Faux Brick Panels
- 5 4. Beadboard Backsplash
- 6 6. Chalkboard Paint Backsplash
- 7 7. Mosaic Tile Sheets
- 8 8. Wooden Plank Backsplash
- 9 9. Aluminum Sheet Backsplash
- 10 10. Fabric-Covered Backsplash (With Glass Panel)
- 11 FAQs About DIY Kitchen Backsplash Ideas
- 12 Conclusion: Transform Your Kitchen Today!
Here Are 10 DIY Kitchen Backsplash Ideas
Whether you love the classic look of subway tiles or want something bold and creative, there’s an idea here for you. Plus, I’ve included step-by-step instructions to help you bring your vision to life.
1. Peel-and-Stick Subway Tiles
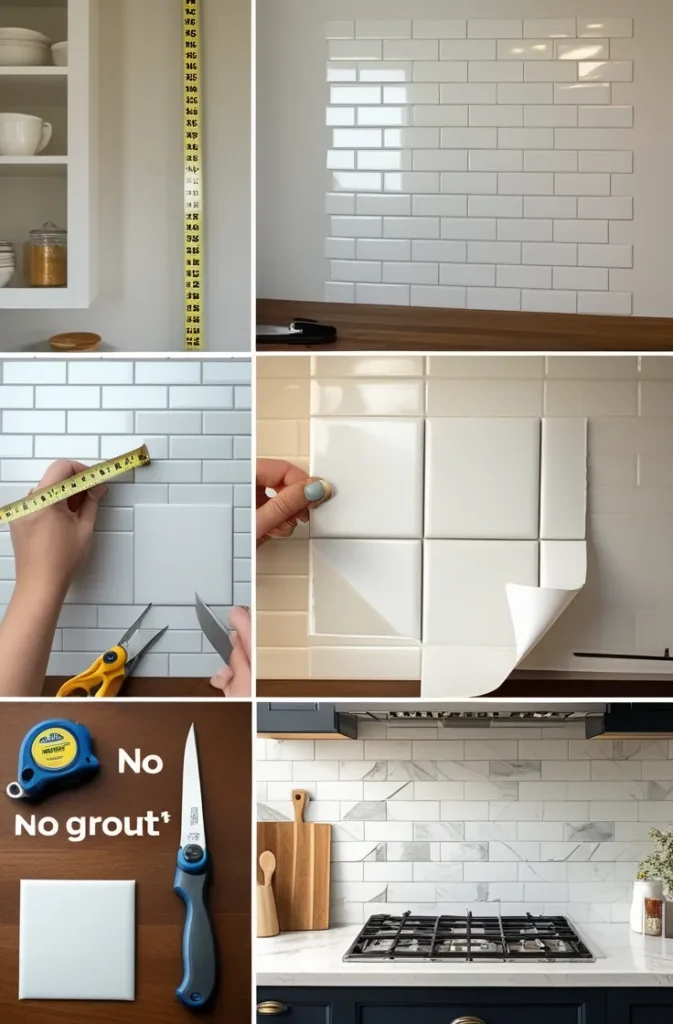
Peel-and-stick tiles are my go-to for creating a classic backsplash on a budget. They’re easy to install, require no grout, and come in various designs like subway tiles or herringbone patterns.
Steps:
- Clean your wall surface thoroughly.
- Measure the area and cut tiles to fit using scissors or a utility knife.
- Peel off the backing and stick the tiles onto the wall, smoothing out air bubbles as you go.
| Materials Needed | Estimated Cost |
|---|---|
| Peel-and-stick tile sheets | $20–$50 per pack |
| Utility knife | $10 |

- 2-3 Times Thickness: Each tile is 2mm-2.5mm thick, offering durability and solidity, providing a high-quality alternativ…
- Stronger Upgrade Adhesive: 3X Stronger backing glue, not only stick firmly to the smooth & clean surface, but also avail…
- 1.4 Times Coverage Area: 10 sheets thickened self-adhesive tiles, 12.6″ X 10.6″ each (The small piece is 2.6″ X 4.9″), w…
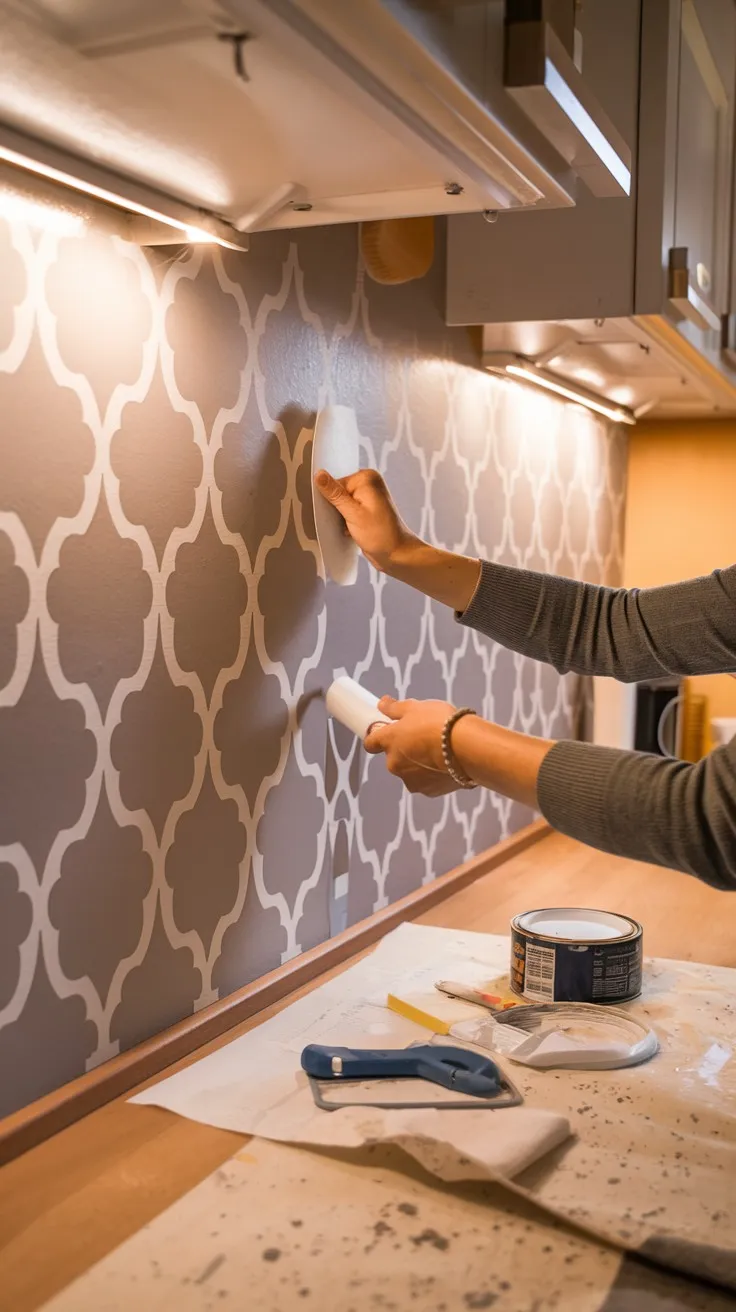
2. Stencil Painted Backsplash Design
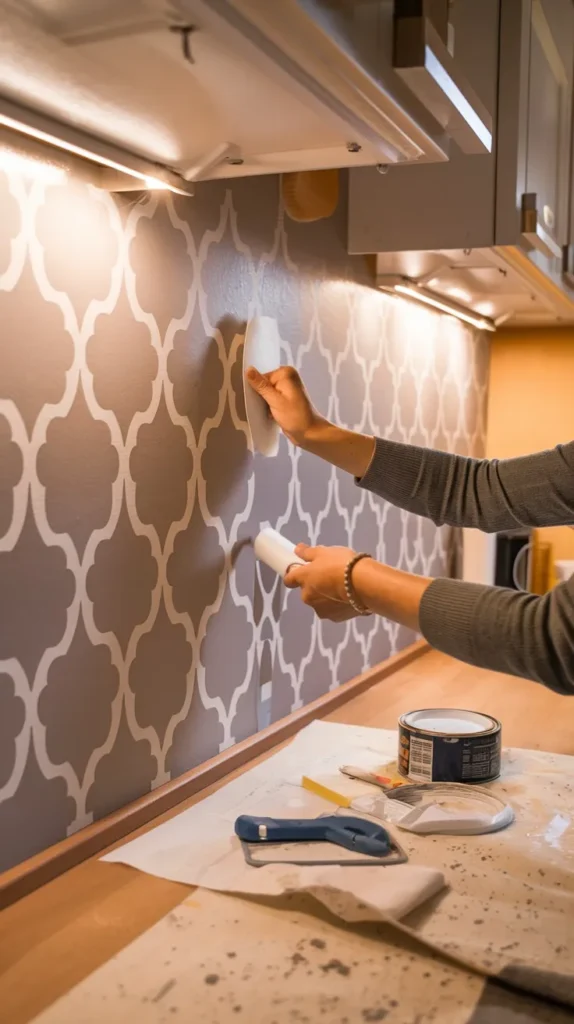
If you’re looking for something truly unique, why not paint your own backsplash design? I used stencils to create a patterned look that mimics expensive tiles.
Steps:
- Clean and prime your wall.
- Use painter’s tape to mark off sections.
- Apply your base color and let it dry.
- Place stencils on the wall and paint over them with contrasting colors.
| Materials Needed | Estimated Cost |
|---|---|
| Paint | $20–$40 |
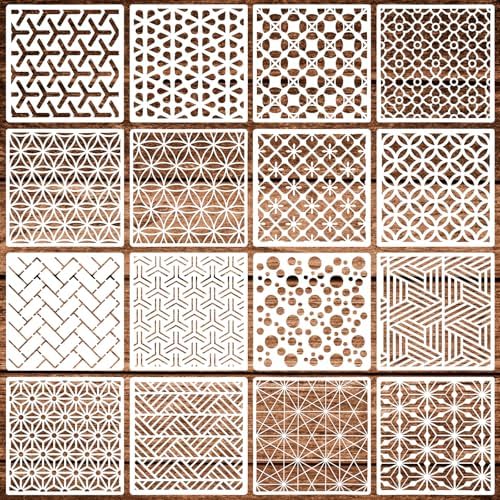
| Stencils | $10–$20 |
| Painter’s tape | $5 |
Try these Alternative Options:


3. Faux Brick Panels

Faux brick panels are perfect for adding texture and warmth to your kitchen without spending much money. They’re lightweight, easy to cut, and can be painted for a modern look.
Must Check: 8 Bold Kitchen Color Combinations You Must Try
Steps:
- Measure your wall area and cut faux brick panels to size.
- Attach them using construction adhesive or nails.
- Paint them white or leave them natural for a rustic vibe.
| Materials Needed | Estimated Cost |
|---|---|
| Faux brick panels | $30–$60 per panel |
| Construction adhesive | $10–$15 |


4. Beadboard Backsplash
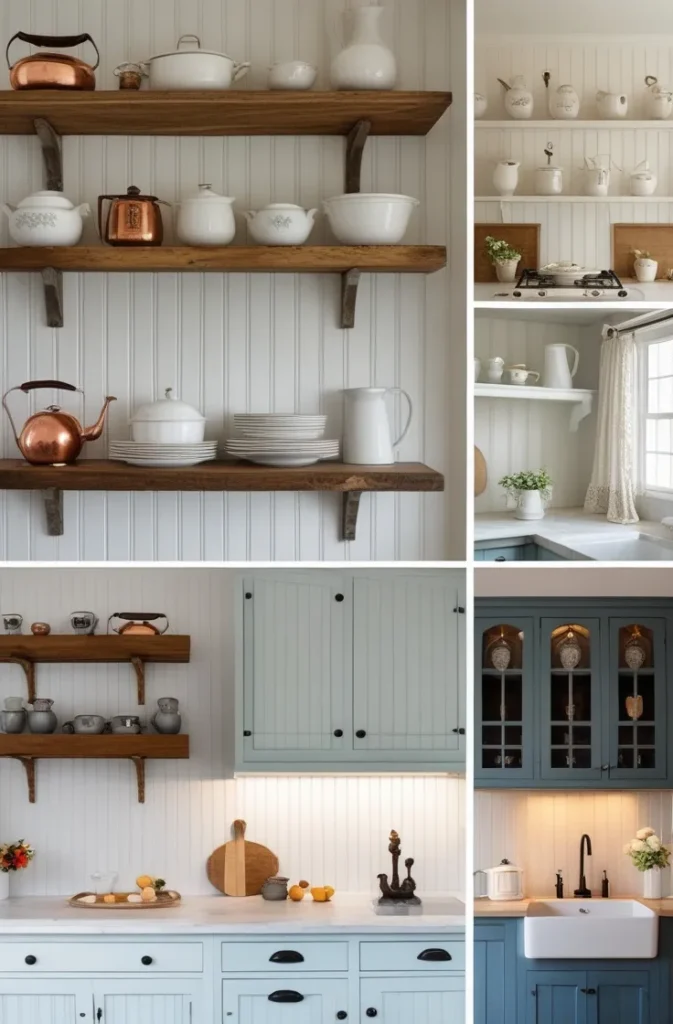
Beadboard is an affordable material that adds charm and character to any kitchen. It’s especially great if you’re going for a farmhouse or cottage-style look.
Steps:
- Measure your wall space and cut beadboard panels accordingly.
- Attach them using adhesive or nails.
- Paint them in your desired color (white works beautifully).
| Materials Needed | Estimated Cost |
|---|---|
| Beadboard panels | $30–$50 per panel |
| Adhesive or nails | $5–$10 |
| Paint | $20–$40 |

- Effortless installation, premium design – a smarter way to renovate. Smart Tiles are pioneers in self adhesive wall tile…
- Quick makeover – no tools, no glue, no stress. Our peel and stick wall tiles make it easy to refresh any room in minutes…
- Responsible quality – made in Canada with sustainable materials. Crafted in Québec under strict ethical standards, Smart…
5. Vinyl Decals Kitchen Backsplash
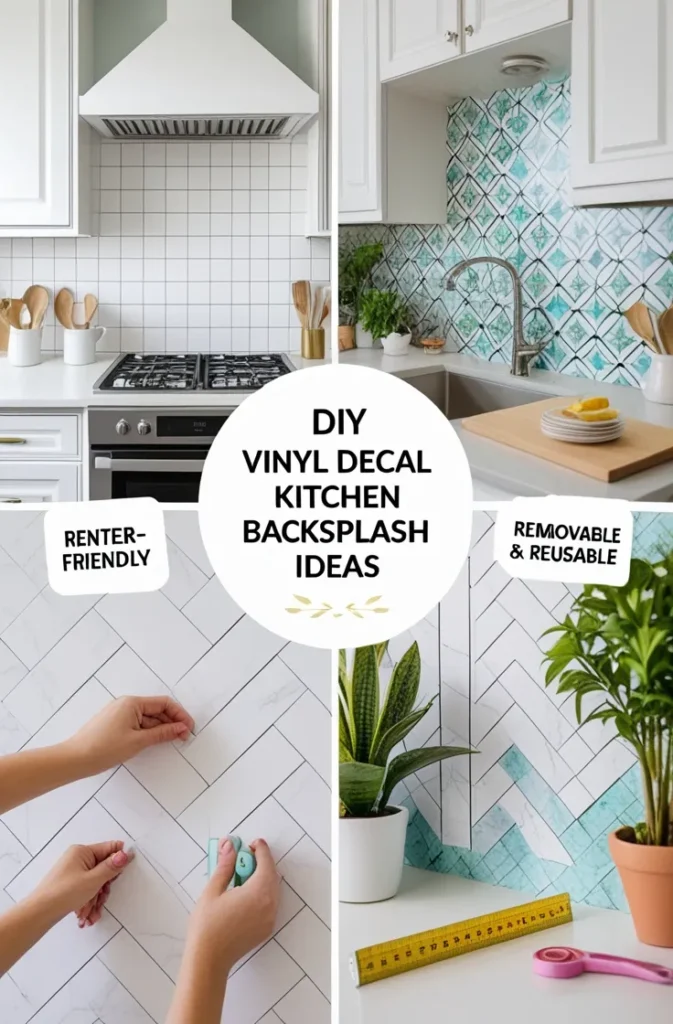
Vinyl decals are one of the easiest ways to create a custom backsplash without any commitment—they’re removable and renter-friendly!
Steps:
- Clean the wall surface thoroughly.
- Choose decals in patterns like geometric shapes or floral designs.
- Apply them one by one, smoothing out any air bubbles.
| Materials Needed | Estimated Cost |
|---|---|
| Vinyl decals | $10–$30 |
| Squeegee (optional) | $5 |

- 1:【What Can Kakofaci Tile Stickers Do For You?】These sticker tiles can decorate your space arbitrarily, including kitche…
- 2:【Size And Quantity】Tile decals 6×6 in (15X15cm), a set of 12 pieces,A 6in X 6in tile covers 125% more area than A 4inX…
- 3:【Material】Environmentally friendly vinyl material, The quality is better than most brands, strong adhesion, non-toxic,…
6. Chalkboard Paint Backsplash
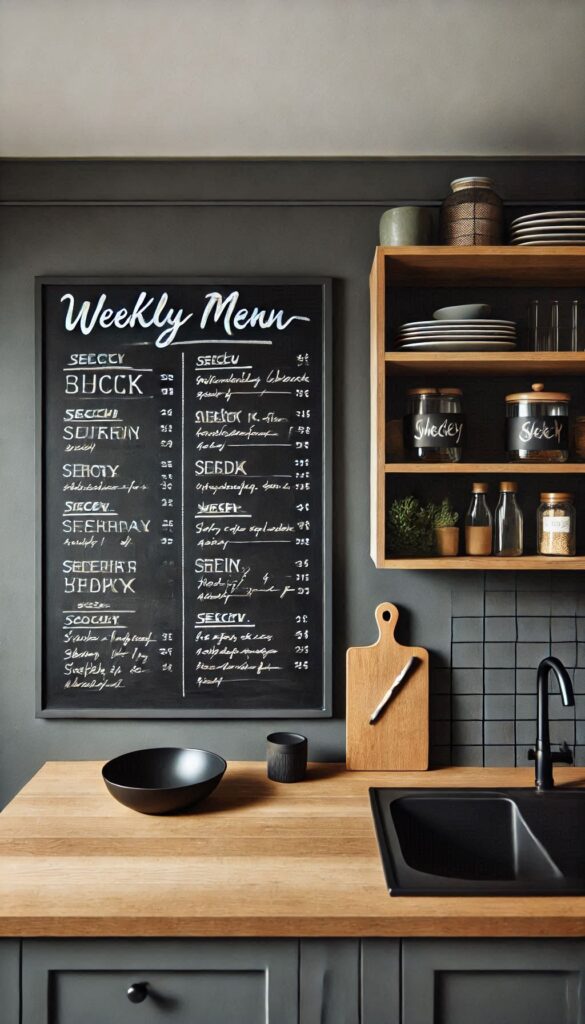
I love the idea of using chalkboard paint as a backsplash—it’s functional and fun! You can jot down recipes, grocery lists, or even let the kids get creative while you cook.
Steps:
- Tape off the area you want to paint.
- Apply 2–3 coats of chalkboard paint with a roller.
- Let it cure for 24 hours before writing on it with chalk.
| Materials Needed | Estimated Cost |
|---|---|
| Chalkboard paint | $20–$40 |
| Roller brush | $5–$10 |
7. Mosaic Tile Sheets
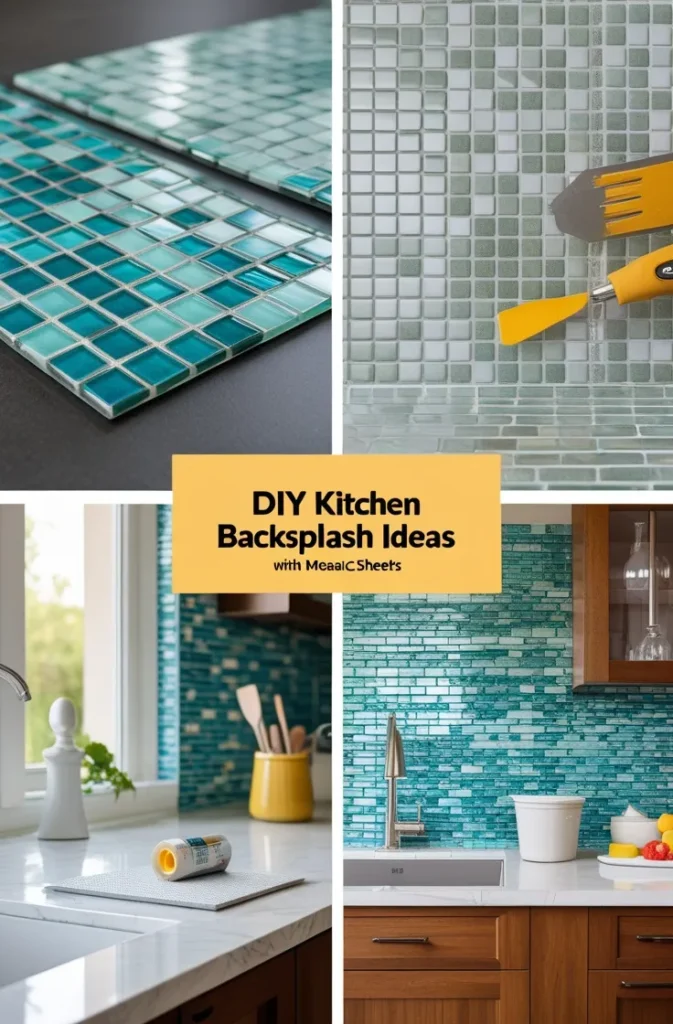
Mosaic tile sheets are another budget-friendly option that looks high-end but is easy to install yourself.
Steps:
- Purchase pre-made mosaic tile sheets (glass or ceramic options work well).
- Apply adhesive directly onto the wall.
- Press the sheets into place and finish with grout if needed.
| Materials Needed | Estimated Cost |
|---|---|
| Mosaic tile sheets | $30–$60 per sheet |
| Adhesive | $10–$15 |
| Grout (optional) | $10 |

- Premium Quality: Our natural mother of pearl backsplash features genuine natural shell tiles, meticulously hand-inlaid t…
- Waterproof and Durable: These shell mosaic tiles are designed to be waterproof and boast high density, making them resis…
- Effortless Installation: The peel and stick design allows for simple installation without the need for glue, grout, or a…
8. Wooden Plank Backsplash
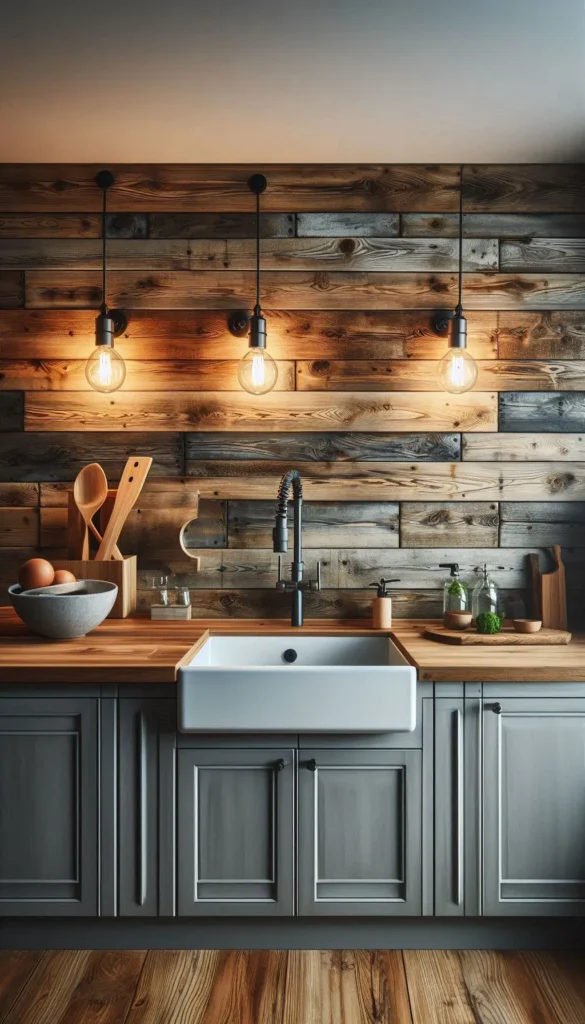
For a rustic look, consider using wooden planks as your backsplash! I used reclaimed wood for mine, but you can also buy new planks and distress them yourself.
Steps:
- Cut wooden planks to size.
- Attach them horizontally using adhesive or nails.
- Seal with polyurethane for durability.
| Materials Needed | Estimated Cost |
|---|---|
| Wooden planks | $20–$50 |
| Adhesive or nails | $5–$10 |
| Polyurethane sealant | $15 |
9. Aluminum Sheet Backsplash
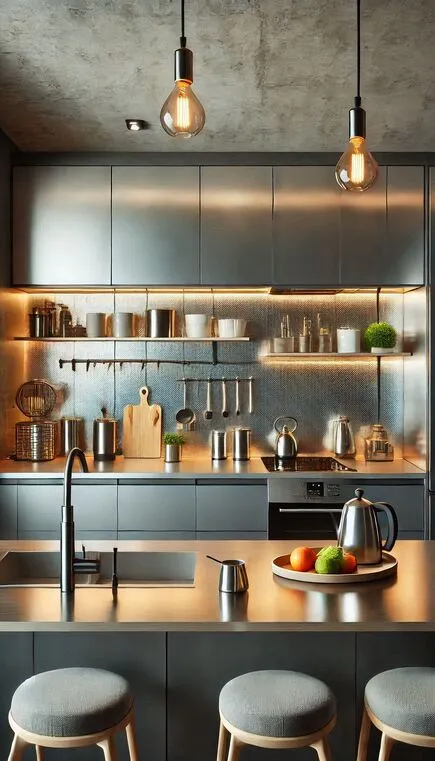
Aluminum sheets are sleek, modern, and surprisingly affordable! They’re also super easy to clean—perfect for busy kitchens.
Steps:
- Measure your wall area and cut aluminum sheets accordingly.
- Attach them using construction adhesive or screws.
- Polish the surface for extra shine!
| Materials Needed | Estimated Cost |
|---|---|
| Aluminum sheets | $30–$70 per sheet |
| Construction adhesive | $10–$15 |

- 11.8 inches x 11.8inches self-adhesive aluminium tile,10 sheets included,covering around 10 square feet
- Dry installation is required, neither thin-set nor finishing grout is needed.
- Suitable to most indoor applications, widely used for kitchen backsplash, bathroom backsplash, accent wall and other dec…
10. Fabric-Covered Backsplash (With Glass Panel)
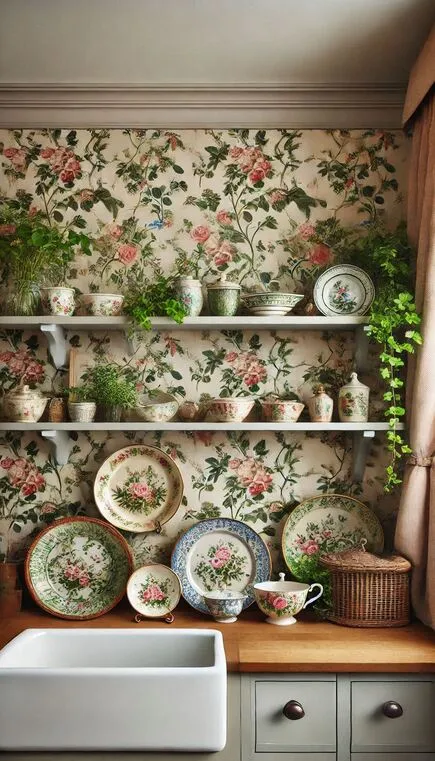
This is such a creative option! You can use any fabric pattern you love by covering it with clear glass panels for protection.
Steps:
- Cut fabric to fit your backsplash area.
- Secure it onto the wall using adhesive spray or double-sided tape.
- Mount clear glass panels over it using screws or brackets.
| Materials Needed | Estimated Cost |
|---|---|
| Fabric | $10–$20 per yard |
| Adhesive spray or tape | $5 |
| Clear glass panels |
FAQs About DIY Kitchen Backsplash Ideas
Q1: Can I install these backsplashes as a renter?
Yes! Options like peel-and-stick tiles, vinyl decals, and chalkboard paint are all renter-friendly since they’re removable or non-permanent.
Q2: How much do these DIY backsplashes cost?
Most projects range from $20–$100 depending on materials and size, making them budget-friendly compared to professional installations.
Q3: Are these backsplashes durable?
Yes! Many options like peel-and-stick tiles, beadboard, and aluminum sheets are designed to withstand daily wear in the kitchen when properly installed.
Q4: Can I mix two ideas together?
Absolutely! For example, you could pair beadboard with chalkboard paint above it for added functionality and style.
Q5: How long do these projects take?
Most can be completed within 1–2 days—some (like vinyl decals) take just an hour!
Conclusion: Transform Your Kitchen Today!
Updating your kitchen doesn’t have to cost a fortune or require professional help—these DIY backsplash ideas prove that anyone can create something beautiful on a budget!
Whether you go for peel-and-stick tiles, beadboard panels, or even painted designs, each idea adds personality while being practical and affordable.
So grab your tools (and maybe some friends), pick your favorite project from this list, and start transforming your kitchen today—you’ll love how much character these simple changes bring to your space!