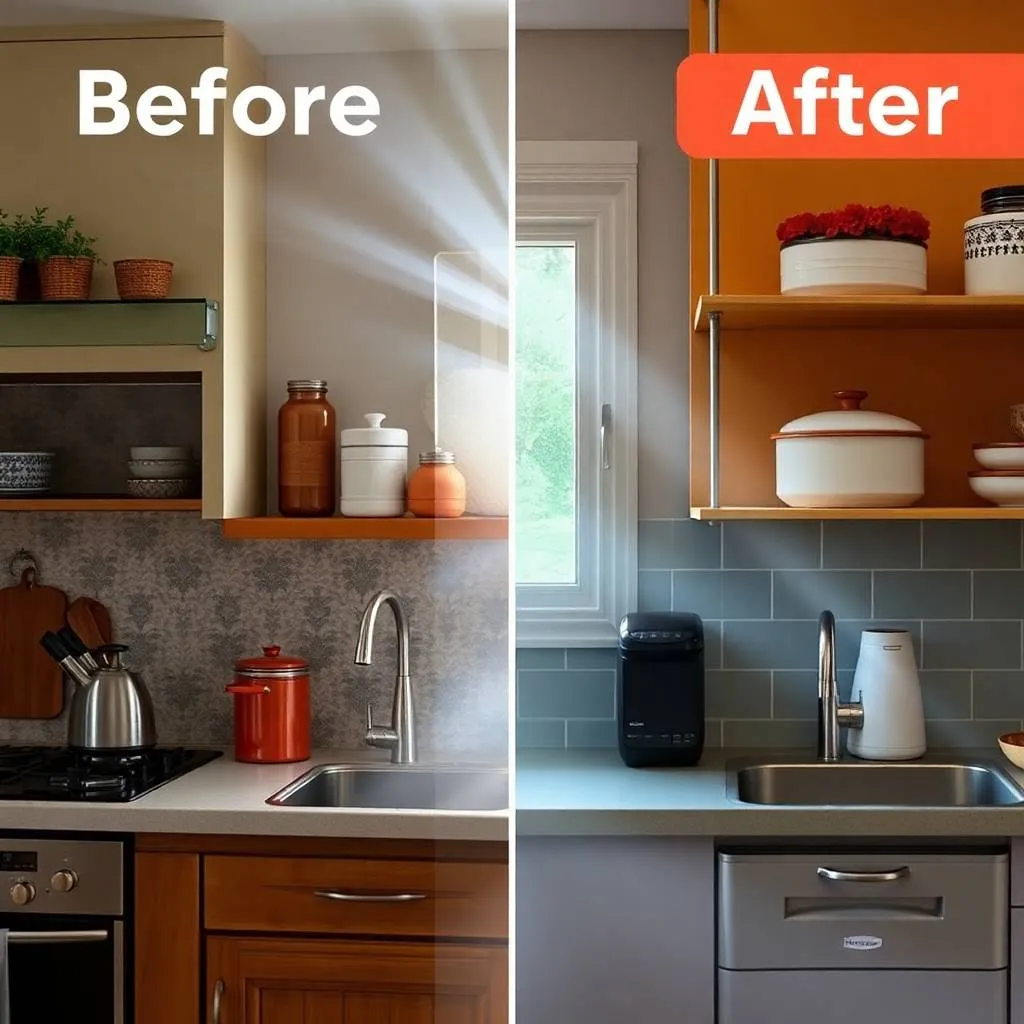
Are you dreaming of a kitchen makeover without the hefty price tag or complicated installation process? A peel and stick backsplash might be the perfect solution you’ve been looking for.
This budget-friendly alternative to traditional tile can completely transform your space in just a few hours, giving your kitchen a fresh, modern look without the mess, expense, or commitment of conventional tiling. But How to Install Peel and Stick Backsplash?
I’ll walk you through everything you need to know about choosing, installing, and maintaining a peel and stick backsplash, along with expert tips and to ensure your project is a stunning success.
In This Article
- 1 Why Choose Peel and Stick Backsplash for Your Kitchen Renovation
- 2 Essential Materials and Tools for Your Backsplash Project
- 3 Must-Have Tools:
- 4 Surface Preparation Supplies:
- 5 Step-by-Step Installation Guide for Perfect Results
- 6 Step-1: Prepare Your Surface Thoroughly
- 7 Step-2: Measure and Plan Your Layout
- 8 Step-3: Start Your Installation Strategically
- 9 Step-4: Cut Tiles for a Perfect Fit
- 10 Step-5: Continue the Installation Pattern
- 11 Finishing Touches for a Professional Look
- 12 Best Materials for Different Kitchen Styles
- 13 Vinyl Tiles
- 14 Gel/Resin Tiles
- 15 Metal Tiles
- 16 Stone Composite Tiles
- 17 Maintenance and Longevity Tips
- 18 Frequently Asked Questions
- 18.1 How long do peel and stick backsplash tiles last?
- 18.2 Can peel and stick backsplash be installed over existing tile?
- 18.3 Are peel and stick backsplashes heat-resistant?
- 18.4 Will peel and stick backsplash damage my walls when removed?
- 18.5 How do I fix bubbles after installation?
- 18.6 What surfaces are not suitable for peel and stick backsplash?
- 19 Conclusion: Your Kitchen Transformation Awaits
Why Choose Peel and Stick Backsplash for Your Kitchen Renovation
Peel and stick backsplash tiles have revolutionized the home improvement industry by offering a practical alternative to traditional tiling. These innovative products feature a strong adhesive backing that allows for direct application to your wall without the need for mortar, grout, or specialized tools.
The benefits are numerous:
- Installation can be completed in hours rather than days
- No messy grout or specialized tools required
- Significantly more affordable than traditional tile
- Perfect for renters as they can be removed without damaging walls
- Available in countless designs to match any décor style
- Can be installed directly over most existing surfaces

- 1.4 Times coverage areas: the size of the tile is 12″x12″, which covers 40% more area than 10″x10″ tile covers.
- Easy do it yourself, peel and stick installation
- Come in box of 10 self-adhesive tiles in shiny finish, size of each tile: 12″ X 12″
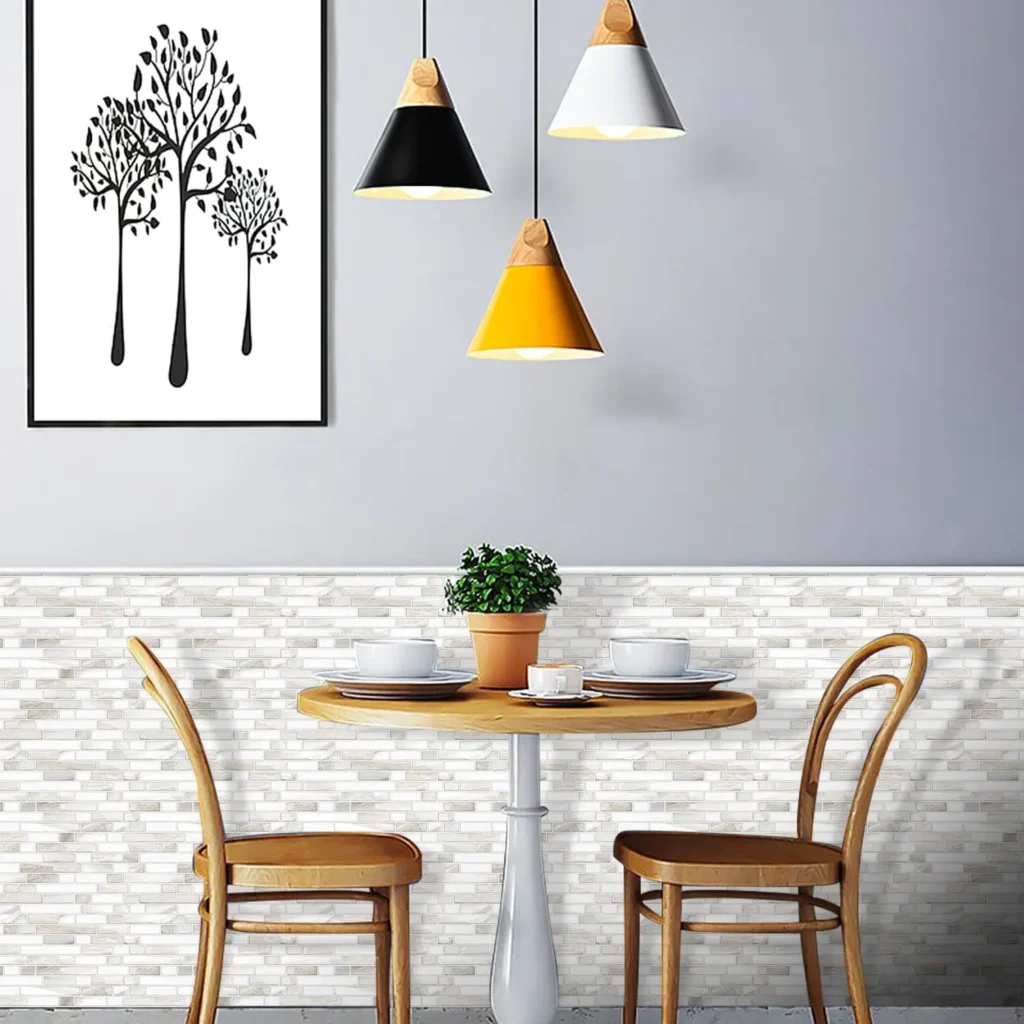
These bestselling 12×12 inch sheets feature a classic subway tile design and come in seven different color options. The vinyl surface wipes clean easily and resists humidity, making them perfect for kitchen environments.
Essential Materials and Tools for Your Backsplash Project
Before diving into your backsplash installation, gather these supplies to ensure a smooth process:
Must-Have Tools:
- Measuring tape
- Level
- Utility knife or scissors
- Straight edge or ruler
- Microfiber cloth
- Plastic smoothing tool or credit card
- Pencil for marking
Surface Preparation Supplies:
- Mild detergent or degreaser
- Sandpaper (fine grit)
- Primer (for certain surfaces)
- Isopropyl alcohol (for final cleaning)
PRO TIP: ✨ Create a dedicated “backsplash installation kit” by storing all your tools in a plastic caddy. This keeps everything organized and easily accessible throughout your project, preventing frustrating searches for tools mid-installation.

- 220-Piece household hand tool kit contains almost every basic hand tools you need for work and DIY projects around the h…
- Pliers are constructed by forged steel with heat treatment for strength and durability, hardened cutting edge for easy j…
- Tool bag is constructed by 600D polyester fabric for durability, wide-open mouth for easy approach to the tools. 6 pocke…
This compact set includes essential tools for your backsplash project, including a utility knife, measuring tape, and scissors, all in a convenient storage case.
Step-by-Step Installation Guide for Perfect Results
Step-1: Prepare Your Surface Thoroughly

The most critical step for a successful peel and stick backsplash installation is proper surface preparation. Skipping this step is the number one reason for adhesion failures and premature peeling.
- Remove all items from your countertop and disconnect appliances if necessary
- Remove outlet and switch plate covers (turn off electricity first!)
- Clean the wall surface thoroughly with a degreaser to remove cooking oils and residue
- Allow the wall to dry completely (at least 24 hours after cleaning)
- Sand any glossy surfaces lightly to improve adhesion
- Fill any holes or uneven areas with spackling compound and sand smooth
- Wipe down with isopropyl alcohol as a final cleaning step
Check Next: 15 Unique Inexpensive Kitchen Backsplash Ideas on Budget
PRO TIP: ✨ For kitchens with heavy cooking residue, clean the walls twice—first with a degreaser and then with isopropyl alcohol. This two-step cleaning process ensures all invisible grease is removed, creating the perfect surface for maximum adhesion.
Step-2: Measure and Plan Your Layout

Careful planning prevents wastage and ensures a professional-looking result:
- Measure the height and width of your installation area
- Create a rough sketch of your space, noting outlets and switches
- Determine your starting point (typically bottom center of the wall)
- Use a level to draw a straight horizontal line as your guide
- Calculate how many tile sheets you’ll need, plus 10-15% extra for mistakes and future repairs
PRO TIP: ✨ Create a full-scale paper template of your backsplash area by taping together sheets of paper. Mark the positions of outlets and switches, then use this template to practice your layout and make cutting patterns before working with the actual tiles.
PRODUCT RECOMMENDATION: Smart Level 24 Inch Digital Level – This durable level ensures your backsplash installation starts with perfectly straight lines, preventing the “crooked tile” effect that can make DIY projects look amateur.
Step-3: Start Your Installation Strategically
Begin in the right location to ensure the most visible areas of your backsplash look perfect:
- Start at the bottom center of your wall, especially if using a pattern
- For a more straightforward approach, begin at a bottom corner
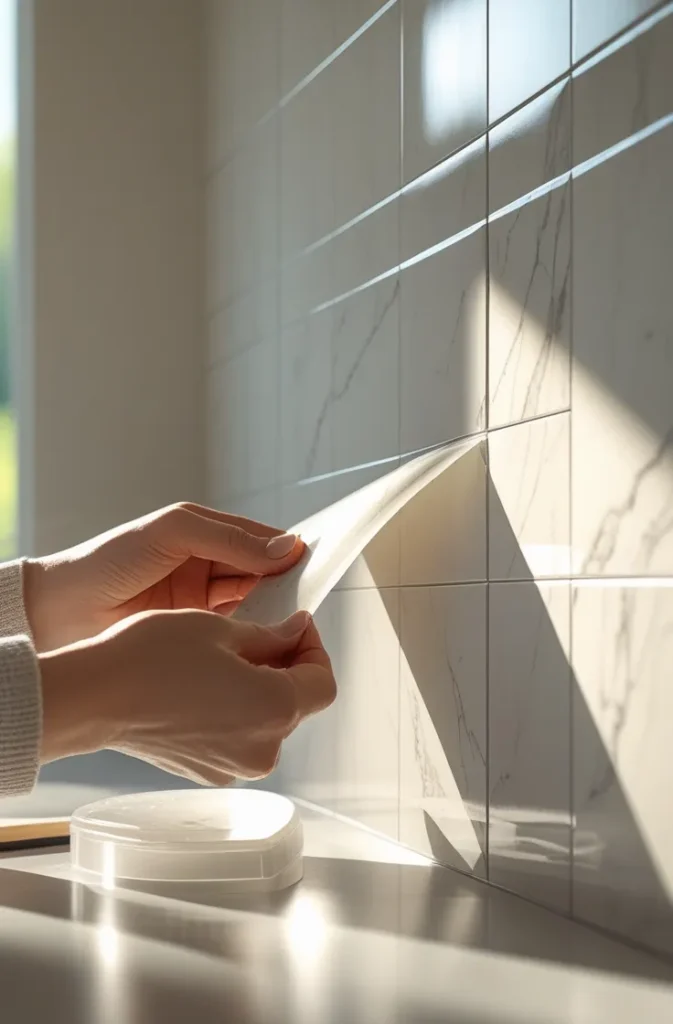
- Partially peel back the adhesive backing (don’t remove it completely yet)
- Align the tile with your level line and press lightly to position
- Once satisfied with placement, gradually remove the backing while pressing firmly
- Use a plastic smoothing tool to press from center outward, eliminating air bubbles
PRO TIP: ✨ If your peel and stick tiles have interlocking edges, cut a straight edge on the first tile to ensure a clean start against the wall or counter. This creates a more professional finish and prevents alignment issues as you progress.
Step-4: Cut Tiles for a Perfect Fit
Most installations require custom cuts around outlets, switches, and edges:
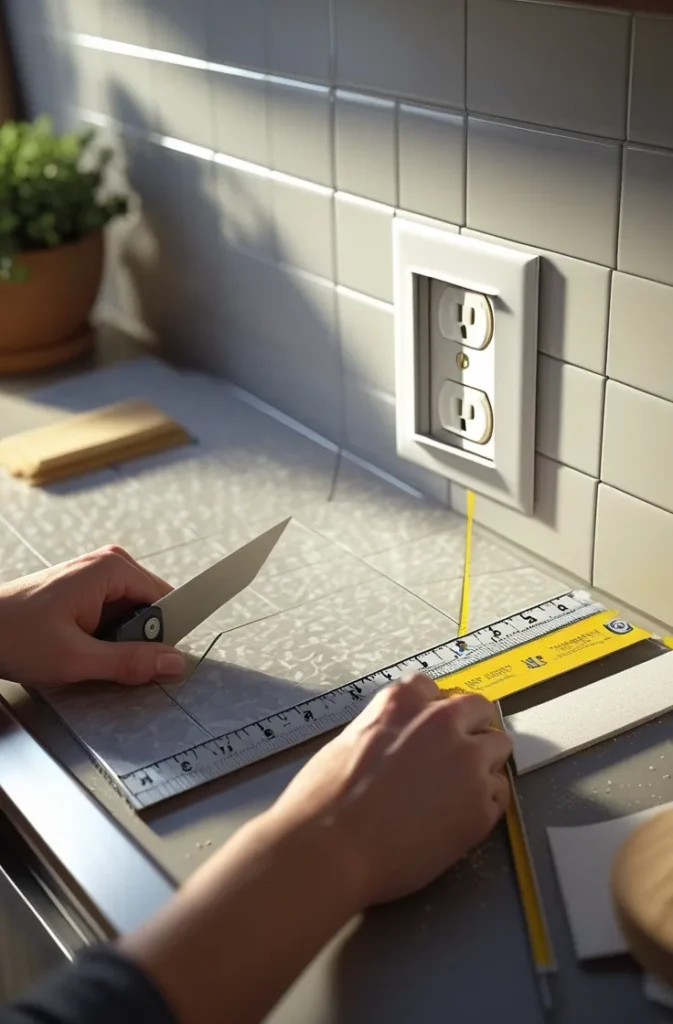
- Measure the area requiring a custom cut carefully (measure twice!)
- Mark the measurements directly on the tile’s front with a pencil
- For straight cuts, use a ruler and utility knife
- For outlet cuts, create a paper template first, then transfer to the tile
- Cut with the adhesive backing still attached
- Test the fit before removing the backing
- Sand any rough edges with fine-grit sandpaper
PRO TIP: ✨ For complex cuts around outlets, create a template using painter’s tape. Place the tape over the outlet, mark the dimensions, then transfer the tape to your tile for a perfect cutting guide.
PRODUCT RECOMMENDATION: X-ACTO Z-Series Precision Knife Set – These precision cutting tools make intricate cuts around outlets and switches much easier, resulting in cleaner edges and a more professional finish.

- X-ACTO basic knife set for lightweight precision cutting
- Ideal for cutting wood, cardboard, paper, plastic, cloth and foam board
- Craft
Step-5: Continue the Installation Pattern
Work methodically across your backsplash area:
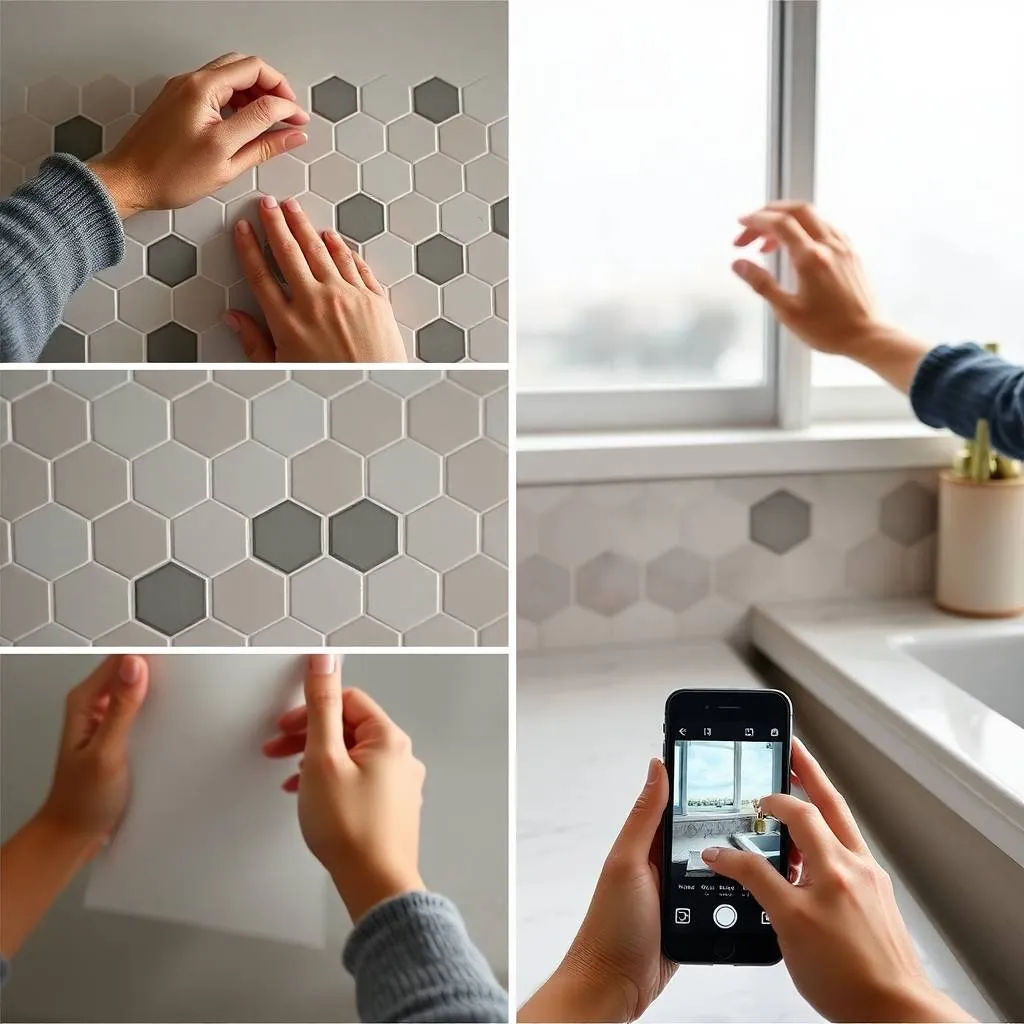
- Install one row at a time, working from bottom to top
- Ensure each tile aligns perfectly with adjacent tiles
- For interlocking designs, carefully overlap the edges as designed
- Press firmly after each tile is positioned
- Use your smoothing tool to eliminate air bubbles and ensure complete adhesion
- Step back periodically to check for alignment issues
PRO TIP: ✨ Take a photo of your progress every few tiles. Viewing the installation through your phone screen often reveals alignment issues that aren’t obvious to the naked eye, allowing you to make corrections before proceeding too far.
Finishing Touches for a Professional Look
Complete your installation with these final steps:
- Apply caulk where the backsplash meets the countertop for a water-tight seal
- Reinstall outlet and switch covers
- For stone or porous materials, apply a sealer as recommended by the manufacturer
- Clean the finished backsplash with a damp cloth to remove any fingerprints or residue
Best Materials for Different Kitchen Styles
Peel and stick backsplashes come in various materials, each offering unique benefits:
Vinyl Tiles
- Most affordable option
- Widest variety of patterns and colors
- Easiest to cut and install
- Water-resistant and easy to clean
- Perfect for: Rental properties or temporary updates
Gel/Resin Tiles
- 3D effect mimics real ceramic or glass
- More durable than standard vinyl
- Heat and water-resistant
- Slightly more expensive than vinyl
- Perfect for: High-impact areas near stoves or sinks
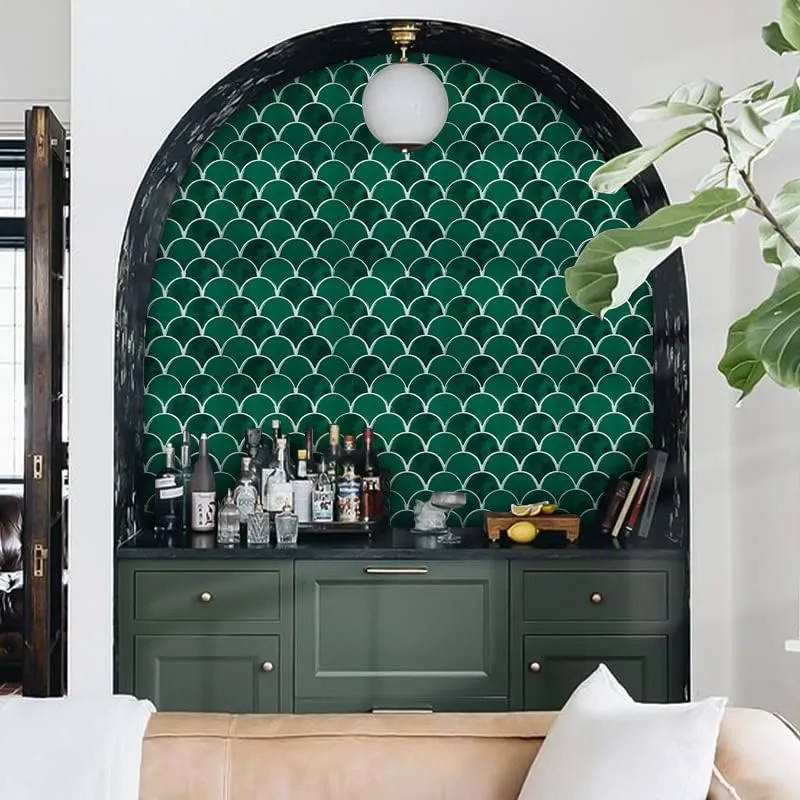
These premium tiles feature a special gel material that creates a realistic 3D effect, mimicking the look of real ceramic tile with a fraction of the installation effort.
Metal Tiles
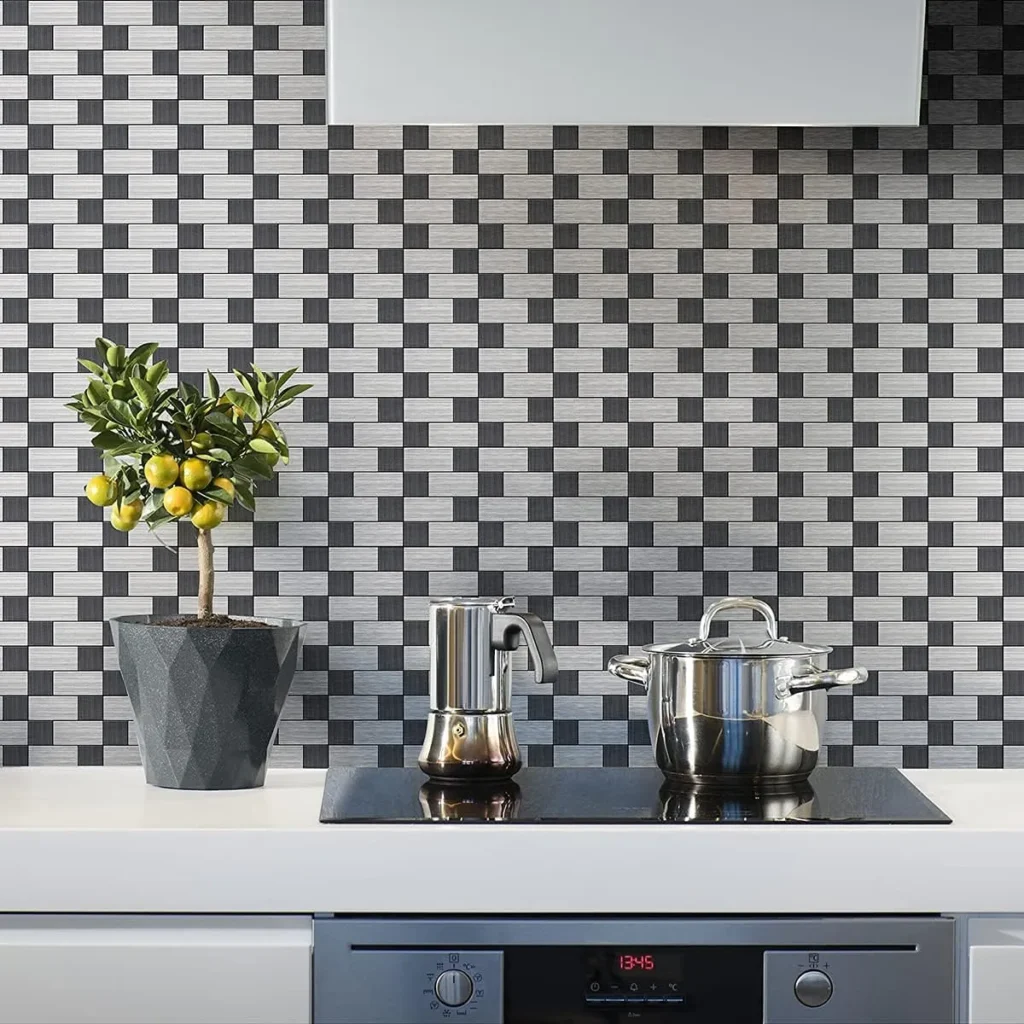
- Contemporary, industrial look
- Highly heat-resistant
- Extremely durable
- More expensive than vinyl options
- Perfect for: Modern kitchens or behind cooking areas
Stone Composite Tiles
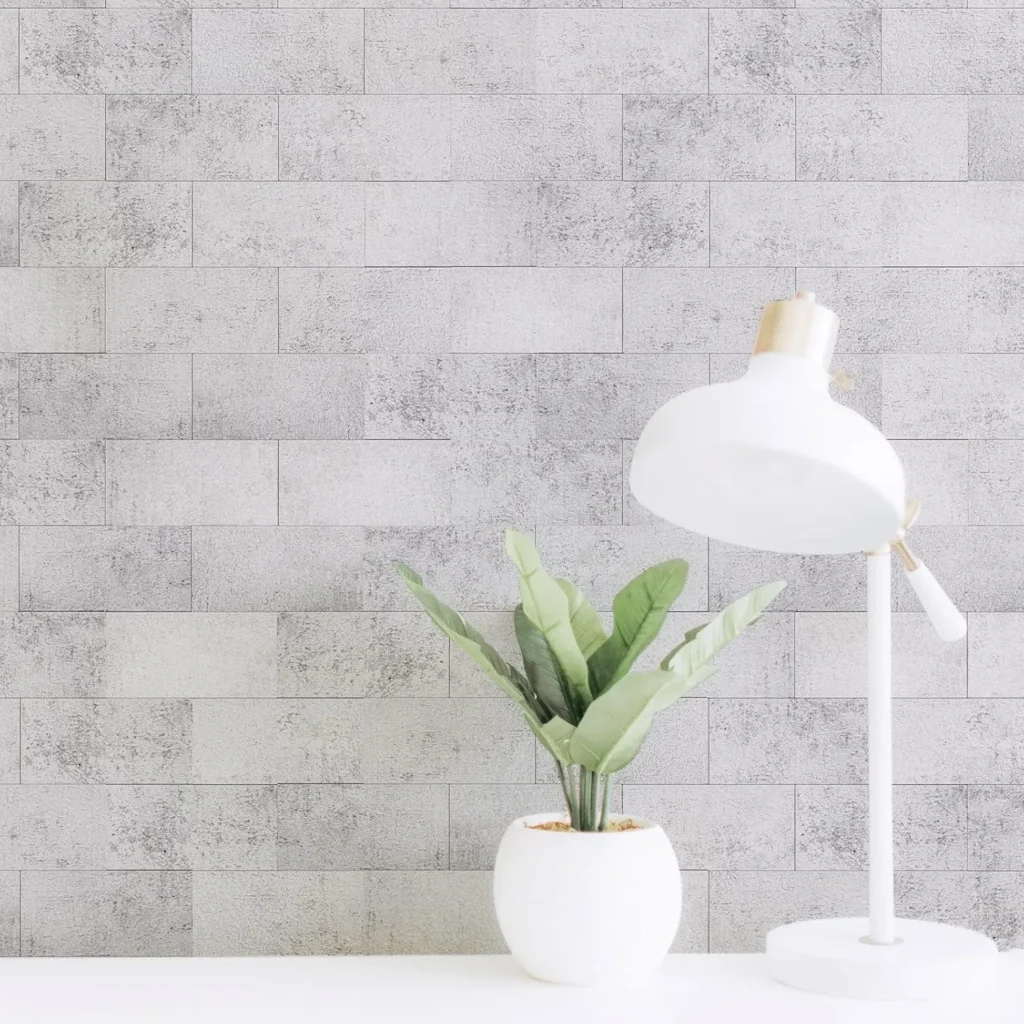
- Natural stone appearance
- More textured and realistic
- Water and heat-resistant
- Requires careful cutting techniques
- Perfect for: Upscale kitchen renovations
Maintenance and Longevity Tips
Keep your peel and stick backsplash looking fresh with these maintenance strategies:
- Clean regularly with a damp cloth and mild soap
- Avoid abrasive cleaners that can damage the surface
- For stubborn stains, use a soft brush with gentle cleaner
- Immediately wipe up any water that seeps behind edges
- Periodically check for lifting corners and press back down if needed
PRO TIP: ✨ Apply a thin line of clear silicone caulk along the bottom edge where your backsplash meets the countertop. This creates a water-resistant barrier that prevents moisture from getting behind the tiles and compromising the adhesive.
Frequently Asked Questions
How long do peel and stick backsplash tiles last?
With proper installation and maintenance, quality peel and stick backsplash tiles can last 3-5 years or longer. Premium options with thicker materials and stronger adhesives tend to have the best longevity.
Can peel and stick backsplash be installed over existing tile?
Yes, provided the existing tile is smooth, clean, and in good condition. Ensure the grout lines are level with the tile surface or fill them first. Lightly sand glossy tile surfaces to improve adhesion.
Are peel and stick backsplashes heat-resistant?
Most peel and stick backsplashes offer moderate heat resistance, but it varies by material. Vinyl options should be kept at least 6 inches from direct heat sources, while metal and stone composite options offer better heat resistance. Always check manufacturer specifications.
Will peel and stick backsplash damage my walls when removed?
When properly removed, most peel and stick backsplashes leave minimal damage. Heat the adhesive with a hairdryer to soften it, then slowly peel from one corner. Some residue may remain but can typically be removed with adhesive remover.
How do I fix bubbles after installation?
For small bubbles, use a credit card or smoothing tool to push the air toward the nearest edge. For larger bubbles, make a tiny pinprick with a needle in an inconspicuous spot, then press the air out and smooth the surface.
What surfaces are not suitable for peel and stick backsplash?
Avoid installing on textured walls, wallpaper, unprimed drywall, or surfaces with peeling paint. These substrates won’t provide adequate adhesion and may result in premature failure.
Conclusion: Your Kitchen Transformation Awaits
A peel and stick backsplash offers an accessible, affordable way to dramatically transform your kitchen without the commitment, mess, or expense of traditional tile.
By following the proper preparation steps, choosing quality materials, and applying the installation techniques outlined in this guide, you can achieve professional-looking results that will refresh your space for years to come.
Whether you’re a renter looking for temporary solutions, a homeowner on a budget, or simply someone who loves quick DIY transformations, peel and stick backsplash tiles provide the perfect balance of style, functionality, and ease. Your dream kitchen is just a weekend project away!