Alright, let’s talk about open shelving—because apparently, we’ve all collectively decided that hiding our dishes and knick-knacks behind cabinet doors is so last decade. And honestly? I’m here for it. Open shelving is back in a big way, and if you’ve been eyeing those Pinterest-perfect kitchens or cozy living room displays, you’re not alone.
But here’s the thing: open shelving can go from chic to chaotic real quick if you don’t style it right. One wrong move, and suddenly your shelves look like a garage sale after a tornado. No thanks.
So, how do you nail the look without losing your sanity? I’ve been down this road (with a few ahem questionable styling choices along the way), and I’m here to spill all the secrets. Let’s make those shelves look like they belong in a magazine—without hiring an interior designer.
In This Article
- 1 Why Open Shelving? (Besides Looking Amazing)
- 2 How to Style Open Shelves Like a Pro
- 3 1. Start with a Clean Slate
- 4 2. Play with Heights & Layers
- 5 3. Stick to a Color Palette
- 6 4. Add Texture for Visual Interest
- 7 5. Functional + Pretty = Winning Combo
- 8 6. Common Open Shelving Mistakes (And How to Avoid Them)
- 9 7. Follow the “Rule of Three”
- 10 8. Lean Some Art
- 11 9. Use Books for More Than Reading
- 12 10. Don’t Forget the Backdrop
- 13 11. Make it Personal
- 14 12. Create a Focal Point
- 15 Final Thoughts: Should You Go for Open Shelving?
Why Open Shelving? (Besides Looking Amazing)
Before we dive into the how, let’s talk about the why. Why are we all suddenly obsessed with open shelving again?
- It makes small spaces feel bigger. No bulky cabinets = more visual breathing room.
- Easy access to everyday items. No more digging through drawers for your favorite mug.
- Endless styling possibilities. Swap out decor seasonally without a full reno.
- It’s budget-friendly. No expensive cabinetry? Sign me up.
Of course, there’s a catch—clutter is your enemy. If you’re the type to let mail pile up or leave half-empty coffee cups lying around (guilty), open shelving might keep you on your toes. But hey, maybe that’s the motivation we all need to stay organized.
How to Style Open Shelves Like a Pro
1. Start with a Clean Slate
First rule of open shelving? Edit ruthlessly. You don’t need every mug, vase, or souvenir shot glass you’ve ever owned on display.
- Take everything down and only put back what you love or use regularly.
- Group similar items (like glassware, books, or plants) for a cohesive look.
- Leave some breathing room. Crowded shelves = stress. Minimal negative space = calm.
Pro tip: If you’re not sure what to keep, use the “three-second rule.” If you don’t love it or use it within three seconds of looking at it, stash it away.
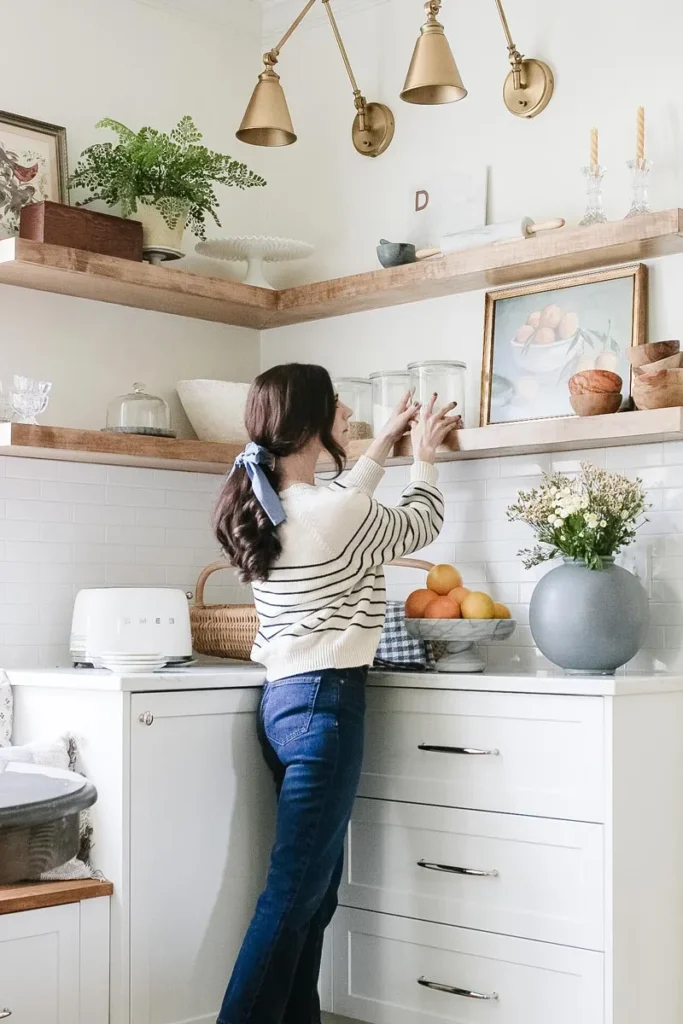
2. Play with Heights & Layers
Check Next: 17 Tiny Kitchen Ideas That Will Transform Your Small Space Into a Functional Haven
A shelf full of items at the same height is a snooze fest. Variety is key.
- Mix tall (vases, candles) with short (bowls, small plants).
- Layer items—place a stack of books under a small sculpture or prop a cutting board against the wall.
- Use stands or risers to elevate smaller pieces (like jewelry dishes or succulents).
Ever seen a shelf that just works but can’t figure out why? Chances are, it’s all about balance.
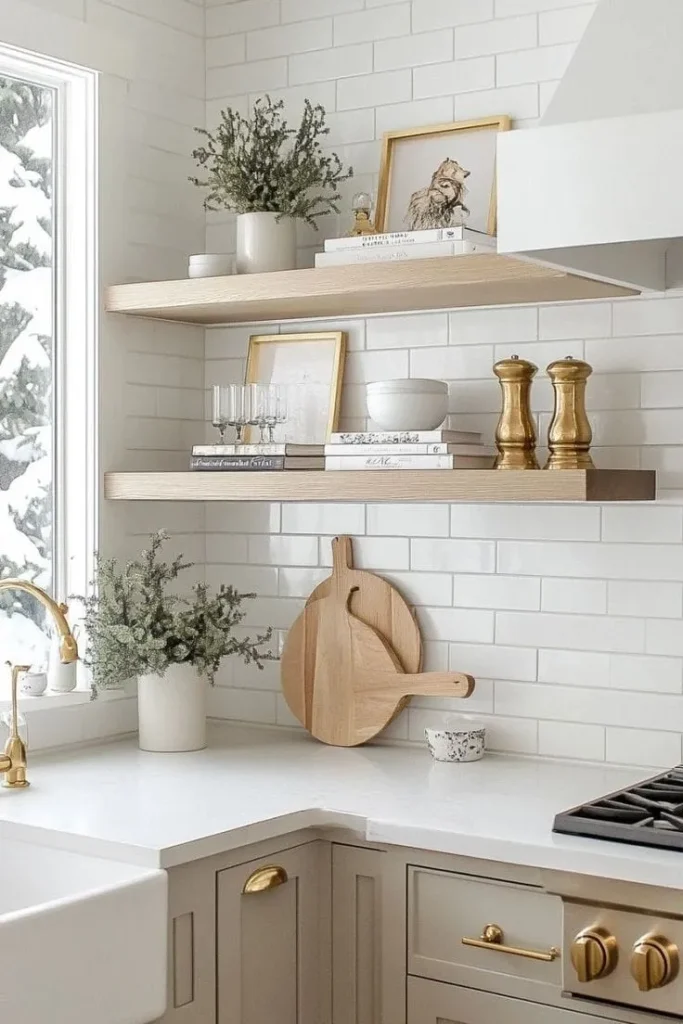
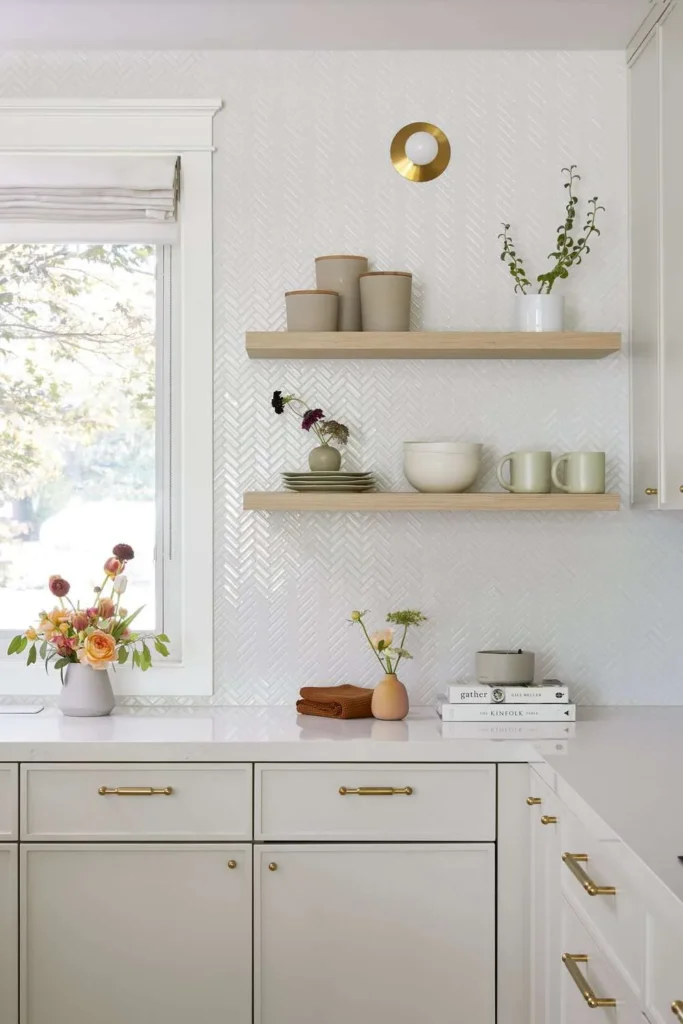
3. Stick to a Color Palette
Unless you’re going for an eclectic, maximalist vibe, a cohesive color scheme keeps things polished.
- Neutrals (whites, woods, blacks) = timeless.
- Pops of color = fun & personal. Just don’t go overboard.
- Metallics (brass, copper, chrome) add luxe texture.
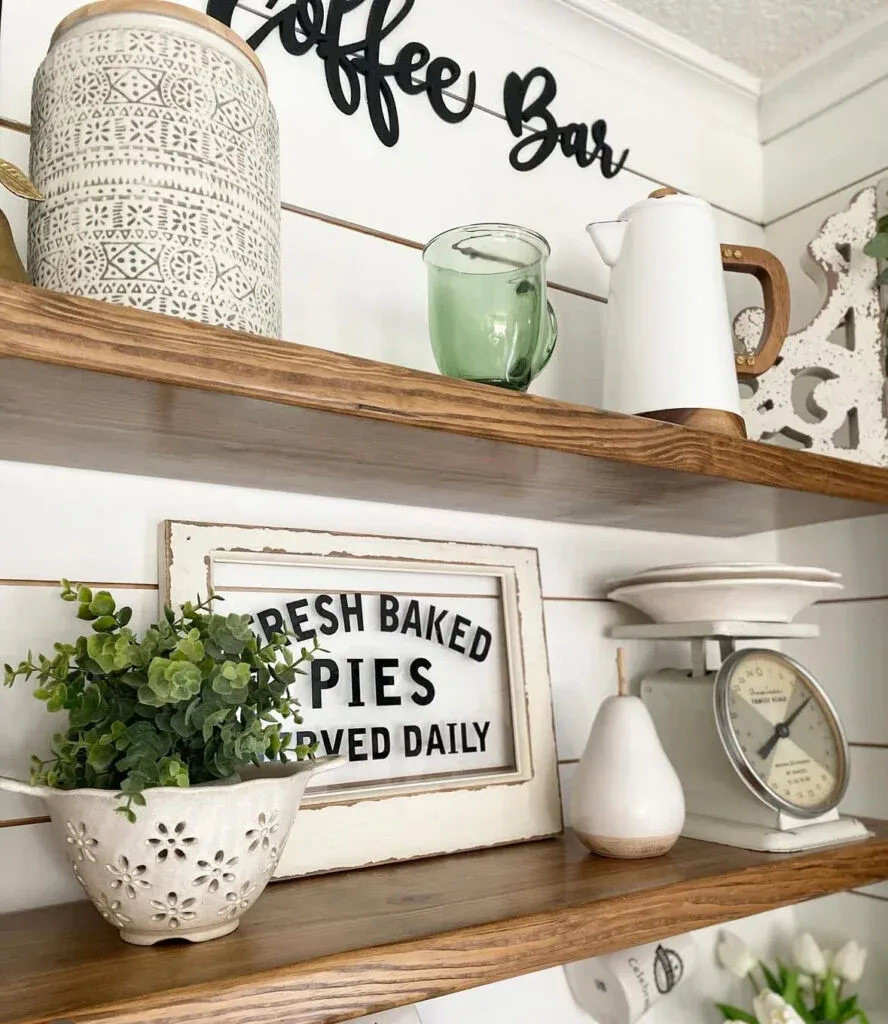
My personal go-to? Warm wood tones + white ceramics + a touch of greenery. Instantly cozy.
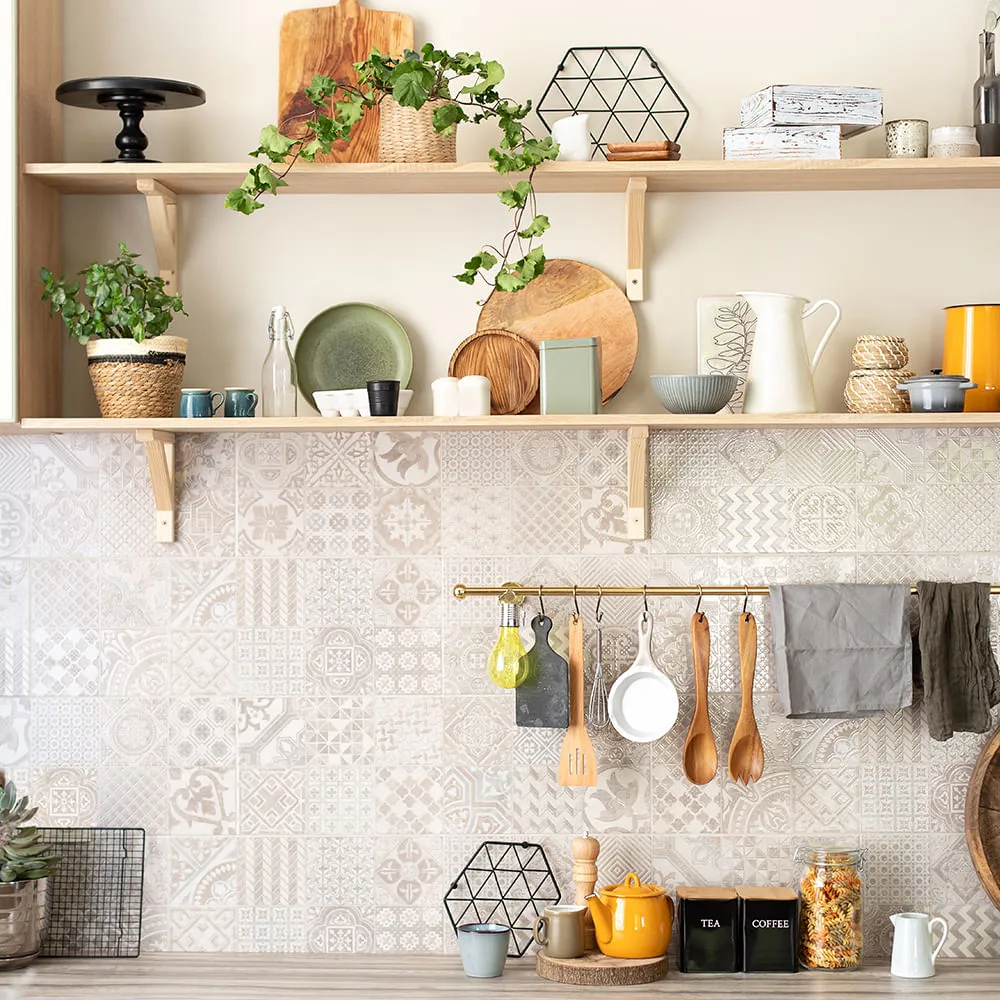
4. Add Texture for Visual Interest
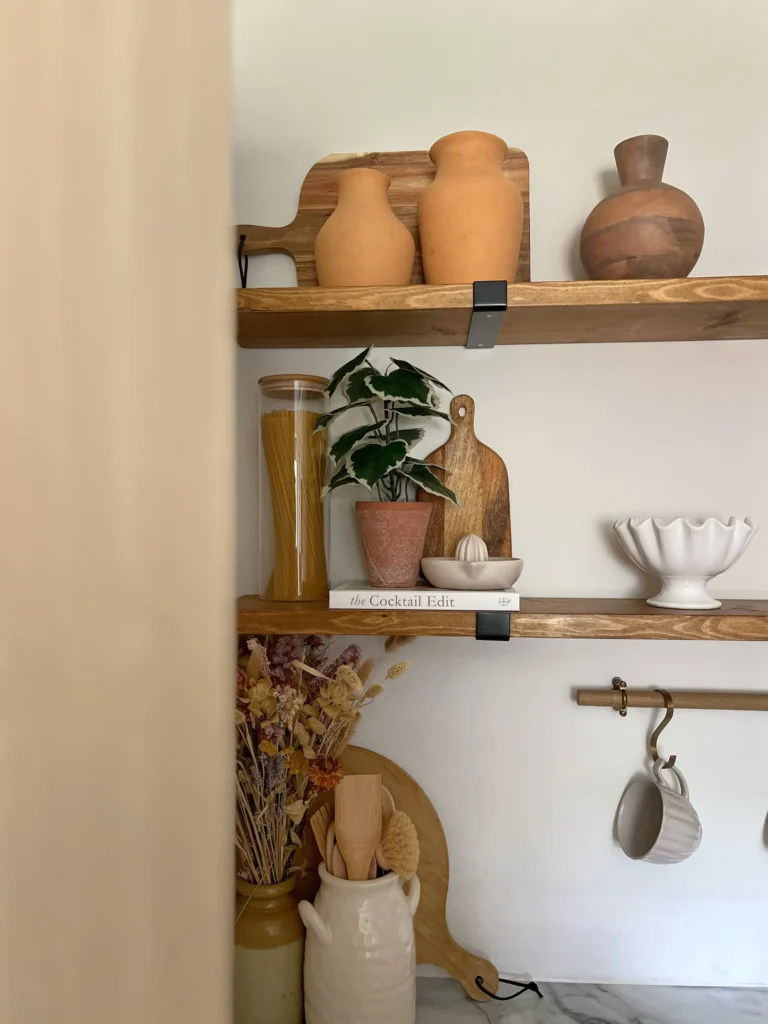
Smooth, shiny, rough, woven—texture makes a shelf feel alive.
- Try:
Woven baskets
Ceramic pieces with matte finishes
Rough-cut wood cutting boards
Glass jars or bottles
Bonus: Texture also helps hide dust. Because let’s be real, nobody actually dusts weekly.
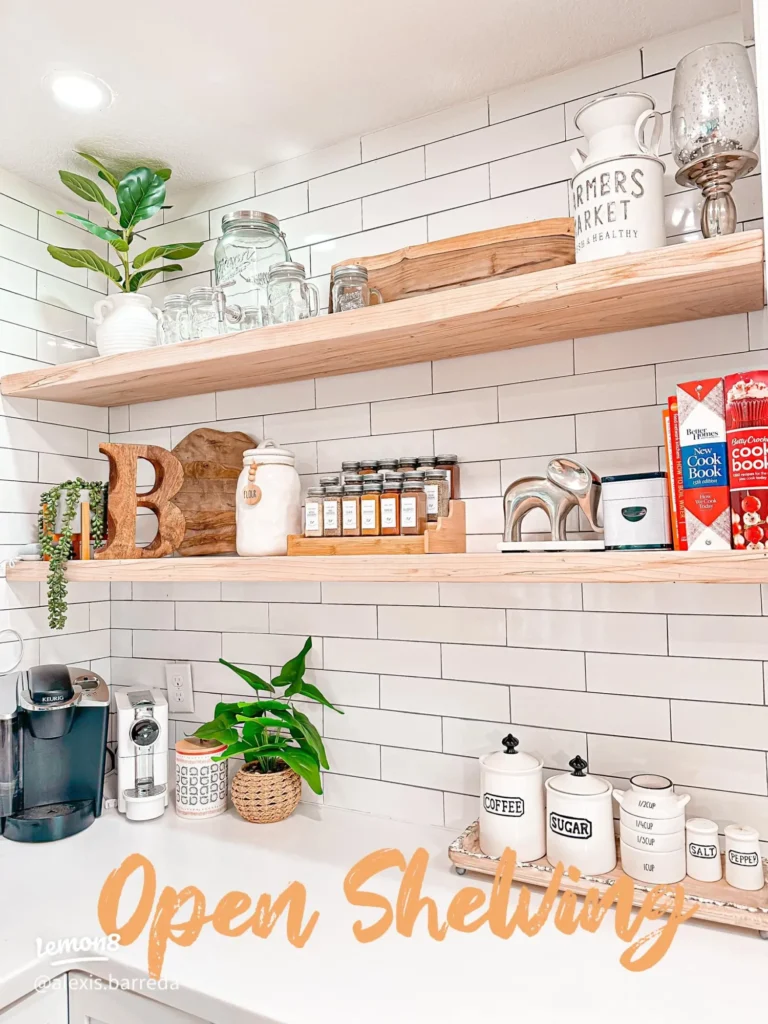
5. Functional + Pretty = Winning Combo
Open shelving shouldn’t just look good—it should work for your life.
- Store everyday items (like coffee mugs or spices) where they’re easy to grab.
- Hide the ugly stuff. Use pretty containers for pantry staples or cleaning supplies.
- Rotate decor seasonally so it never feels stale.
FYI, if you have cats, maybe skip the delicate ceramics unless you enjoy the sound of shattering pottery at 3 AM.
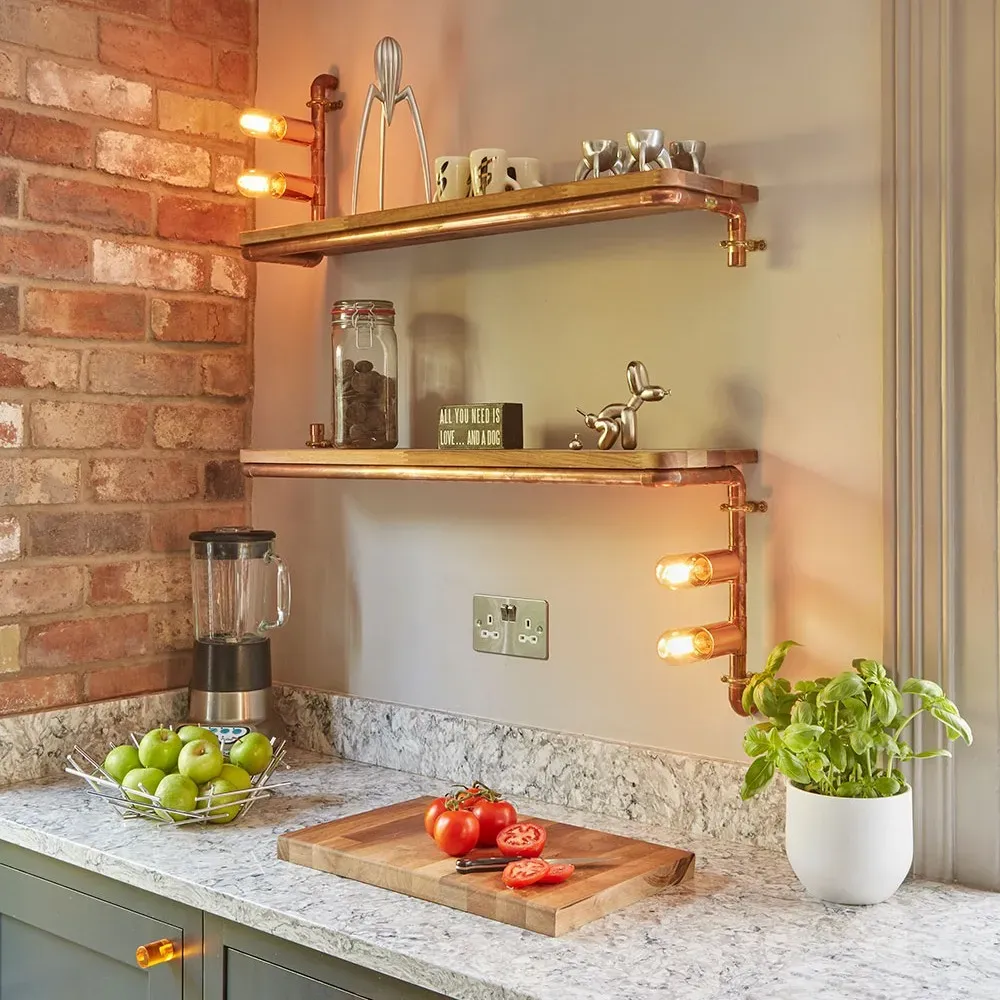
6. Common Open Shelving Mistakes (And How to Avoid Them)
Even the best intentions can lead to questionable design choices. Here’s what not to do:
- Overcrowding – Less is more. Seriously.
- Ignoring balance – If one side is heavy, the whole thing feels off.
- Forgetting about lighting – A small shelf lamp or LED strip can make a huge difference.
- Using only decor – If it’s all looks and no function, it’ll feel like a staged Airbnb.
7. Follow the “Rule of Three”
Ever notice how things grouped in odd numbers just look… better? That’s the Rule of Three in action, and it’s a designer’s secret weapon. Our brains find groupings of three (or five, or seven) more visually appealing and balanced than even-numbered groups.
- Create small vignettes: Instead of lining things up, cluster three items of varying heights and shapes together. Think a small vase, a short stack of coasters, and a candle.
- Balance across the shelf: Place your groupings strategically to balance the visual weight across the length of the shelf.
- Leave breathing room: The empty space around your trio is just as important. It prevents the shelf from looking cluttered and makes your curated items pop.
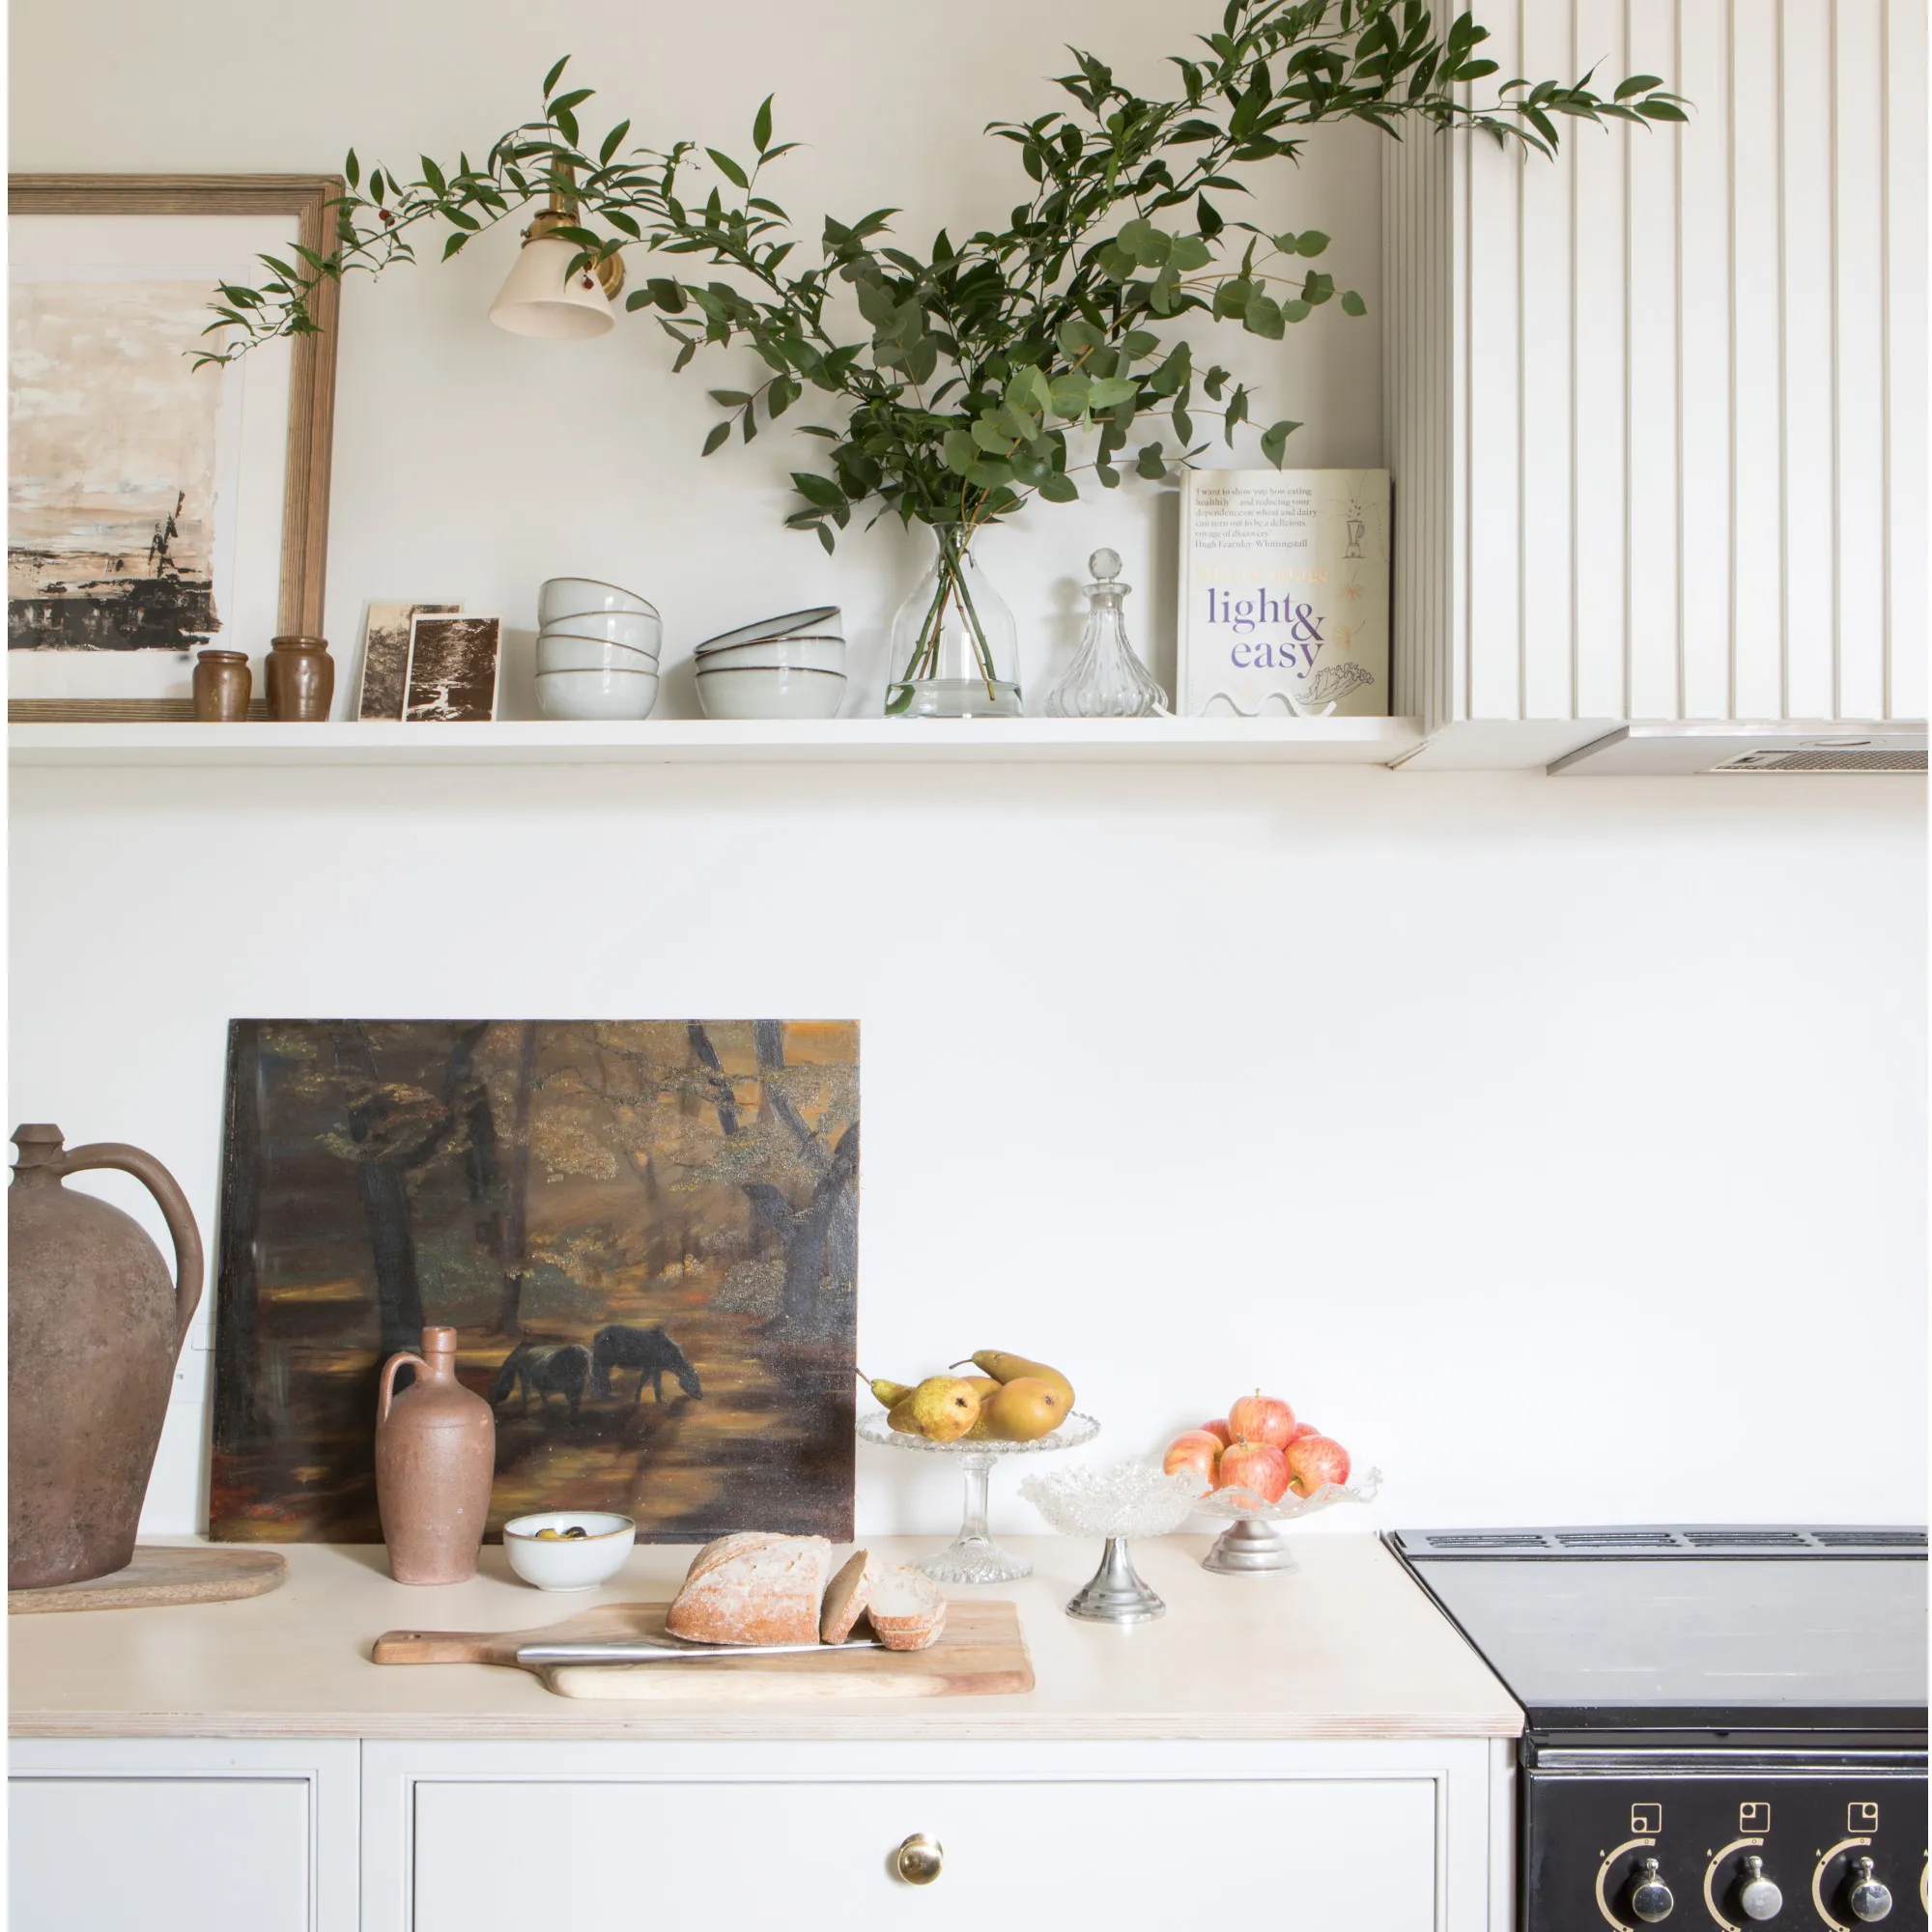
8. Lean Some Art
Your shelves don’t have to be limited to just dishes and books. Leaning a small piece of framed art or even a pretty postcard against the back wall is a game-changer. It adds personality and a layer of sophistication without any commitment.
- No hammer required: The best part? You can swap out the art whenever the mood strikes. It’s a casual, flexible way to display pieces without putting holes in the wall.
- Layer it up: Place smaller objects in front of the art to create a sense of depth. A small bowl or plant in front of a landscape print? Chef’s kiss.
- Mix and match: Don’t be afraid to overlap a couple of frames of different sizes for a collected, effortless vibe.
9. Use Books for More Than Reading
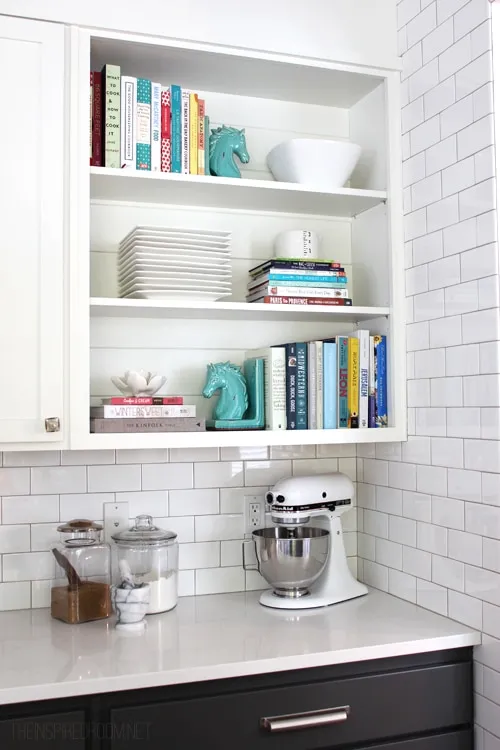
Let’s be honest, cookbooks in the kitchen often double as decor. Instead of just lining them up library-style, use them as styling tools.
- Create a platform: Lay a few books flat to create a riser for a smaller decorative object. This adds height and importance to the item you’re showcasing.
- Color-coordinate: Group books by spine color for a huge visual impact. A stack of neutral-toned books creates a calm, cohesive look.
- Mix orientations: Alternate between stacking books horizontally and standing them vertically. This simple trick breaks up the monotony and adds architectural interest.
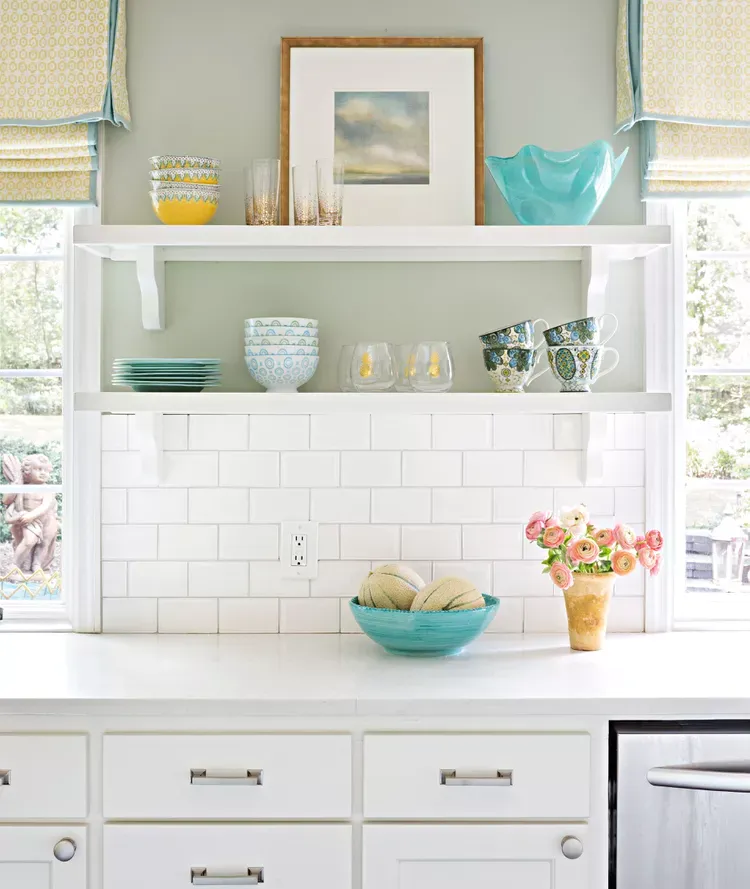
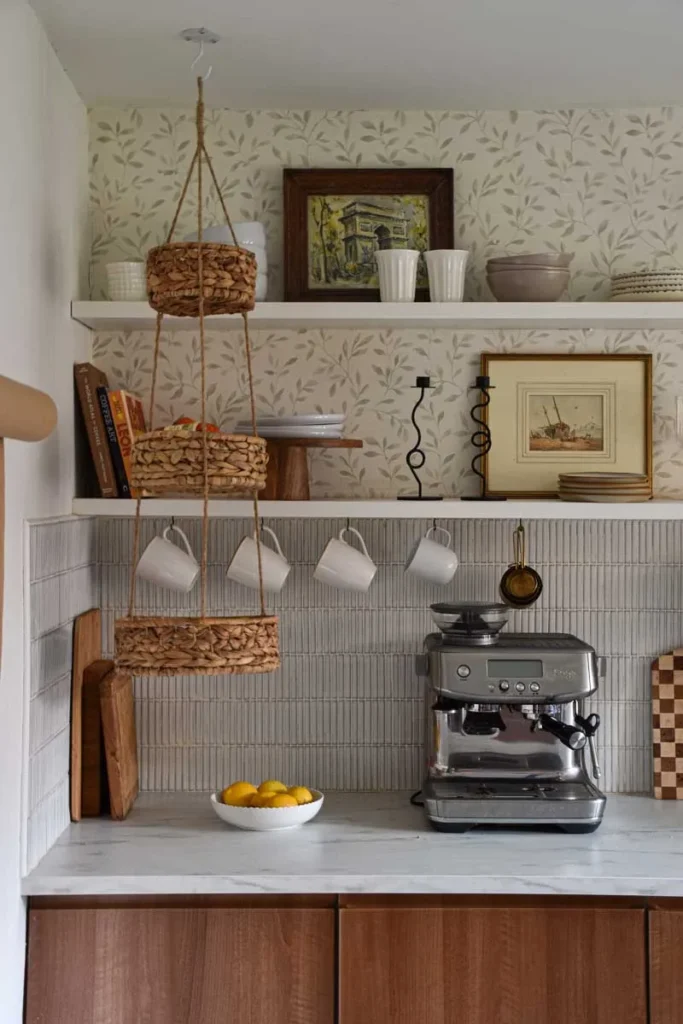
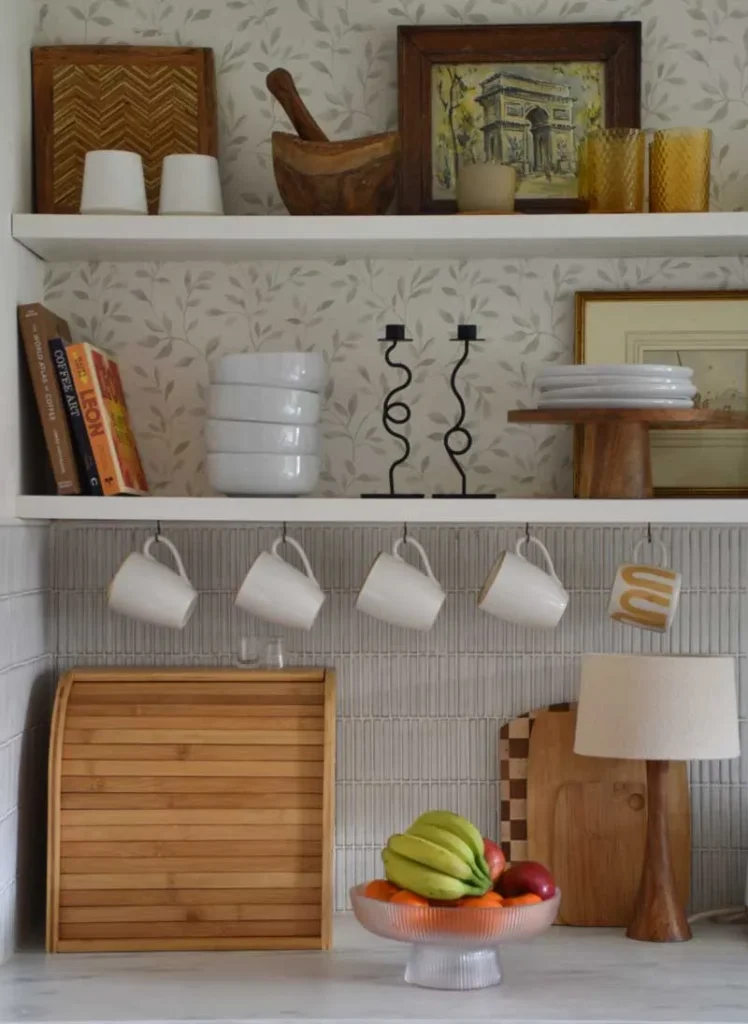
10. Don’t Forget the Backdrop
The wall behind your shelves is prime real estate. Leaving it plain is a missed opportunity to make your display stand out. A little pop of something extra can tie the whole look together.
- A splash of paint: Painting the back of the shelving niche a contrasting color creates instant depth and drama.
- Wallpaper for the win: A peel-and-stick wallpaper with a fun pattern can add personality and texture.
- Consider tile: In a kitchen, continuing your backsplash tile up behind the shelves creates a seamless, high-end, and custom look.
11. Make it Personal
This is your chance to tell a story. Your shelves shouldn’t look like a generic retail display; they should reflect who you are. Weave in items that hold personal meaning.
- Showcase souvenirs: That small ceramic bowl from your trip abroad or the interesting rock you found on a hike? Put it on display. These pieces are conversation starters.
- Display your hobbies: If you love photography, lean an old camera. If you’re a music fan, show off a couple of vinyl records.
- Frame photos: Intersperse a few small, framed photos of loved ones or favorite memories among the objects to make the space truly feel like yours.
12. Create a Focal Point
To prevent visual chaos, give the eye a place to rest by creating a clear focal point on each shelf, or for the unit as a whole. This is the “hero” item that anchors the rest of your display.
- Go big: A single large item, like a standout piece of pottery, a sculptural vase, or a large platter on a stand, can serve as the main event.
- Arrange around it: Once you have your focal point, arrange smaller items around it to complement, not compete with it.
- Draw the eye: Use your focal point to draw attention. If your shelving is built around an architectural feature like an archway, use the shelves to frame and enhance it.
Final Thoughts: Should You Go for Open Shelving?
IMO, open shelving is worth the hype—if you do it right. It’s a chance to show off your style, keep essentials handy, and make your space feel more open.
But if you’re a chronic clutterer? Maybe start small (a single shelf in the kitchen or living room) before committing to a whole wall.
At the end of the day, your home should work for you, not just look pretty on Instagram. So style those shelves with confidence—and don’t stress if it’s not “perfect.”
Now go forth and organize like the design-savvy pro you are. And if all else fails? Just add plants. They make everything better. 🌿
What’s your favorite way to style open shelves? Drop your tips (or disasters) in the comments!
Featured Image Source