Stop dreaming of a sprawling estate and start loving the patio you actually have. You don’t need an acre of land to grill a perfect steak or host a killer summer party. In fact, compact spaces often force you to design smarter, not harder.
I managed to squeeze a full-feature kitchen into a tiny city courtyard, and I learned exactly what works (and what definitely doesn’t). Here are the best ways to maximize every square inch of your outdoor footprint. Lets Explore the Small Outdoor Kitchen Design Tricks….
In This Article
- 1 1. Embrace the Power of the L-Shape
- 2 2. Go Vertical with Your Storage
- 3 3. Choose Compact, Power-Packed Appliances
- 4 4. Install a “Pass-Through” Window
- 5 5. Master the Art of Mobile Islands
- 6 6. Use Sink Covers to Reclaim Counter Space
- 7 7. Lighting Is a Space Expander
- 8 8. Opt for Built-In Bench Seating
- 9 9. Maintain Material Continuity
- 10 10. Zoning and Traffic Flow
- 11 11. Utilize Modular Cabinet Systems
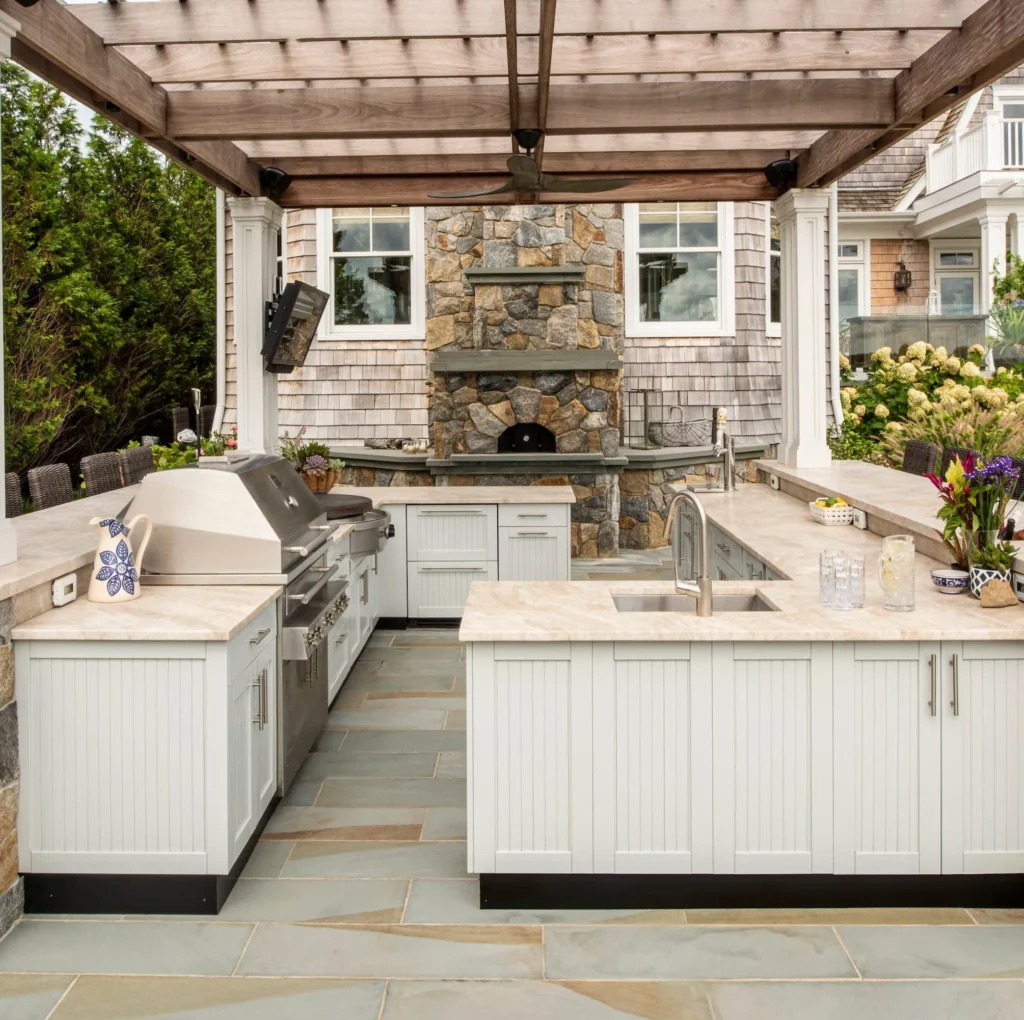
1. Embrace the Power of the L-Shape
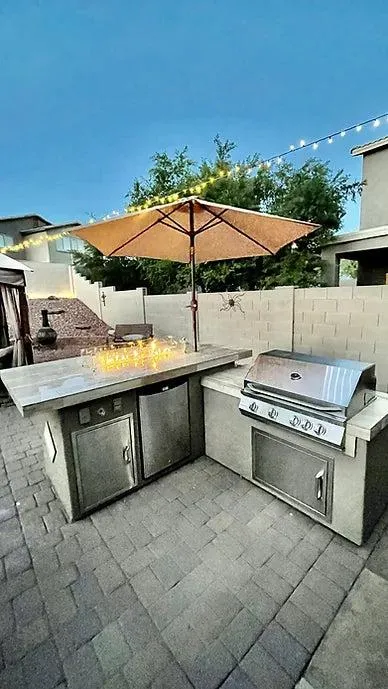
Most people instinctively push everything against one wall in a straight line. While that works, it often leaves you staring at a fence while you cook. The L-shape layout utilizes corner space that usually goes to waste. By wrapping the counter around a corner, you create a natural “cockpit” for the chef.
I set my grill on the short leg of the “L” and my prep space on the long leg. This setup creates a highly efficient work triangle. You simply pivot between flipping burgers and chopping veggies. Plus, it creates a distinct boundary that keeps your guests out of your immediate work zone but still close enough to chat.
Why the L-Shape Wins
- Ergonomics: You reduce the walking distance between zones.
- Separation: It physically separates the cooking area from the lounging area.
- Structure: It adds architectural interest to a boring square patio.
2. Go Vertical with Your Storage
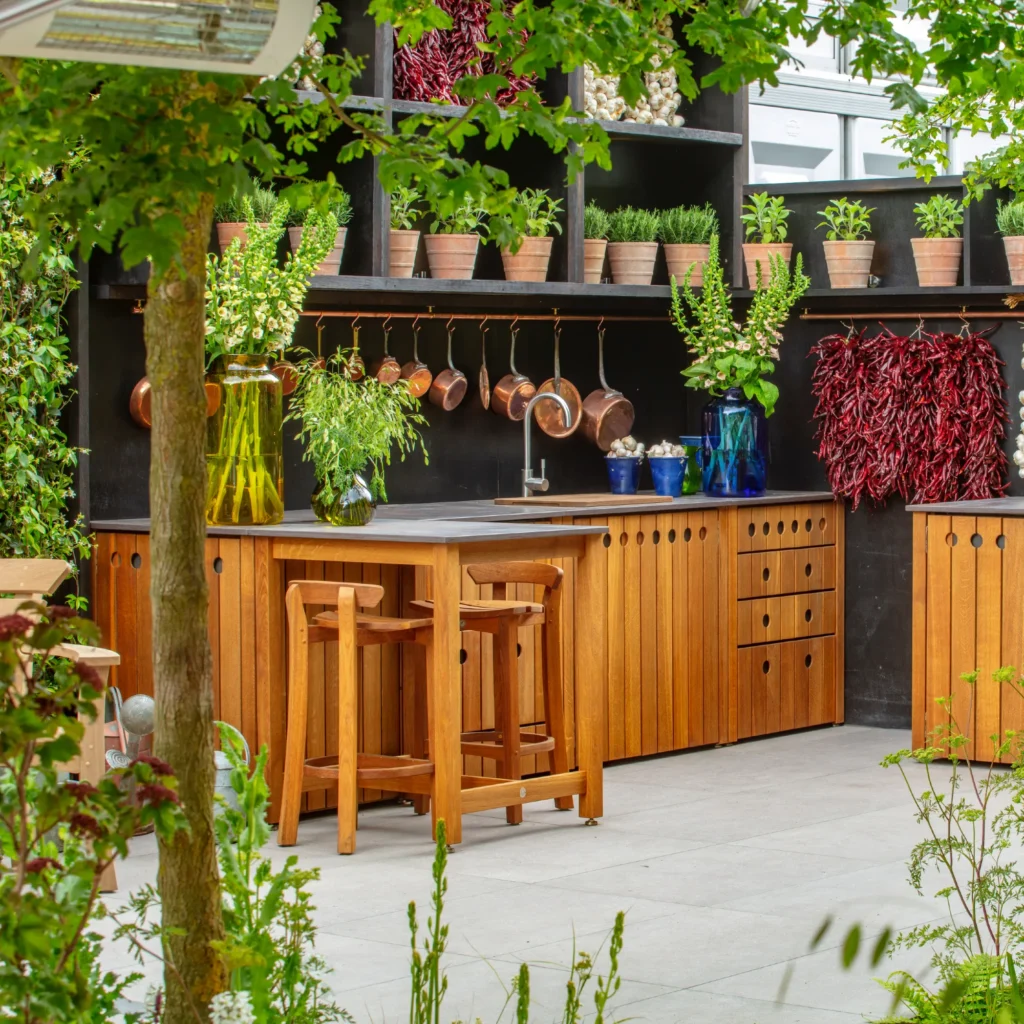
If you can’t build out, you must build up. I see so many outdoor kitchens with cluttered countertops because the owner forgot about walls. Treat your outdoor walls just like your indoor backsplash. Install stainless steel shelving, magnetic knife strips, or rail systems to hang your tools.
Hanging your tongs, spatulas, and grill brushes frees up that precious counter space for plates and food. I personally mounted a weather-resistant pegboard on the side of my house right above the prep station. It looks industrial and cool, but more importantly, it holds everything.
Note: Ensure you use marine-grade stainless steel or outdoor-rated wood. Rust sleeps for no one, especially outdoors. :/
3. Choose Compact, Power-Packed Appliances
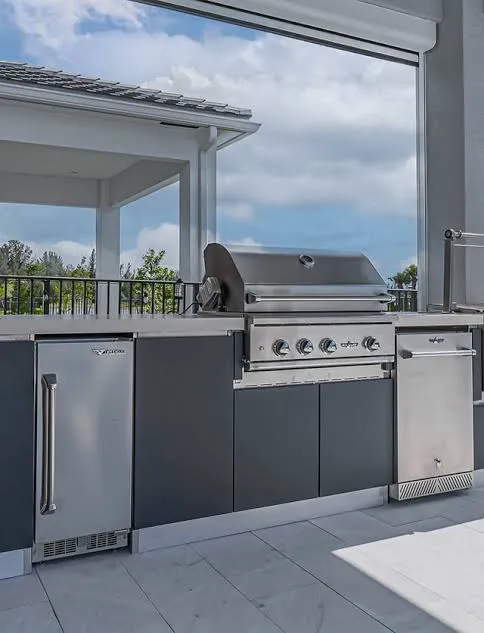
We all have that friend who bought a 48-inch grill for a family of three. Don’t be that guy. In a small space, massive appliances dominate the visual field and kill your flow. Opt for high-quality compact appliances. You can find incredible 24-inch grills that sear just as well as the behemoths.
Think about what you actually cook. Do you really need a side burner, a smoker, and a pizza oven? Probably not. I swapped my standalone smoker for a high-end ceramic kamado grill that smokes, grills, and bakes. It does the job of three appliances but takes up a fraction of the footprint.
See Next:
Smart Swaps for Small Spaces
- The Grill: Choose a 2-burner gas grill or a round ceramic cooker.
- The Fridge: Use a 15-inch beverage center instead of a full 24-inch fridge.
- The Burner: Skip the built-in side burner and store a portable induction cooktop in a drawer.
4. Install a “Pass-Through” Window
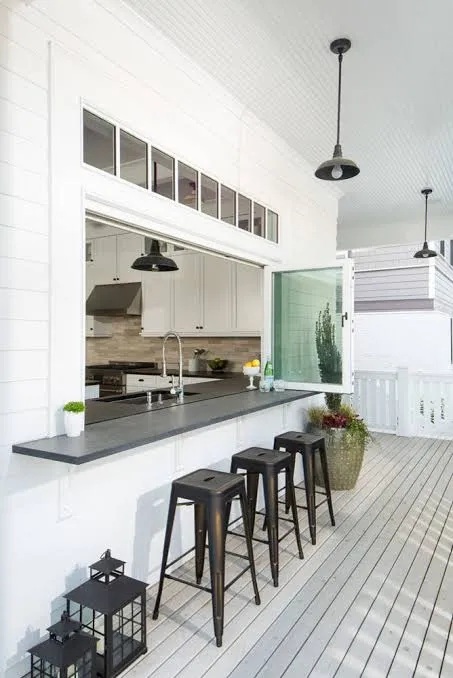
This is my absolute favorite trick, provided your layout allows for it. If your outdoor kitchen sits against an exterior wall of your indoor kitchen, install a sliding pass-through window. This connects the two spaces and instantly doubles your counter space.
Instead of building a massive outdoor sink and prep station, you just pass dirty dishes inside and hand clean ingredients out. It saves you thousands of dollars on plumbing and cabinetry. Plus, adding a bar counter on the outdoor side of the window creates instant seating without taking up floor space. It turns your indoor kitchen into the support staff for your outdoor show.
5. Master the Art of Mobile Islands
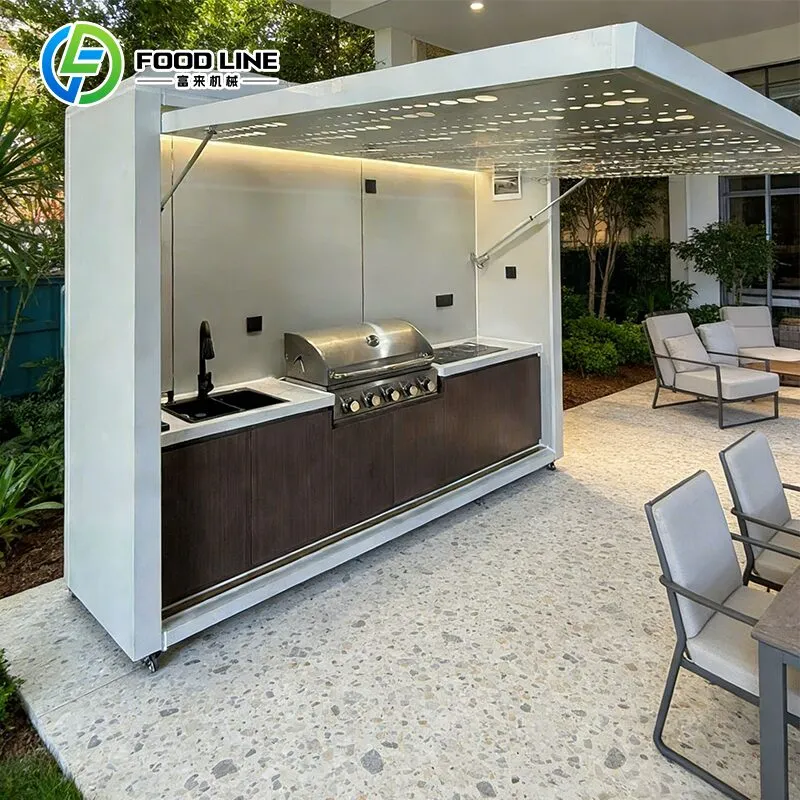
Sometimes, permanent cabinetry just restricts you too much. If your space is truly micro, use a rolling cart or a mobile kitchen island. I bought a heavy-duty stainless steel prep table on casters, and it changed the game.
When I’m cooking, I roll it next to the grill for plating. When the food is ready, I roll it to the seating area to serve as a buffet. When the party ends, I tuck it into the corner or even roll it into the garage. It gives you flexibility that fixed concrete counters never will.
Key Features to Look For:
- Locking Wheels: You don’t want your potato salad rolling away on a slope.
- Storage Shelves: Look for open shelving underneath for pots or charcoal.
- Durable Top: Stainless steel or butcher block (if you maintain it) works best.
6. Use Sink Covers to Reclaim Counter Space
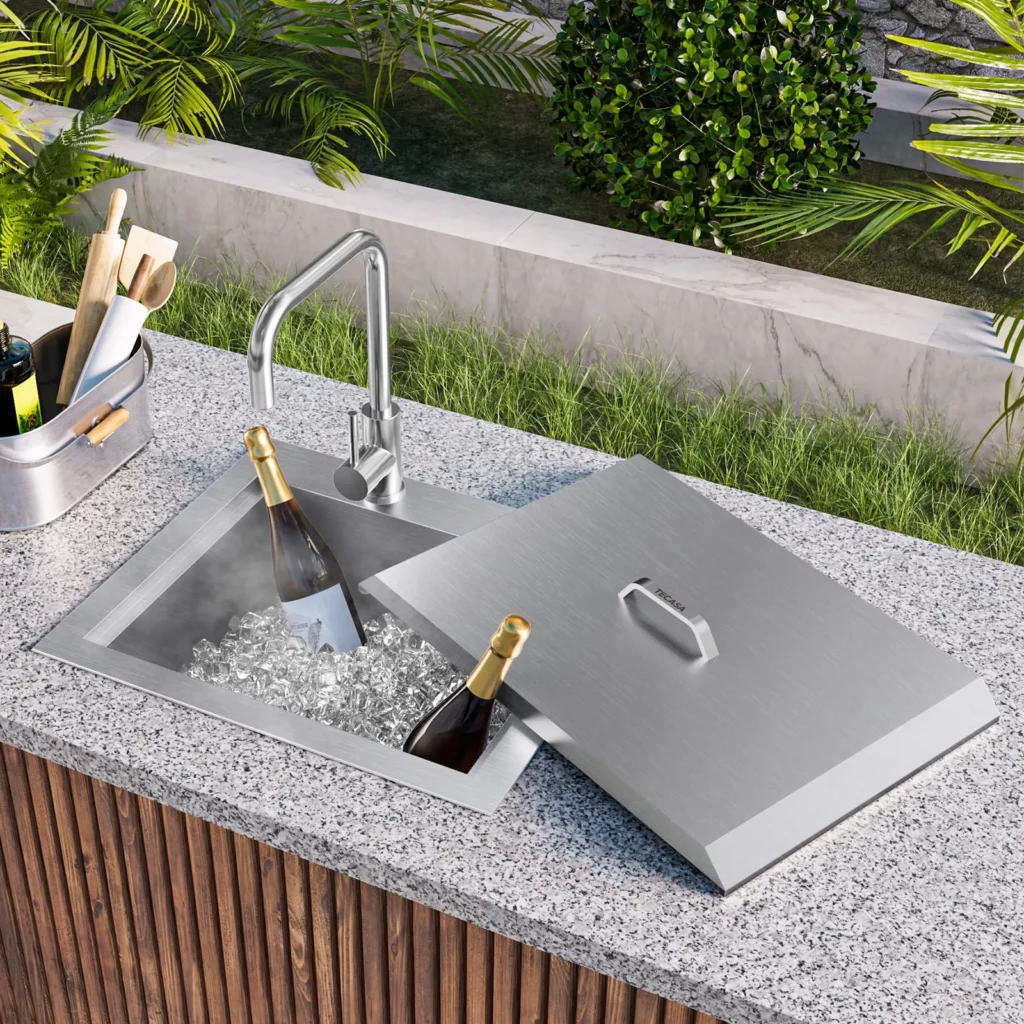
In a small outdoor kitchen, the sink often becomes a “dead zone” when you aren’t actively washing hands. Install a flush-mount sink with a fitted cutting board cover. This is a non-negotiable for tight layouts.
When the cover is on, your sink transforms into usable prep surface. You can chop vegetables right there. When you need water, you just lift the lid. I found a sink where the cover slides back and forth, so I can rinse lettuce and chop it without moving the board. It effectively adds two square feet of counter space, which is gold in a tiny setup.
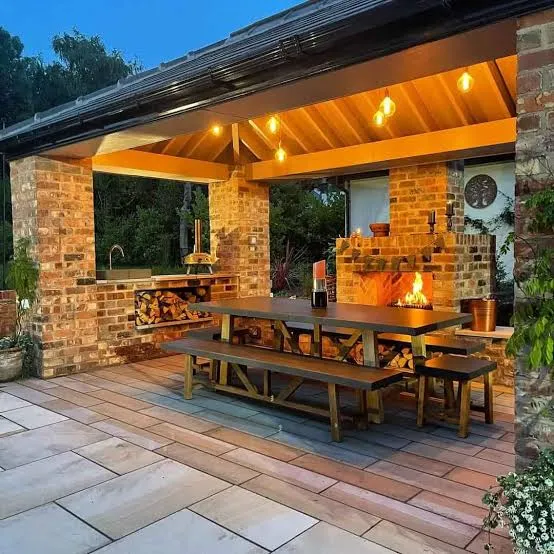
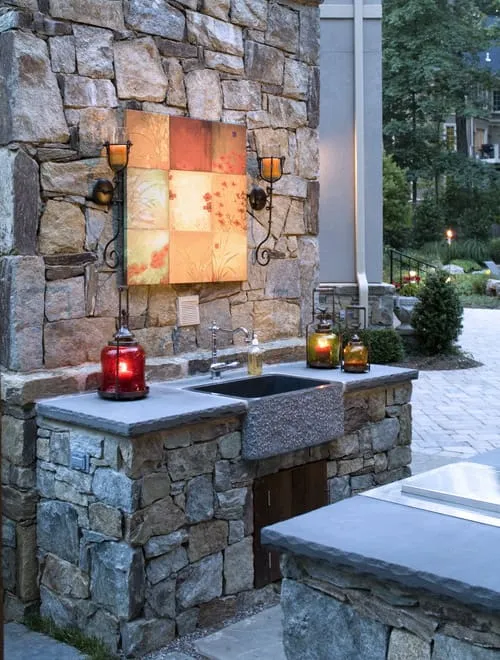
7. Lighting Is a Space Expander
You might wonder, “How does light make a space bigger?” Darkness closes a room in; light pushes the walls back. Strategic lighting makes a small patio feel expansive and airy. Avoid a single, harsh floodlight that creates deep shadows.
Recommendec Read:
Layer your lighting. I ran LED tape lighting under the lip of my countertop. It looks sleek and helps you see what you’re doing without blinding your guests. Then, I strung bistro lights in a crisscross pattern overhead. This draws the eye upward, emphasizing vertical space rather than the tight footprint. It creates a “ceiling” that feels cozy rather than cramped.
8. Opt for Built-In Bench Seating
Chairs are space hogs. They require room to pull out, and they clutter the floor visually. Built-in bench seating hugs the perimeter and maximizes the central floor area. If you push a bench against a retaining wall or the side of the house, you eliminate the “dead space” behind chairs.
The best part? You can build storage inside the benches. I store my cushions, charcoal bags, and seasonal covers inside my bench seating. It keeps the visible area tidy. IMO, a clean space always looks bigger than a messy one.
The Bench Benefit Breakdown
- Capacity: A bench fits more butts than individual chairs.
- Storage: The hidden compartment is a lifesaver for clutter.
- Flow: It keeps the walkways clear of chair legs.
9. Maintain Material Continuity
Visual clutter makes small spaces feel claustrophobic. If you have brick walls, wood floors, stainless cabinets, and a stone countertop, your eye doesn’t know where to rest. Stick to a monochromatic or limited material palette.
I matched my outdoor cabinet finish to the color of the patio pavers. This trick creates a seamless visual line where the floor “blends” into the kitchen. It tricks the brain into seeing one continuous surface rather than chopped-up blocks. Keep the colors light and airy—whites, light greys, and natural woods reflect light and enhance the sense of openness.
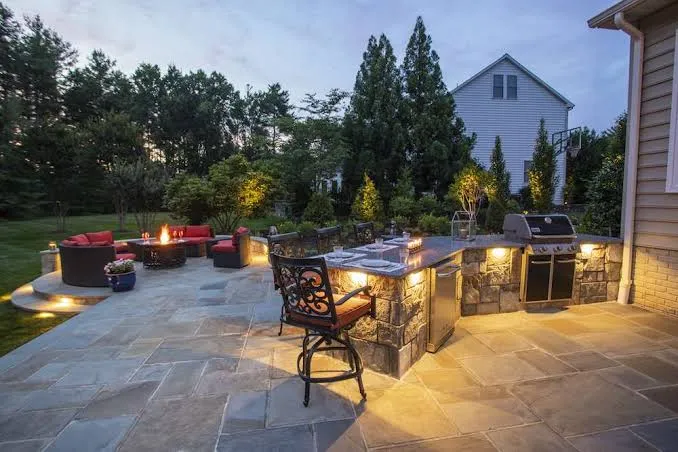
10. Zoning and Traffic Flow
Nothing ruins a small cookout faster than a traffic jam between the cooler and the grill. You must map out the traffic flow before you place a single brick. Think about where people will stand.
I abide by the rule of “The Chef’s Cockpit.” I position the grill so that I can stand in front of it without blocking the path to the fridge. If guests have to squeeze behind you while you are holding a hot tray of ribs, your design failed. Place the beverage center on the outer edge of the kitchen so guests can grab a drink without entering your cooking zone.
11. Utilize Modular Cabinet Systems
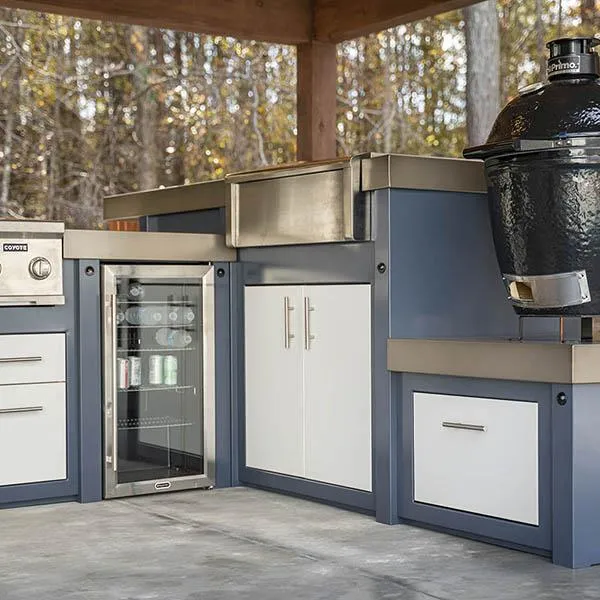
Custom masonry takes up a lot of space. The walls of a concrete block island are thick. Modular aluminum or stainless steel cabinets offer thinner walls and more interior storage. They act like Lego blocks for adults.
You can buy these systems in specific widths—12 inches, 18 inches, 24 inches. This allows you to mix and match to fit your exact dimensions without wasting an inch. I assembled a modular system in an afternoon. The walls are thin but strong, meaning the interior volume for storage is significantly larger than a masonry build. Plus, if you move, you can theoretically take the kitchen with you. FYI, that is a huge selling point if you are renting. 🙂
Final Thoughts
Designing a small outdoor kitchen isn’t about compromising; it’s about refining. You strip away the unnecessary fluff and focus on the essentials that actually impact your cooking experience. A compact setup keeps everything within arm’s reach, makes cleaning a breeze, and creates an intimate atmosphere that massive spaces just can’t replicate.
Start by measuring your space today—literally, go outside with a tape measure right now.