Is your kitchen counter currently doubling as a storage unit for mail, keys, that one mysterious appliance attachment you’ve never used, and a rogue banana? If you just nodded, you’re in the right place. The dream of a sparkling, clear countertop often feels like a fantasy reserved for magazines and people who don’t actually cook.
I once lost my car keys for a full day, only to find them buried under a pile of grocery store flyers and an avocado that had seen better days. That was my countertop rock bottom. It sparked a decluttering revolution in my kitchen, and trust me, if I can wrestle my counters back from the brink of chaos, anyone can.
Forget those complicated, expensive “systems” that require a manual to assemble. We’re diving into 11 genuinely jaw-dropping (and surprisingly simple) Kitchen Countertop Organization Ideas to reclaim your precious counter space. This is your intervention. Let’s get that real estate back.
1. Go Vertical, My Friend!
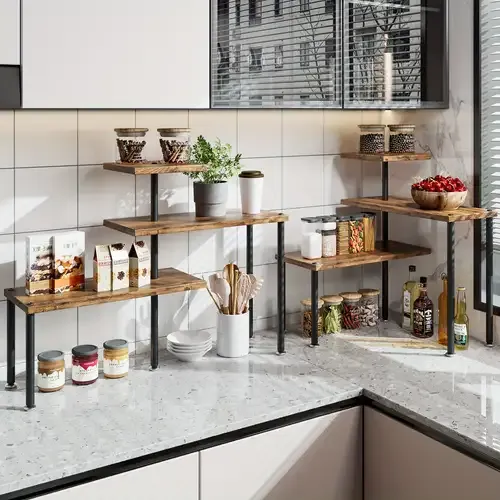
Why build out when you can build up? It’s the most basic rule of urban planning, and it works wonders for your kitchen. Your horizontal space is finite, but the vertical space above it is practically begging to be used.
Think about those cute two or three-tiered stands you usually see holding tiny sandwiches and scones at fancy teas. Well, it’s time to liberate them from their once-a-year duty. A tiered stand is a clutter-fighting ninja in disguise. It’s perfect for corralling fruits, coffee pods, or your most-used spices and seasonings.
Seriously, a tiered stand instantly doubles or triples your storage footprint without taking up an inch more of counter space. Ever wondered why this works so well? It draws the eye upward and groups items into a single, cohesive unit instead of a sprawling mess. It’s a simple visual trick that makes a world of difference.
2. The Unbelievable Magic of Magnetic Strips
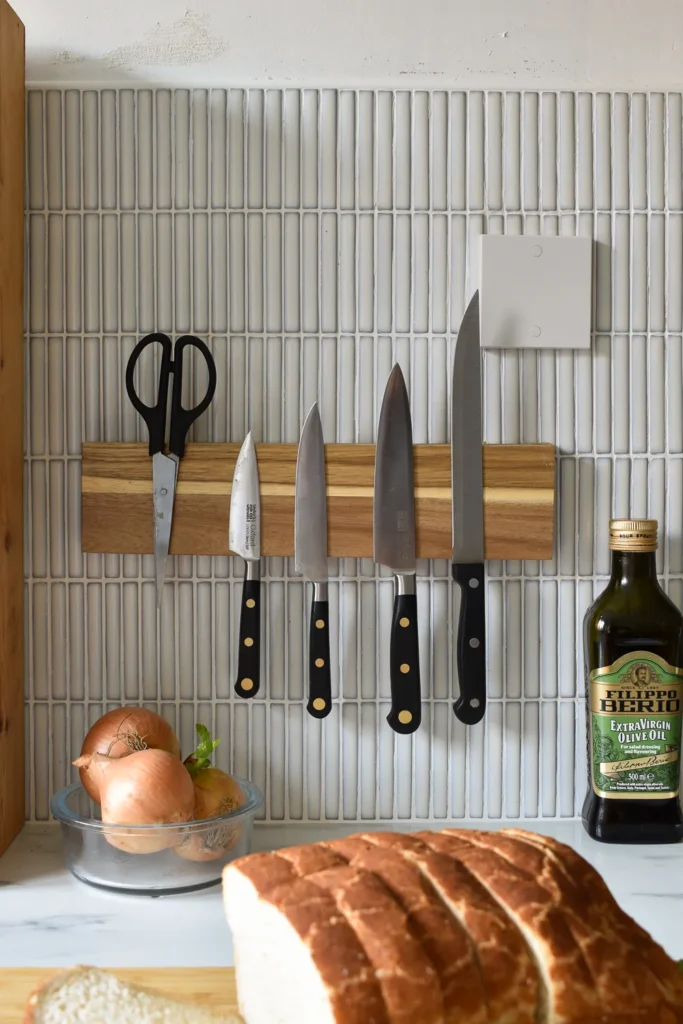
Are you tired of that clunky, germ-collecting knife block eating up a whole square foot of your prep area? I was. Then I discovered the magnetic strip, and it was a revelation.
Mount a sleek magnetic strip on your backsplash, and voilà! Your knives now float elegantly against the wall, looking like a piece of culinary art. It not only frees up a ton of space but also makes you feel like a ridiculously organized pro chef every time you reach for your santoku. It’s clean, it’s chic, and it’s way more sanitary than a traditional block.
But Wait, There’s More!
Don’t you dare think magnetic strips are just for knives. Their potential is vast and glorious.
- Spice Jars: Get some small jars and either buy ones with metal lids or just hot-glue a tiny, powerful magnet to the top of your existing ones. Now your paprika and cumin are on display, not lost in a cabinet.
- Metal Utensils: Whisks, metal measuring spoons, and kitchen shears can all hang out here.
- Bottle Opener: Never search for one again.
A word of warning: maybe don’t hang your electronic car keys there. Unless you enjoy adding a little high-stakes drama to your morning routine. :/
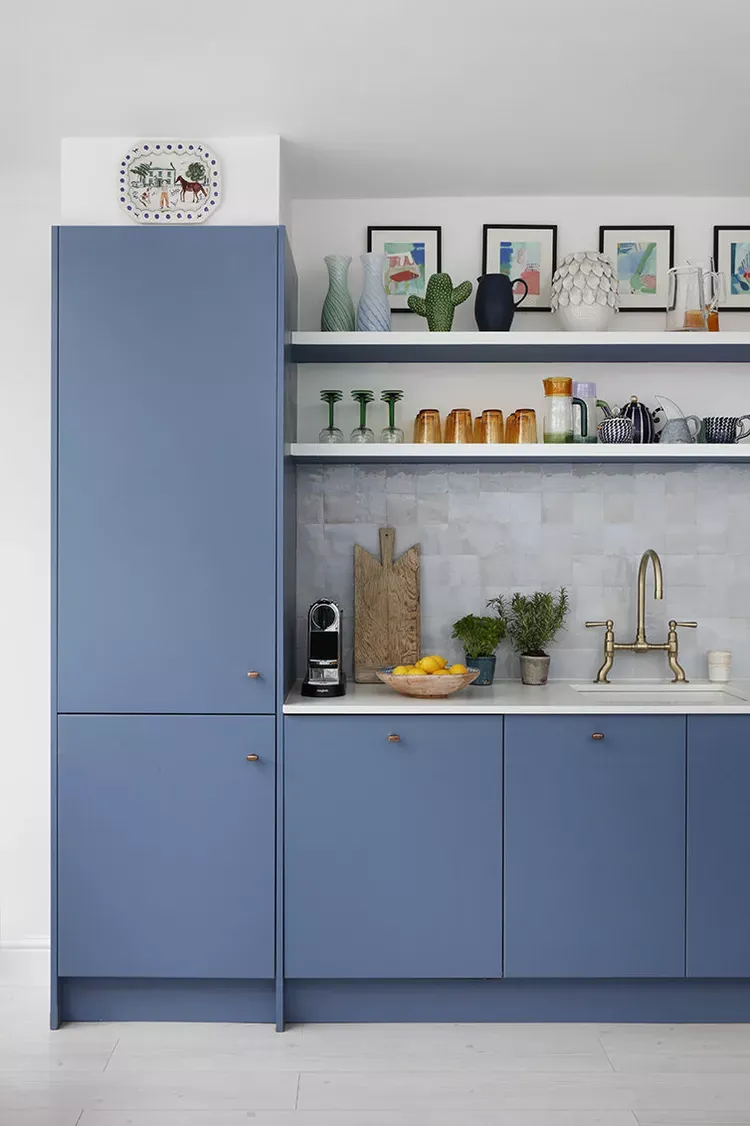
3. Befriend the Humble Tray
This might sound completely backward, but hear me out: the best way to control clutter is to create intentional clutter. I know, I know. But it works. The secret weapon? A tray.
Take a look at the area around your stove. Is it a chaotic huddle of olive oil, balsamic vinegar, salt, and pepper grinders? Now, imagine all those same items neatly arranged on a beautiful wooden, marble, or ceramic tray. Suddenly, it’s not a mess anymore, is it? It’s a “cooking station.” It’s a “vignette.” It’s fancy.
A tray gives a group of related items a defined home and a visual boundary. This simple act transforms a random collection of bottles into a purposeful, organized feature. It also makes cleaning a breeze—instead of moving five different bottles, you just lift the one tray.
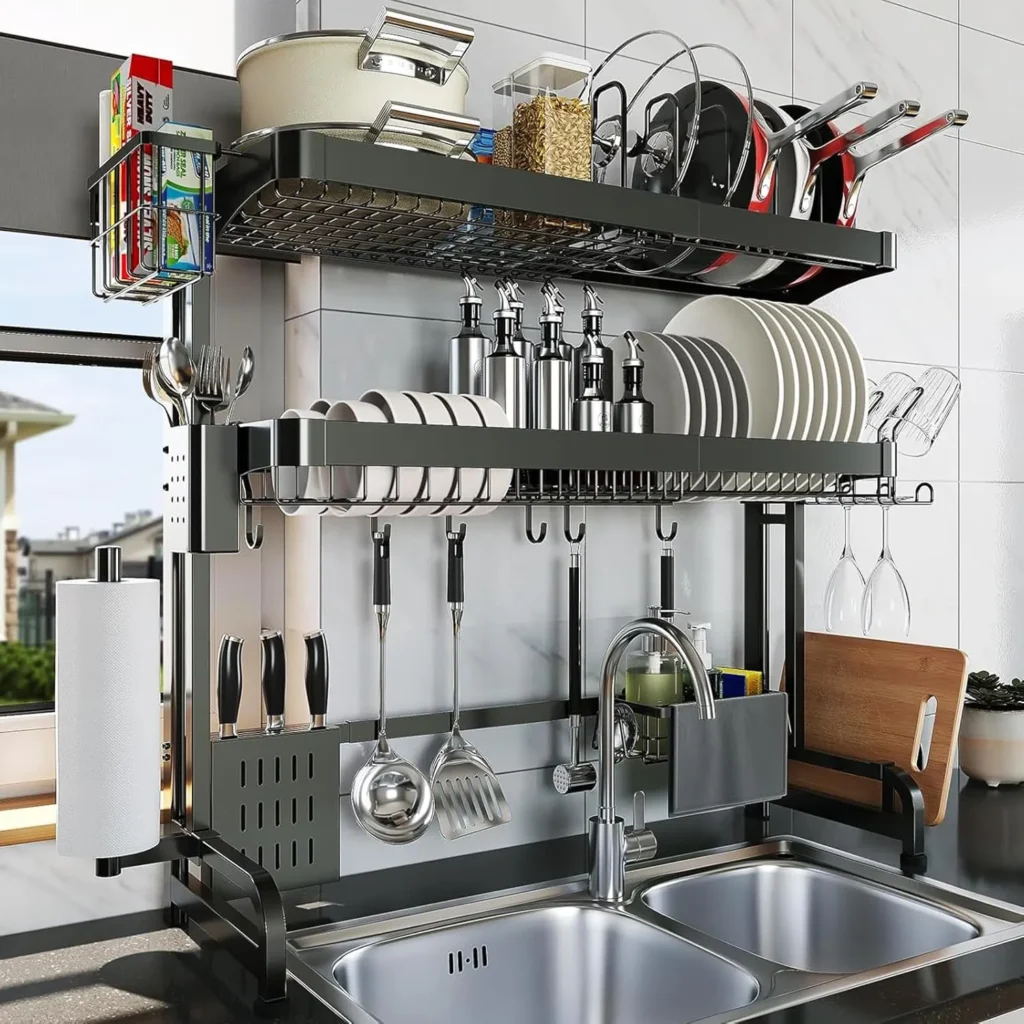
4. Explore Your Cabinet’s Underbelly
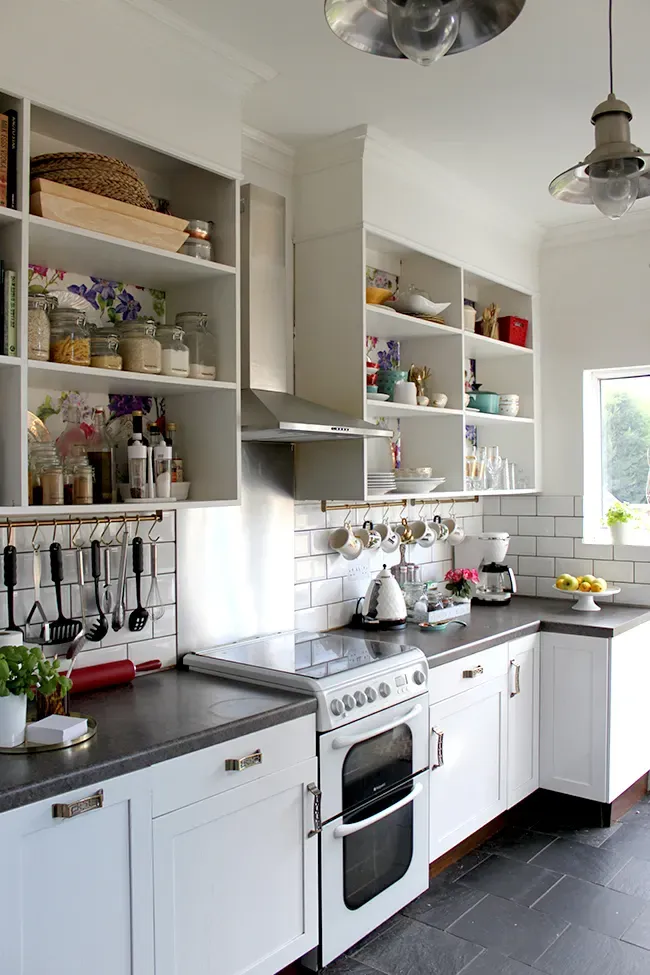
That space directly underneath your upper cabinets is probably the most underutilized surface in your entire kitchen. It’s just hanging out, collecting grease, and living a life of utter purposelessness. Let’s put it to work.
The market is flooded with genius under-cabinet solutions. You can find everything from stick-on hooks for coffee mugs to hanging paper towel dispensers that free up that spot on your counter. My personal favorite is the under-cabinet stemware rack; it makes your kitchen feel a bit like a classy wine bar and keeps delicate glasses safe.
You can also install small hanging baskets for things like garlic, onions, or even your dish sponges. Getting things off the counter and into this dead space is a total game-changer, especially in smaller kitchens.
5. The Appliance Garage: Hide ‘n’ Seek Champion
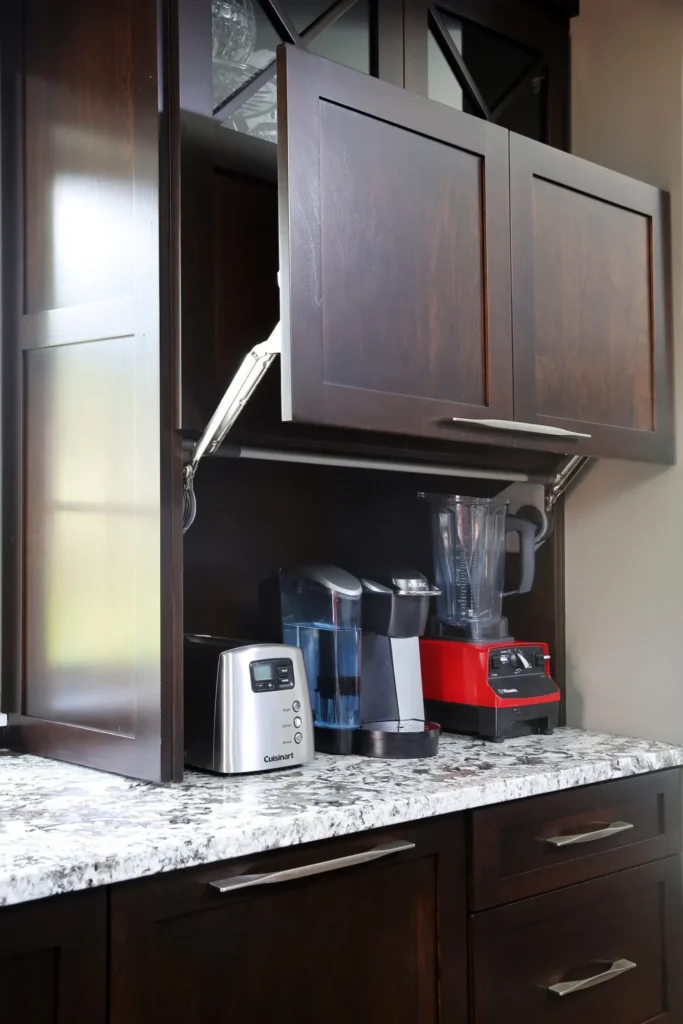
The toaster, the high-speed blender, the stand mixer, the coffee maker… they’re the heavy hitters of the kitchen, but they’re also total space hogs. They are like the uninvited guests who just refuse to leave the party. The solution? An appliance garage.
This is just a fancy term for a dedicated corner or cabinet on your counter with a door that hides everything away. It keeps your most-used appliances accessible but out of sight. When you need to make a smoothie, you just open the door. When you’re done, you slide it back in, close the door, and your kitchen is instantly serene and clutter-free again.
Check Next: Budget-Friendly DIY Kitchen Countertop Makeover Ideas
Don’t have a built-in one? No problem. You can find freestanding appliance garages or even repurpose a small bread box for your toaster. It’s all about breaking the line of sight.
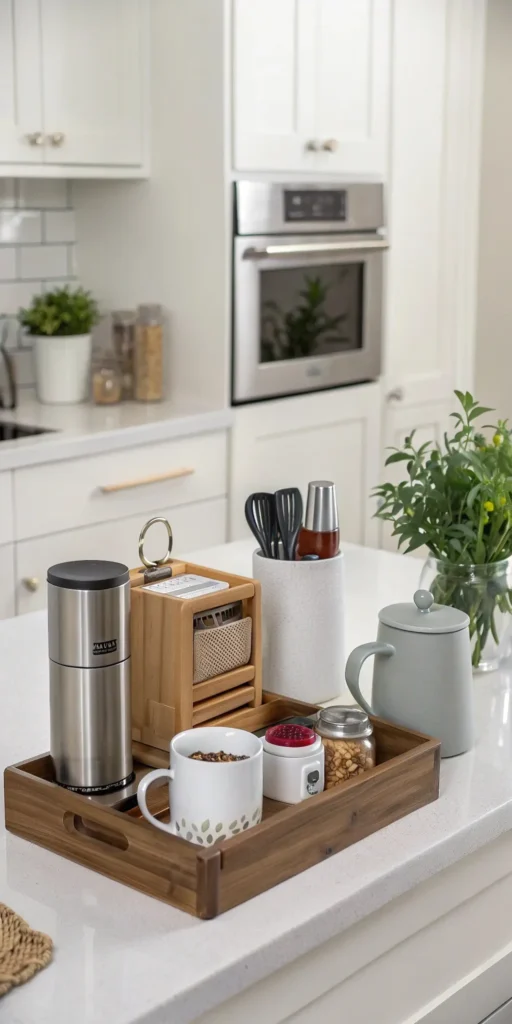
6. The Rise of the Riser Shelf
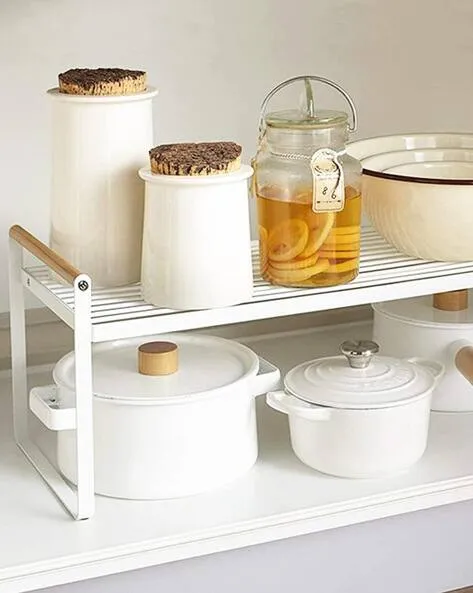
This one is so simple it feels like cheating. A riser shelf is essentially a mini table for your countertop, creating a second story of storage.
Got a microwave taking up a huge chunk of space? A sturdy riser that fits perfectly over it gives you a whole new shelf for cookbooks, mugs, or a bowl of fruit. You can also use smaller ones to organize plates and bowls, making them easier to grab than when they’re in a wobbly stack.
IMO, the best use for a riser is creating a designated coffee station. Put your coffee maker underneath and line up your favorite mugs, sugar bowl, and canisters on top. It looks incredibly organized and keeps everything you need for your morning caffeine fix in one tidy spot.
7. Canisters Aren’t Just for Grandma Anymore
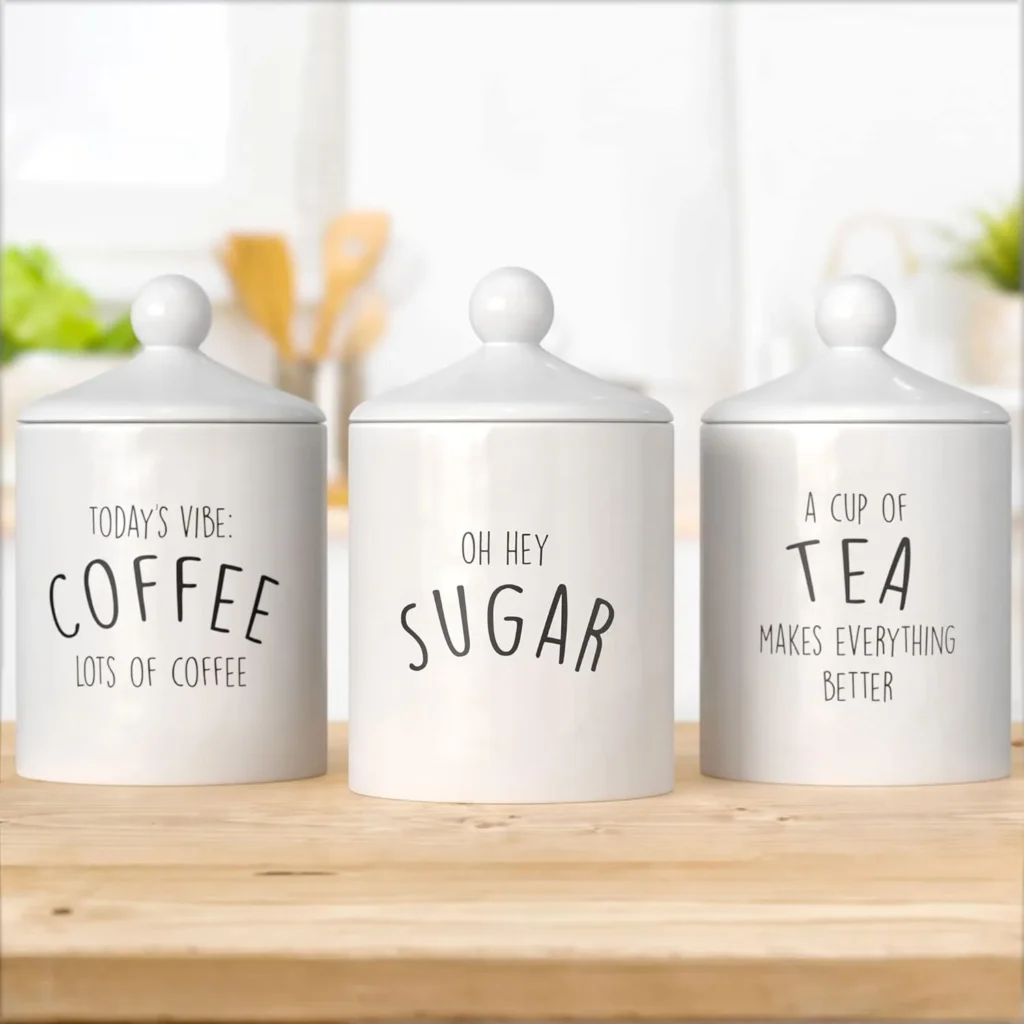
Let’s talk about the visual chaos of half-empty, crinkled bags of flour, sugar, coffee beans, and pasta. They are messy, they are prone to spills, and let’s be honest, they’re just plain ugly.
It’s time to embrace the canister. And no, I’m not talking about those dusty floral ones from the 70s. Modern canisters come in sleek glass, ceramic, metal, and bamboo. Decanting your dry goods into a set of matching, airtight canisters is one of the most satisfying organizational tasks on the planet.
It doesn’t just look a million times better; it keeps your food fresher and makes it easier to see what you have at a glance. It’s a bit of an upfront effort, but the daily payoff of seeing that neat, uniform row of canisters is totally worth it.
8. The Over-the-Sink Roll-Up Rack
For my comrades fighting the good fight in a small kitchen with approximately zero counter space, this one is for you. The over-the-sink roll-up drying rack is a work of pure genius.
It’s a simple rack made of silicone-coated steel rods that you unroll over your sink, instantly creating a new surface. You can use it as a drying rack for dishes, a place to rinse fruits and vegetables, or even as a trivet for hot pots and pans. When you’re done, you just roll it back up and tuck it in a drawer.
Why is this so great? It gives you temporary counter space exactly when and where you need it most. It’s perfect for tasks that can get a little wet and messy, keeping the rest of your counters clean and dry.
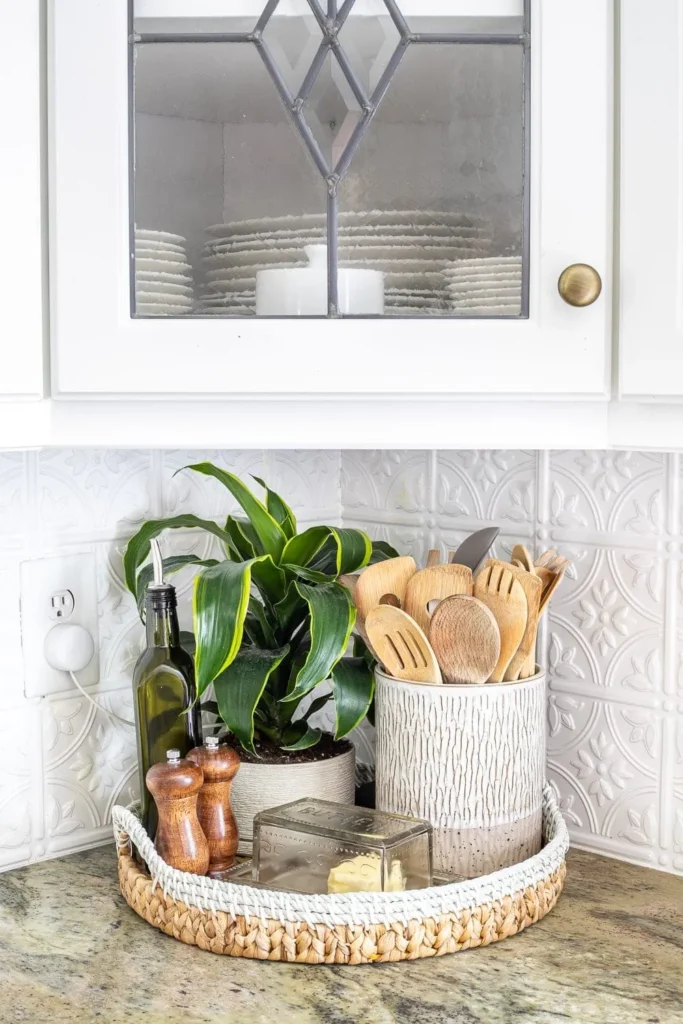
9. Give Your Utensils a Stylish New Home
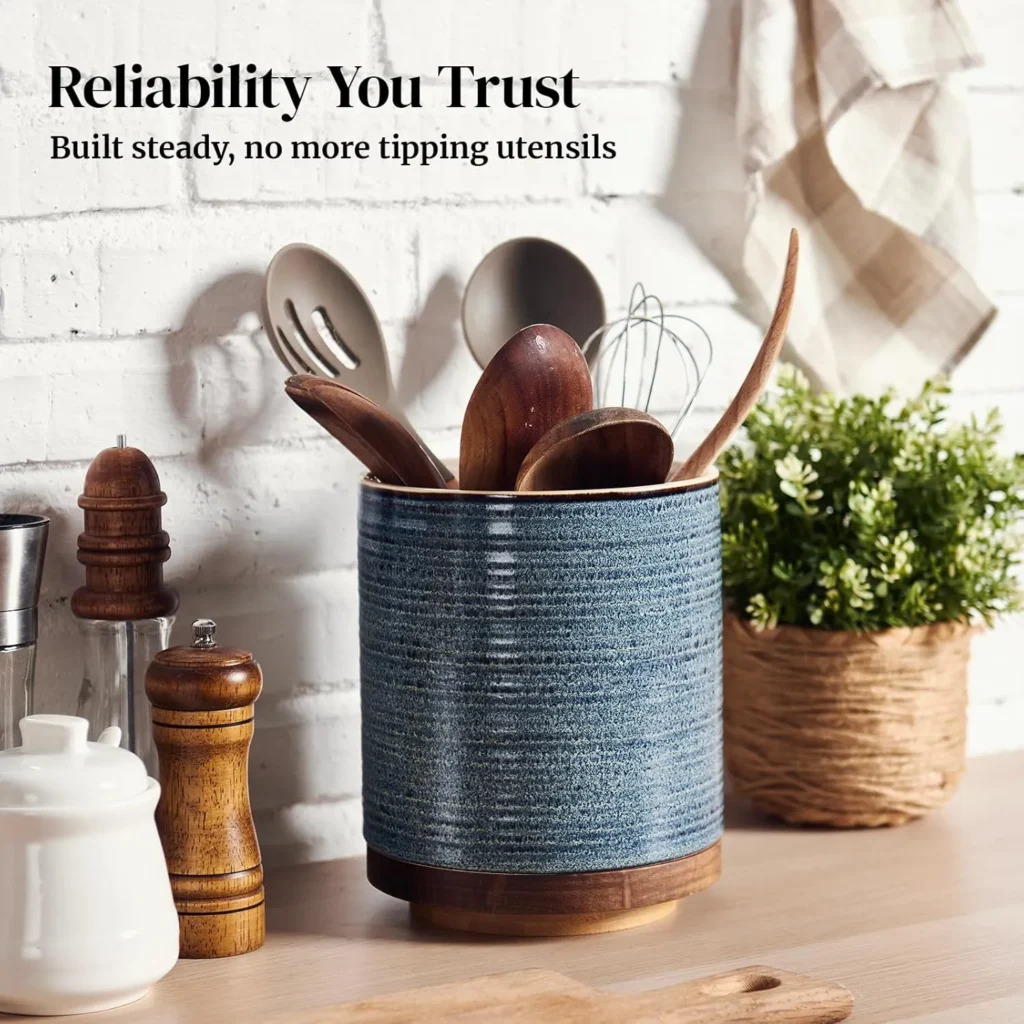
Take a look at your utensil crock. Is it an overstuffed nightmare where finding the right spatula requires a full-scale archaeological dig? We’ve all been there.
First, do a ruthless purge. Do you really need five different wooden spoons? (The answer is probably no.) Once you’ve narrowed it down to the essentials, give them a home that’s as functional as it is stylish. A wide-mouthed crock is good, but a rotating caddy is even better. It allows you to spin it around to find what you need without pulling everything out.
Another pro tip: split them up. Have one crock for your wooden and silicone utensils and another for your metal ones. It makes things easier to find and just looks more thoughtfully put together.
10. Decant, Decant, Decant!
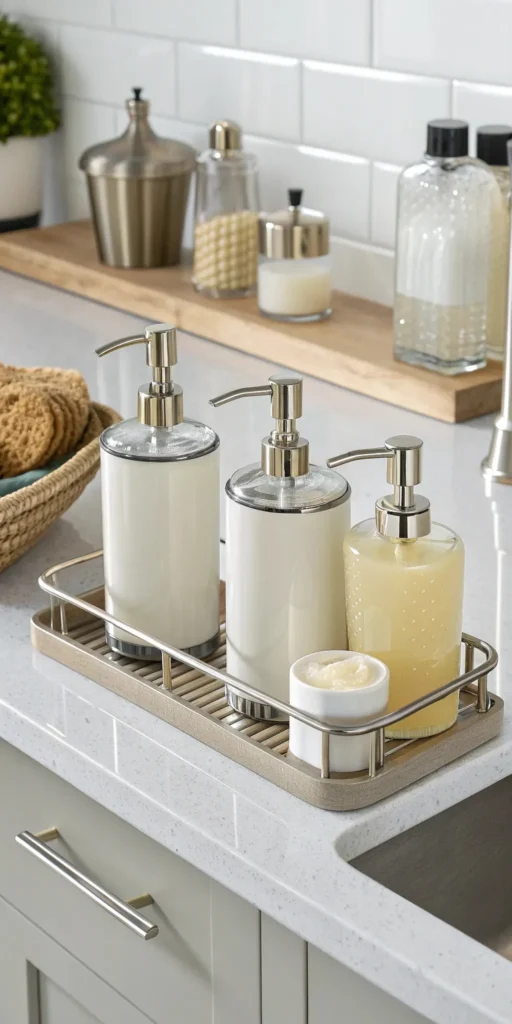
This hack is all about aesthetics, and I’m not ashamed to admit it. Nothing screams “I have my life together” quite like matching, elegant dispensers for your dish soap and hand soap.
Think about it. That bright blue bottle of Dawn dish soap with the peeling label is doing your kitchen’s vibe zero favors. Pouring those liquids into inexpensive (or fancy, you do you!) glass or ceramic dispensers with a nice pump is a tiny change with a massive psychological payoff.
This is the final touch that elevates your entire sink area. It takes two minutes to do and makes your counter look intentional and polished. It’s the cheapest, fastest way to make your counter look more luxurious.
11. The “One-In, One-Out” Golden Rule
Okay, we’ve talked about products and hacks, but this last one is the most important of all. It’s not a thing you can buy; it’s a mindset you must adopt. It’s the “One-In, One-Out” rule.
It’s brutally simple: every time you bring a new kitchen item into your home, a similar item must leave. Did you buy a cute new coffee mug at the farmer’s market? Great! Now it’s time to say goodbye to that chipped one at the back of the cabinet. Got a new, more efficient can opener? The old, rusty one goes directly into the donation or trash bin.
This rule is the only way to permanently stop the slow, creeping return of clutter. It’s tough love for your countertops, but it’s the only sustainable way to maintain the beautiful, organized space you’ve worked so hard to create.
Your Countertop Awaits
There you have it—11 ways to battle the clutter and win back your kitchen. You don’t have to do them all at once. Start small. Grab a tray for your oils or finally mount that magnetic strip you’ve been thinking about. Every little step brings you closer to that serene, functional kitchen you’ve been dreaming of.
Now go forth and reclaim your space. You might actually find enough room to, you know, cook on your counters. What a concept! 😉